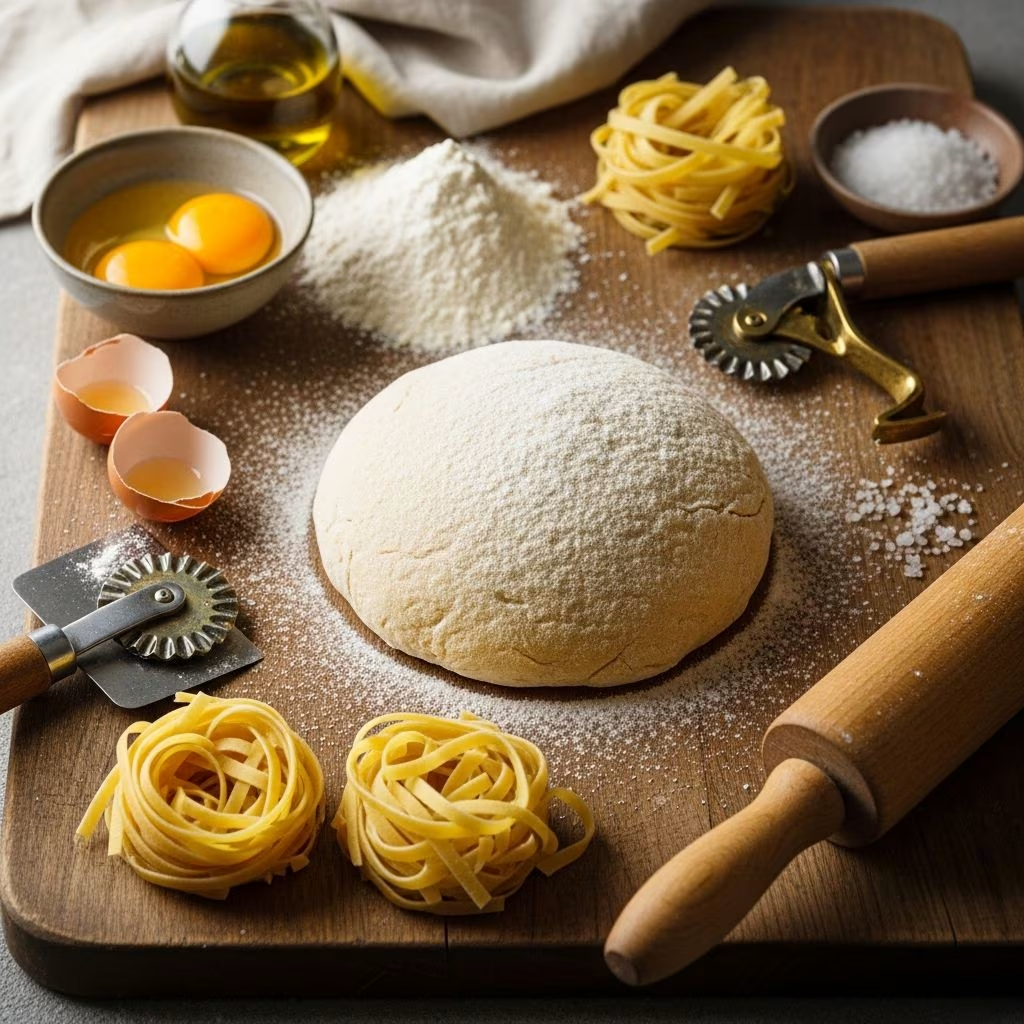
Creating fresh pasta from scratch is an enriching culinary endeavor that connects you to centuries of Italian tradition. Unlike dried pasta purchased from supermarket shelves, homemade fresh pasta offers a tender, delicate texture and rich flavor profile that elevates any meal. The beauty of this craft lies in its simplicity—requiring just a handful of quality ingredients and your hands—yet mastering the technique requires understanding the nuances of ingredient selection, dough development, and shaping methods.
Understanding the Essential Ingredients for Quality Pasta
The foundation of exceptional fresh pasta begins with selecting the right ingredients. While the ingredient list appears straightforward, each component plays a crucial role in achieving the desired texture and flavor.
Flour Selection and Measurement Precision
The choice of flour significantly influences your pasta’s final texture and workability. Tipo 00 flour, also known as doppio zero flour, stands as the preferred choice for fresh pasta preparation. This finely milled Italian flour contains minimal protein content and produces an exceptionally smooth, silky dough that’s easier to work with and yields superior results. The fine texture allows for better hydration and creates pasta with a delicate, tender bite rather than a chewy texture.
For most fresh pasta recipes, you’ll need approximately 300 grams of flour, which translates to roughly 2.25 cups when measured by volume. However, weighing your flour is essential for consistency and reliable results. Different measuring techniques—whether you spoon flour into cups or scoop directly from the bag—can alter the weight by 10-15 percent, substantially affecting your dough’s hydration level and final outcome. If you lack a kitchen scale, use the spoon-and-sweep method: lightly spoon flour into a measuring cup, then sweep the excess flat with a knife for the most accurate volume measurement.
Egg Quality and Proportions
Eggs serve as the primary liquid component and the enriching agent in fresh pasta dough. The ideal ratio is approximately 57 grams of egg per 100 grams of flour. For a 300-gram flour base, this typically translates to 3 large whole eggs plus 1 additional egg yolk, ensuring a combined egg weight of approximately 185 grams.
The size of eggs varies considerably, making weight-based measurement superior to simple egg counting. If you discover that your eggs yield less than the required weight, supplement with additional egg yolks to achieve the proper hydration balance. Conversely, if egg whites would increase hydration beyond desired levels, adjust with egg yolks alone. Importantly, remove eggs from refrigeration at least one hour before beginning, as room-temperature eggs distribute more evenly throughout the flour, creating a more uniform dough.
Salt and Optional Enhancements
A small pinch of kosher salt enhances flavor and strengthens gluten development within the dough. Approximately 3/4 teaspoon per batch proves sufficient. Some recipes incorporate a small amount of extra-virgin olive oil—roughly 1-2 teaspoons—which adds richness and supple texture to the finished dough, making it more pleasant to work with during shaping and rolling.
The Foundational Technique: Creating and Kneading the Dough
Method 1: Traditional Hand Mixing on Work Surface
The time-honored technique involves creating a flour mound directly on a clean work surface. Pile 300 grams of flour into a compact mound, then use your fingertips or the back of a bowl to create a shallow well in the center—the flour walls should be tall enough to contain the eggs. Crack your eggs into this well and add a pinch of salt.
Using a fork, gently whisk the eggs together as if making scrambled eggs, then begin pulling flour from the inner walls of the well into the egg mixture. Work gradually and deliberately; this prevents lumps and allows flour to incorporate evenly. As the mixture thickens from a liquid consistency to a thick batter, transition to using a bench scraper or your hands to draw in remaining flour. The dough will initially appear shaggy and somewhat rough—this is completely normal.
Dust your work surface lightly with additional flour if the mixture becomes too sticky to handle. Using a dough scraper, push together all ingredients until they form a cohesive, though somewhat rough, dough mass.
Kneading: Developing Texture and Strength
Once the dough comes together, begin kneading using the heel of your hand with firm, deliberate pressure. Push the dough away from you, then fold it back toward you in a rhythmic motion. This process typically requires 5-7 minutes of continuous hand-kneading. Initially, the dough will feel stiff and somewhat dense, but gradually it will transform into something smooth, supple, and elastic. When you poke the dough with your finger, it should spring back rather than remaining indented—this signals proper gluten development and adequate kneading.
The transformation may seem slow initially, particularly during the first 2-3 minutes. This is where patience becomes essential. Many home cooks abandon the process prematurely, thinking something has gone wrong. The dough requires time to fully hydrate and for gluten strands to align and strengthen.
Method 2: Stand Mixer Approach
For those preferring mechanical assistance, a stand mixer equipped with a dough hook offers an effective alternative. Add flour and eggs to the bowl, then mix on low speed (setting #1 or #2) for approximately 4-5 minutes. The machine accomplishes the kneading work efficiently, though less dramatically than hand-kneading. Form the resulting dough into a ball for the subsequent resting period.
Method 3: Food Processor Route
A food processor can expedite the initial mixing phase. Add flour and eggs to the processor bowl, then pulse several times until the mixture resembles coarse crumbs and begins clumping together. Transfer the dough to your work surface and allow a brief 1-minute rest. If the texture feels sticky after resting, dust lightly with additional flour, then complete the kneading by hand for 1-2 minutes. The processor accomplishes most of the labor-intensive mixing, leaving minimal hand-kneading required.
Critical Resting Periods for Optimal Results
After initial kneading, form the dough into a smooth ball and wrap tightly with plastic wrap. Allow this dough to rest at room temperature for 30 minutes. This resting period is often overlooked yet remains essential. During this time, the flour fully hydrates, becoming softer and more pliable. The gluten network continues to strengthen naturally without additional manual work. When you return to the dough after this rest, you’ll notice it feels noticeably softer and more pleasant to handle.
If you’ve observed that fresh pasta dough felt overly stiff or difficult to work with, insufficient initial resting likely contributed to the frustration. The 30-minute pause transforms the texture remarkably.
Rolling and Shaping: From Dough to Pasta Sheets
Sectioning the Dough
After the initial 30-minute rest, divide the dough into 4 equal pieces. Working with the entire mass simultaneously proves impractical; portioning allows manageable portions while keeping remaining dough covered and protected from drying.
Using a Pasta Machine Effectively
Flatten one dough portion into a rough oval shape approximately 1/4 inch thick. Run this flattened piece through a pasta machine set to the widest setting (typically #1). For a smoother finish, send the dough through this setting a second time. This preliminary pass ensures even thickness and prepares the dough for progressive thickness reduction.
Progress through settings #2-4, running the dough through each setting twice. For fettuccine, pappardelle, and tagliatelle shapes, this progression yields appropriate thickness. If you’re preparing filling-based pastas such as ravioli, continue advancing through settings up to #5 for thinner sheets.
The pasta sheet reaches optimal thickness when it becomes slightly translucent—you should be able to see your hand through it. This delicate texture indicates proper rolling without over-working the dough.
Finishing and Storage on the Sheet Pan
Once rolled to the appropriate thickness, dust the pasta sheet generously with semolina flour or rice flour (semolina prevents sticking better than all-purpose flour). Fold the sheet gently in half and transfer it to a floured or parchment-lined sheet pan. Cover with a clean kitchen towel to prevent the surface from drying while you process the remaining three dough portions using the identical rolling procedure.
Rolled pasta sheets can be cut into desired shapes immediately or covered and rested briefly before cutting, depending on your intended final form. If you’re cutting fettuccine or other strand pastas, allow the sheets to rest for 15 minutes on the work surface, becoming slightly firmer and less sticky, before running through cutting attachments.
Practical Troubleshooting Guide
| Issue | Cause | Solution |
|---|---|---|
| Dough remains dry with flour bits visible | Insufficient hydration or premature transition to kneading | Add water or olive oil a few drops at a time while mixing; wait longer before expecting dough cohesion |
| Dough feels excessively sticky during rolling | Too much egg content or insufficient flour-to-egg ratio | Dust with additional flour; allow longer resting periods; ensure precise weight measurements |
| Pasta tears while rolling | Insufficient gluten development or inadequate resting | Extend initial kneading; complete the full 30-minute rest; avoid overworking during rolling |
| Finished pasta feels tough or chewy | Excessive kneading or improper flour selection | Use Tipo 00 flour; avoid over-kneading beyond 7 minutes; ensure proper hydration |
Frequently Asked Questions About Fresh Pasta Making
Can all-purpose flour work as a substitute for Tipo 00 flour?
While traditional pasta-making employs Tipo 00 flour, all-purpose flour can produce acceptable results. The outcome will be slightly chewier and more resilient than traditional versions, but still represents a significant improvement over store-bought dried pasta. If using all-purpose flour, accept that texture will differ somewhat from Italian tradition.
How long can fresh pasta dough be stored?
Wrapped tightly in plastic wrap, fresh pasta dough keeps refrigerated for up to 2 days. Before rolling, allow it to return to room temperature for 30 minutes to restore pliability. For longer storage, freeze the dough for up to 3 months; thaw overnight in the refrigerator before use.
What’s the difference between adding olive oil versus using only eggs?
Olive oil creates a softer, more supple dough that’s more pleasant to work with during rolling and shaping. Recipes relying solely on eggs and flour produce dough that’s slightly firmer but equally valid. The choice depends on personal preference and desired handling characteristics.
Is hand-kneading truly necessary with modern appliances?
While stand mixers and food processors accelerate the process effectively, they cannot fully replicate hand-kneading’s intuitive feedback. Hand-kneading allows you to sense texture changes directly and adjust technique accordingly. That said, mechanical assistance produces completely acceptable results when proper timing and technique are observed.
Storage and Cooking Recommendations
Fresh pasta sheets can be cooked immediately after rolling, though allowing a brief rest of 15-20 minutes on the floured sheet pan permits the exterior to dry slightly, preventing sticking during cutting. Rolled sheets maintain quality, loosely covered with plastic wrap, for up to 8 hours at room temperature. For extended storage, dust generously with semolina, form into nests or manageable portions, and freeze on a baking sheet before transferring to freezer bags.
When cooking fresh pasta, bring a large pot of salted water to a vigorous boil. Add pasta and stir gently, then cook for 2-3 minutes—dramatically shorter than dried pasta varieties. Fresh egg pasta cooks remarkably quickly; test after 2 minutes to ensure you don’t overcook to mushiness. Drain and reserve 1 cup of pasta water before tossing with sauce, using the starchy pasta water to achieve optimal sauce consistency.
References
- Beginner’s Guide To Fresh Homemade Pasta Dough — The Clever Carrot. 2021-12. https://www.theclevercarrot.com/2021/12/beginners-guide-fresh-homemade-pasta-dough/
- Homemade Pasta Dough — Kendall Andronico. https://www.kendallandronico.com/all-recipes/homemade-pasta-dough
- Homemade Pasta Recipe — The Mediterranean Dish. https://www.themediterraneandish.com/homemade-pasta-recipe/
- Homemade Pasta Dough Recipe — Chef Billy Parisi. https://www.billyparisi.com/homemade-pasta-dough-recipe/
- How to Make Homemade Pasta Dough — Italian Kitchen Confessions. https://www.italiankitchenconfessions.com/how-to-make-homemade-pasta-dough/
- Homemade Pasta — Love and Lemons. https://www.loveandlemons.com/homemade-pasta-recipe/