Understanding This Classic Confection
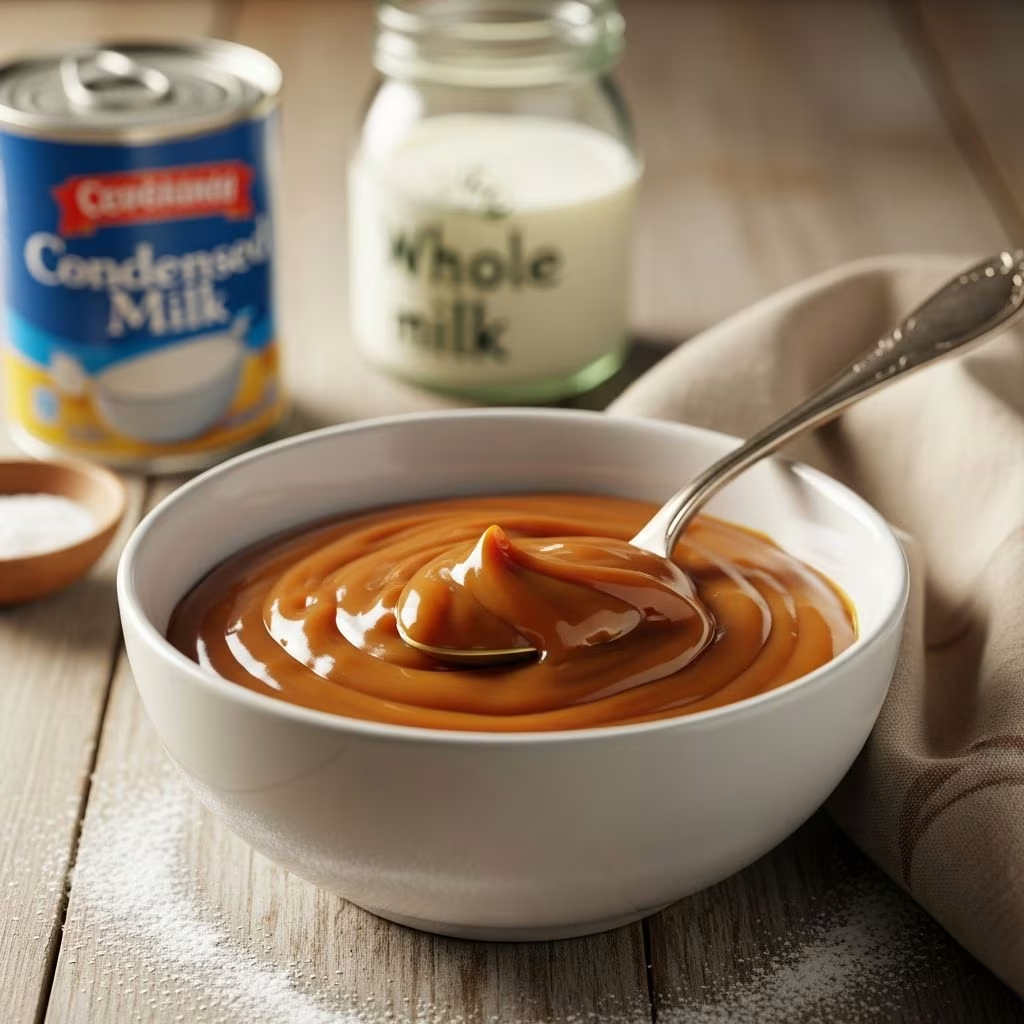
Dulce de leche represents one of the most beloved sweet preparations in Latin American cuisine. This thick, creamy delicacy develops through a careful caramelization process that transforms simple dairy ingredients into a luxurious condiment. The resulting product offers a distinctive milky caramel flavor with a beautiful amber-brown hue, making it equally suited for sophisticated dessert applications or simple spoon-straight enjoyment.
The beauty of this confection lies in its versatility and approachability. Despite its elegant appearance and refined taste, creating dulce de leche requires minimal ingredients and straightforward techniques that home cooks of all skill levels can master. Whether you prefer traditional slow-cooking methods or expedited approaches using modern kitchen equipment, the fundamental principle remains consistent: gentle heat applied over time transforms milk and sugar into something extraordinary.
The Foundation: Choosing Your Ingredients
The ingredient selection for dulce de leche varies depending on your chosen preparation method, but the common thread is simplicity. Most approaches begin with sweetened condensed milk as the base component, though alternative methods exist for those seeking to build the entire flavor profile from individual ingredients.
The Condensed Milk Approach
Using canned sweetened condensed milk offers the most straightforward path to dulce de leche creation. This ingredient already contains the perfect balance of milk solids and sugar needed for successful caramelization. A single 14-ounce can serves as the complete ingredient base for most recipes, with only water and minimal seasonings required as supplementary components. Some recipes incorporate salt to enhance the depth of flavor, typically using approximately one-quarter teaspoon per can.
The From-Scratch Method
For cooks preferring to start with whole milk and granulated sugar, the ingredient list expands slightly but remains entirely manageable. This approach typically combines one quart of whole milk with approximately one and one-half cups of granulated sugar as the primary components. Vanilla bean paste or a whole vanilla bean adds aromatic complexity, while baking soda serves a crucial chemical function in the cooking process. A pinch of table salt rounds out the ingredient profile, balancing sweetness and enhancing overall flavor perception.
Equipment and Preparation
Success in dulce de leche preparation depends not only on ingredients but also on having appropriate equipment readily available. The specific tools needed vary slightly between cooking methods, but thoughtful preparation prevents complications during the cooking process.
For oven-based methods, you will need an oven-safe bowl or pie dish capable of withstanding heat exposure, a larger baking pan to serve as a water bath container, heavy-duty aluminum foil for covering, and reliable whisking implements. A thermometer proves helpful for monitoring water temperature, though not absolutely essential. For stovetop approaches, a heavy-bottomed saucepan with adequate capacity prevents scorching and ensures even heat distribution. Regardless of method selected, a whisk or sturdy spoon facilitates thorough mixing once cooking concludes.
The Oven Method: Gentle Heat Approach
The oven-based technique offers several advantages for home cooks, including minimal active monitoring and predictable results when proper water levels are maintained. This method works effectively for both single-can and multi-can batches, making it ideal when preparing ingredients for storing or sharing.
Step-by-Step Process
- Preheat your oven to 425°F, allowing the appliance to reach full temperature before introducing the dulce de leche mixture
- Open the sweetened condensed milk can and transfer contents into your selected oven-safe vessel
- For the condensed milk method, sprinkle approximately one-quarter teaspoon of salt across the surface
- Cover the filled container tightly with aluminum foil, ensuring a complete seal that prevents evaporation
- Position the covered container within a larger baking pan, then fill the outer pan with hot water until the liquid reaches approximately halfway up the sides of the inner container
- Place the entire water bath setup into the preheated oven
- Cook for 1 to 1.5 hours, checking water levels every 30 minutes and adding additional hot water as necessary
- Monitor the color development, removing from heat once the mixture reaches a deep caramel-brown appearance
- Allow the mixture to cool slightly before transferring to mixing bowls for whisking
- Whisk or stir vigorously for 1-2 minutes until achieving uniform smoothness
- Let cool to room temperature before using or storing
The Stovetop Method: Traditional Approach
Stovetop cooking represents the most traditional technique for dulce de leche preparation, offering close control over heat and color development. This method suits both the sweetened condensed milk approach and the from-scratch milk-and-sugar variation.
Cooking with Condensed Milk
For the quickest stovetop preparation, remove the paper label from your sweetened condensed milk can and place it directly into a saucepan filled with water. Bring the water to a boil over medium-high heat, then reduce to a gentle simmer. Maintain this temperature for 2 to 2.5 hours, depending on your desired final color and consistency. Vigilantly monitor water levels throughout cooking, as evaporation will necessitate periodic additions of fresh water. The dulce de leche develops a beautiful caramel color as the cooking time progresses, with darker results emerging from longer cooking durations.
Cooking from Raw Ingredients
The from-scratch stovetop method requires more active attention and extended cooking times but rewards patient cooks with deeper flavor complexity. Combine whole milk, granulated sugar, and vanilla bean components in a large saucepan and bring to a simmer over medium heat, stirring occasionally until the sugar completely dissolves. Add baking soda and salt once the sugar has fully incorporated, then reduce heat to low and maintain an uncovered simmer for 3.5 to 4 hours. During the final hour of cooking, increase stirring frequency and reduce heat to the lowest setting if necessary, as the mixture becomes increasingly prone to rapid bubbling. Remove any foam that accumulates on the surface using a skimming utensil. The finished product should reduce to approximately 1.5 cups with a caramel-brown color throughout.
Comparative Analysis of Methods
| Method | Base Ingredient | Cooking Time | Active Monitoring | Yield |
|---|---|---|---|---|
| Oven with Condensed Milk | Sweetened Condensed Milk | 1-1.5 hours | Moderate | 1 can = ~1 cup |
| Stovetop with Condensed Milk | Sweetened Condensed Milk | 2-2.5 hours | Moderate | 1 can = ~1 cup |
| Stovetop from Scratch | Whole Milk & Sugar | 3.5-4 hours | High | Reduced to ~1.5 cups |
Achieving Perfect Color and Consistency
The visual development of dulce de leche provides reliable indicators for determining when cooking has progressed sufficiently. The transformation begins with a pale caramel hue and deepens progressively toward a rich medium brown. The ideal endpoint balances a deep color that indicates complete caramelization with consistency that remains spreadable and pourable rather than hard or brittle.
Texture considerations matter equally to color development. Once removed from heat, the mixture often appears slightly thinner than desired, but it continues thickening as it cools to room temperature. Vigorous whisking immediately after cooking improves smoothness and aerates the product, creating a lighter, creamier final texture. Patience during the cooling phase allows the starches in the milk solids to set completely, resulting in the signature spoonable consistency.
Storage and Longevity
Properly prepared dulce de leche stores reliably for extended periods when kept in appropriate conditions. Transfer your cooled dulce de leche to airtight glass containers and refrigerate, where it maintains quality and freshness for approximately two weeks. For longer storage, freezing in smaller portions extends usability for several months, though this requires thawing at room temperature before use.
The shelf-stable nature of properly prepared dulce de leche results from its high sugar content and the caramelization process, both of which create an inhospitable environment for bacterial growth. However, improper handling or storage in non-airtight containers can lead to mold development or crystallization over time.
Culinary Applications and Uses
The versatility of homemade dulce de leche extends far beyond simple consumption with a spoon. This ingredient seamlessly incorporates into numerous dessert preparations, from simple cookie toppings to elaborate cake fillings. Spread it between cake layers for instant sophistication, drizzle over brownies or fudgy treats for textural contrast, or swirl into vanilla ice cream for an elegant sundae. Bakers incorporate dulce de leche into tart fillings, cheesecake swirls, and decorative piping applications.
Beyond traditional desserts, creative applications include incorporating dulce de leche into coffee drinks, blending into yogurt for breakfast transformation, or using as a sophisticated topping for fresh fruit presentations. The deeply caramelized flavor profile complements both rich chocolate preparations and lighter vanilla-forward compositions.
Common Questions About Dulce de Leche Preparation
Is it safe to boil sweetened condensed milk cans directly in water?
Yes, when proper precautions are observed. Ensure the can remains completely submerged throughout cooking and monitor water levels regularly to prevent the can from becoming exposed to direct heat. Never attempt this method with cans featuring pop-top lids, as the opening can allow water contamination during the extended cooking process.
Why does my dulce de leche appear grainy or crystallized?
Crystallization typically results from inadequate whisking after cooking or from sugar crystallization during storage. Vigorous mixing immediately after heat removal breaks up crystalline structures. If crystallization occurs after storage, gentle reheating with minimal stirring can restore smoothness.
How do I achieve darker, more intense dulce de leche?
Simply extend cooking time, checking color periodically. Darker versions develop deeper caramel flavors and slightly firmer textures, though excessive cooking can produce bitter undertones. Finding your preferred color intensity requires experimentation with cooking duration.
Can I make dulce de leche without sweetened condensed milk?
Absolutely. The from-scratch milk-and-sugar method creates dulce de leche entirely from basic ingredients, though it requires longer cooking time and more active monitoring than the condensed milk shortcut.
Safety Considerations and Best Practices
Creating dulce de leche safely requires awareness of potential hazards associated with extended heating of milk-based products. When using the water bath method, ensure water never completely evaporates, as direct can-to-heat contact can cause dangerous boiling or potential can rupture. Always use oven mitts when handling hot containers, and allow adequate cooling time before touching or transferring the finished product.
For stovetop methods, maintain awareness of the boiling pot and never leave it unattended for extended periods. Stir carefully when checking consistency, as the mixture reaches very high temperatures and can cause severe burns if splashed.
References
- Homemade Dulce de Leche — Lone Goose Bakery. 2024. https://lonegoosebakery.com/homemade-dulce-de-leche/
- Homemade Dulce De Leche from scratch – Wild Wild Whisk — Wild Wild Whisk. 2024. https://wildwildwhisk.com/homemade-dulce-de-leche-2-ways/
- Homemade Dulce de Leche Recipe — Oh Sweet Basil. 2024. https://ohsweetbasil.com/dulce-de-leche-recipe/
- How to make Dulce de Leche — Preppy Kitchen, YouTube. https://www.youtube.com/watch?v=8IorYzr4jJQ