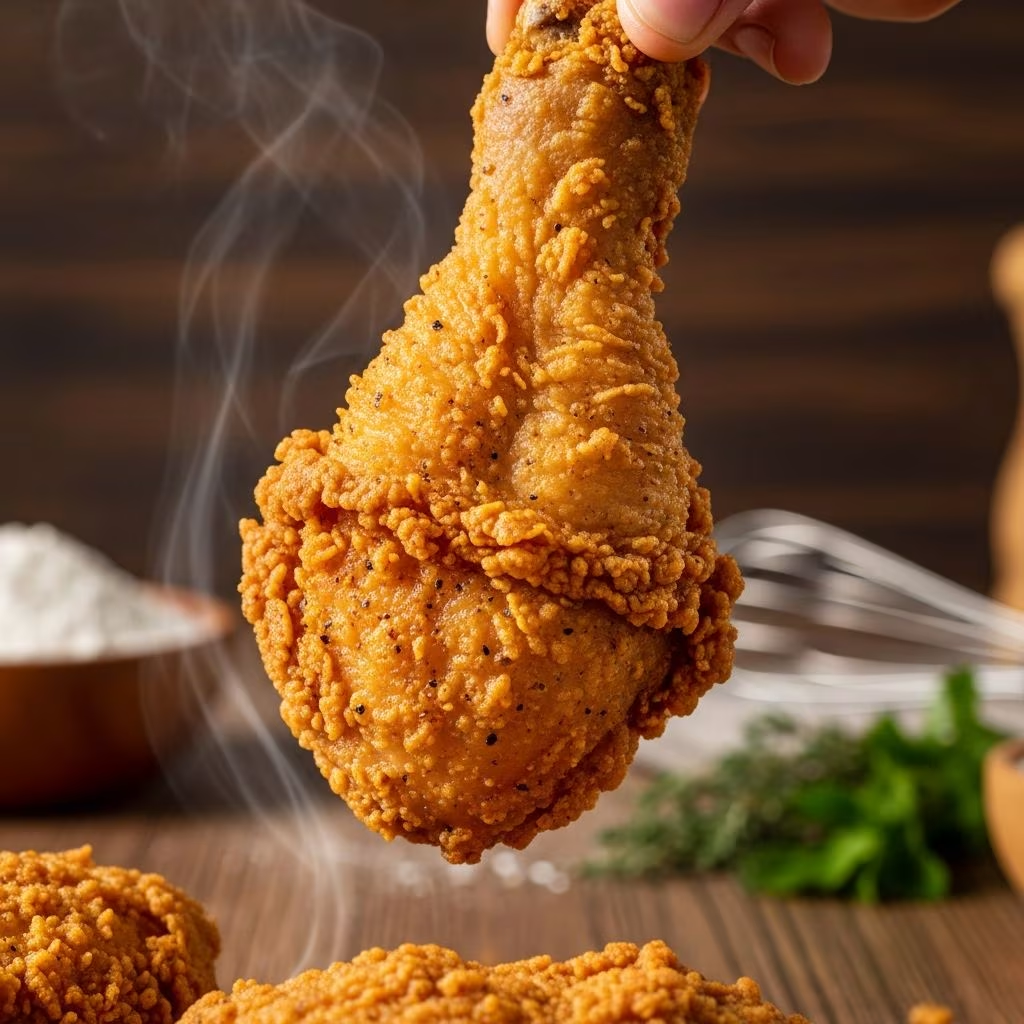
Creating perfectly fried chicken that achieves that coveted crispy exterior while maintaining juicy, tender meat inside is an art form that combines proper technique, quality ingredients, and careful attention to detail. Whether you’re preparing a casual family dinner or impressing guests at a gathering, understanding the fundamentals of frying chicken transforms your kitchen into a restaurant-quality operation. This comprehensive guide walks you through everything needed to consistently produce exceptional fried chicken.
Understanding the Foundation of Great Fried Chicken
The journey to exceptional fried chicken begins long before the chicken hits the hot oil. Success depends on three interconnected elements: ingredient quality, preparation methodology, and precise temperature control. Each component plays a crucial role in determining the final outcome, from the initial seasoning phase through the frying process.
The chicken itself sets the stage for your finished dish. Selecting the right cuts matters significantly—bone-in, skin-on pieces develop more complex flavors and maintain moisture better than boneless varieties, though boneless cuts work well for those preferring convenience. The size and thickness of your chicken pieces should be relatively uniform to ensure even cooking throughout the batch.
Preparing Your Chicken for Maximum Flavor
Before any coating touches your chicken, establishing a strong flavor foundation through marinating or seasoning transforms ordinary poultry into something extraordinary. The marinating process, whether brief or extended, allows flavors to penetrate the meat and begin breaking down proteins, resulting in more tender chicken.
A buttermilk-based marinade serves as an excellent foundation. The acidity in buttermilk tenderizes the meat while adding subtle tang that complements fried chicken’s richness. Adding hot sauce to your marinade introduces layers of flavor and gentle heat that develop during cooking. Dry seasonings like garlic powder, onion powder, and kosher salt should be applied directly to the chicken before introducing the wet components, allowing these flavors to adhere properly to the meat’s surface.
The marinating timeline depends on your schedule and preference. A minimum of two hours produces noticeable results, with overnight marination being ideal for deeper flavor development. This patience investment yields noticeably more flavorful chicken that impresses even the most discerning palates.
Crafting the Perfect Coating Mixture
The coating is where your fried chicken earns its signature texture. Creating the ideal flour mixture requires balancing multiple components to achieve both crispiness and structural integrity. The foundation begins with all-purpose flour, which provides the necessary protein structure for the coating.
Cornstarch serves as your secret weapon for achieving exceptional crispiness. Unlike flour alone, cornstarch creates a lighter, crunchier coating that shatters pleasantly when bitten. The typical ratio combines two parts flour with one part cornstarch, though personal preference allows for adjustments. This mixture should be seasoned generously with kosher salt, black pepper, paprika, and any additional spices matching your flavor profile.
Many cooks add unexpected ingredients to their coating mixture to enhance complexity. Some incorporate cream of chicken soup into a wet coating component rather than using only buttermilk, creating a richer binding agent that produces exceptionally crispy results. Others experiment with oregano, cayenne pepper, or smoked paprika to introduce distinctive flavor notes.
The Coating Process: Technique Matters
Properly coating chicken requires methodical attention. Remove your marinated chicken piece by piece, allowing excess buttermilk to drip away rather than clinging to the surface. This prevents the coating from becoming soggy before frying. Place each piece into your flour mixture, ensuring complete coverage on all sides. This often works best inside a resealable plastic bag—seal it partially and shake vigorously to coat evenly.
A critical step many home cooks overlook involves allowing the coated chicken to rest after flouring. Setting coated pieces aside for several minutes permits the flour mixture to absorb residual moisture from the chicken’s surface, creating a pasty appearance. This transformation indicates that the coating has properly adhered and will develop superior crispiness during frying. Skipping this resting phase results in thinner, less crispy coatings that don’t achieve the desired texture.
Mastering Oil Temperature and Frying Technique
Oil temperature represents perhaps the single most important factor in successful fried chicken preparation. Insufficient heat results in greasy, heavy chicken with soggy coating, while excessive heat burns the exterior before the interior reaches safe temperatures. Most traditional recipes call for oil temperatures between 325-375°F, depending on your specific chicken pieces and preferred crust development.
Peanut oil and other neutral frying oils with high smoke points prove ideal for chicken frying. These oils handle the required temperatures without breaking down and imparting off-flavors to your chicken. Using adequate oil volume ensures temperature stability when cold chicken enters the hot oil—the temperature will temporarily drop, requiring sufficient volume to recover quickly without overcorrecting downward.
Frying in batches prevents overcrowding, which causes temperature crashes that compromise texture. Adding no more than three or four pieces simultaneously allows each piece adequate space for heat circulation. Turning pieces every few minutes ensures even browning and prevents sticking. Most chicken pieces reach golden-brown perfection in seven to ten minutes, though timing varies based on size, temperature precision, and whether pieces are bone-in or boneless.
Achieving Texture Excellence: The Resting Phase
The moment chicken emerges from hot oil marks a critical juncture. Immediately transferring pieces to paper towels allows excess oil to drain, preventing your crispy exterior from becoming greasy. Some cooks place fried chicken on wire racks positioned over paper towel-lined trays, allowing air circulation that facilitates continued crisping.
Allowing fried chicken to rest for five to ten minutes before serving permits the interior to settle while the exterior hardens to its maximum crispiness. This brief pause also provides time for temperatures to equilibrate throughout each piece, ensuring safer consumption and more pleasant eating experience.
Ingredient Selection and Substitutions
| Ingredient | Standard Option | Alternative | Impact on Result |
|---|---|---|---|
| Oil Type | Peanut Oil | Vegetable or Canola Oil | Neutral oils work similarly; peanut oil adds subtle flavor |
| Marinating Liquid | Buttermilk | Yogurt or Milk with Lemon | Creates similar tenderizing effect |
| Flour Base | All-Purpose Flour | Cake Flour or Cornmeal Blend | Changes texture; cake flour produces lighter coatings |
| Seasoning Profile | Classic (Paprika, Garlic) | Cajun Spices or Italian Herbs | Dramatically alters flavor characteristics |
| Binding Agent | Buttermilk | Cream of Chicken Soup | Creates richer, extra-crispy coatings |
Common Challenges and Solutions
Even experienced cooks encounter occasional fried chicken setbacks. Understanding typical issues and their remedies helps maintain consistency and improve results across attempts.
Soggy Coating: This usually indicates insufficient oil temperature or overcrowding during frying. Maintain precise temperature control and limit batch sizes. Additionally, ensure your resting period after flouring allows proper crust formation before frying.
Burnt Exterior with Raw Interior: Excessive oil temperature causes this problem. Reduce heat and verify temperature with a reliable thermometer. Slightly thicker chicken pieces may require slightly lower temperature to allow thorough cooking.
Pale, Nonappetizing Color: Typically results from oil temperature that’s too low. Increase heat gradually to reach proper frying temperature. Pale chicken hasn’t reached the Maillard reaction necessary for color development and optimal flavor.
Coating Separation: Often caused by starting with wet chicken or inadequate resting time after flouring. Ensure excess marinating liquid drips away completely before flouring, and always allow the resting period before frying.
Seasoning Strategies Beyond Basic Flavoring
While traditional fried chicken seasonings like paprika and garlic powder provide classic results, exploring additional flavor dimensions elevates your fried chicken from good to memorable. Layering complementary spices creates complexity that develops throughout cooking.
Consider incorporating smoked paprika for depth, cayenne pepper for gentle heat that builds gradually, or oregano for Mediterranean undertones. Some preparations benefit from a pinch of nutmeg or allspice that adds warmth without asserting dominance. Hot sauce in the marinade introduces vinegar tang and capsaicin heat that permeates the finished chicken.
Experimenting with salt types also influences results. Kosher salt’s larger crystals distribute more evenly than table salt, providing more consistent seasoning. Sea salt offers subtle mineral notes that some palates prefer. Finding your preferred balance between seasoning intensity and ingredient complexity develops through experimentation and adjustment based on personal preference.
Equipment Considerations
While fried chicken doesn’t demand specialized equipment, certain tools significantly enhance the process. A reliable deep-fry thermometer prevents guesswork about oil temperature. Instant-read thermometers verify chicken doneness without cutting pieces and releasing juices.
Cast iron skillets and Dutch ovens conduct heat effectively for stovetop frying, though they retain heat intensely and require careful temperature monitoring to prevent burning. Dedicated deep fryers offer superior temperature stability and are easier to monitor during extended cooking sessions. Resealable plastic bags make coating application quick and minimize cleanup.
Heavy-bottomed pots with adequate depth work well for home cooks avoiding dedicated equipment purchases. Wire racks positioned over rimmed baking sheets facilitate oil draining and prevent sogginess from pooling grease.
Storage and Reheating Strategies
Leftover fried chicken maintains quality for three to four days when stored properly in airtight containers in the refrigerator. For extended storage, freezing fried chicken in freezer bags preserves quality for up to three months.
Reheating presents challenges because microwaves steam rather than heat, destroying the crispy coating. Instead, reheat in a 350°F oven for ten to fifteen minutes, which restores crispiness without drying meat. Some cooks prefer reheating in a hot cast iron skillet for quick crispiness restoration.
Frequently Asked Questions
Can I use boneless, skinless chicken breasts for fried chicken?
Yes, boneless breasts work well though they require careful attention to prevent overcooking and drying. Their lower fat content makes them less forgiving than bone-in pieces. Slightly lower frying temperatures help protect moisture while developing adequate crust.
How long should chicken marinate?
Minimum marinating time is two hours, though overnight marination develops superior flavor. Marinating longer than twenty-four hours may result in overly tender texture in some cases, though this depends on marinating liquid acidity.
What’s the best oil for frying chicken?
Peanut oil is traditional and highly regarded for its neutral flavor and high smoke point. Vegetable oil, canola oil, and other neutral options work equally well if peanut oil is unavailable or causes allergies.
Why does my chicken burn on the outside before cooking inside?
Oil temperature is likely too high. Reduce heat and verify temperature with a thermometer. Larger chicken pieces benefit from slightly lower temperatures to allow thorough interior cooking before exterior overcooking.
Should I cover the fryer or keep it uncovered?
Keep oil uncovered during frying to allow steam to escape. Covering traps moisture that would create splattering and compromise the crispy coating texture.
References
- Allrecipes How to Make Fried Chicken — Meredith Corporation. Accessed April 2026. https://www.allrecipes.com/video/5883/how-to-make-fried-chicken/
- The Best Southern Fried Chicken — The Country Cook. https://www.thecountrycook.net/the-best-southern-fried-chicken/
- Food Safety and Inspection Service: Safe Handling of Poultry Products — United States Department of Agriculture. https://www.fsis.usda.gov/food-safety/safe-food-handling-and-preparation/poultry
- Deep Frying Safety Guidelines — National Fire Protection Association. https://www.nfpa.org/Public-Safety/Fire-causes-and-prevention/Safety-equipment/Deep-frying-safety