Making cream cheese at home might seem like an intimidating culinary endeavor reserved for experienced cheesemakers, yet the reality is far more accessible. With just a handful of basic ingredients and straightforward techniques, anyone can transform simple dairy products into a smooth, tangy spreadable cheese suitable for bagels, desserts, cooking, and beyond. This guide will walk you through the entire process, from ingredient selection through flavor customization, ensuring you achieve restaurant-quality results in your own kitchen.
Understanding the Foundation: Why Homemade Cream Cheese Matters
Commercial cream cheese often contains additives, stabilizers, and preservatives that extend shelf life but compromise the pure dairy experience. Homemade versions allow complete control over ingredients, enabling you to create a product that aligns with your dietary preferences and taste expectations. The process itself relies on a centuries-old principle: transforming milk proteins through acid coagulation. This fundamental culinary technique has remained relatively unchanged, making it an accessible entry point into home cheesemaking.
Beyond taste and ingredient transparency, homemade cream cheese often costs significantly less than store-purchased alternatives when accounting for the ingredients required. A batch yielding approximately one cup of finished cheese uses minimal resources, making this a practical and economical kitchen skill.
Essential Ingredients for Your Dairy Transformation
The beauty of cream cheese production lies in its simplicity. You need just three core components, with minimal optional additions for flavor enhancement.
Whole Milk: The Primary Base
Select full-fat whole milk as your foundation ingredient. The fat content directly influences the final texture and richness of your cream cheese. Avoid reduced-fat or low-fat varieties, as these will not produce the same creamy consistency. For optimal results, choose milk that hasn’t undergone ultra-high-temperature (UHT) processing, as this treatment affects the protein structure necessary for proper curd formation. Regular pasteurized whole milk works excellently for this purpose. You’ll need approximately four to eight cups of milk, depending on your desired yield and the specific recipe variation you follow.
Acid Agents for Curd Development
The acid component triggers the chemical reaction that separates milk solids from liquid whey. Three primary options work effectively: fresh lemon juice, white distilled vinegar, or lime juice. Each imparts slightly different flavor notes. Lemon juice provides a subtle tartness, vinegar offers a more pronounced acidic character, and lime juice adds brightness. Start with approximately two to five tablespoons, adjusting based on your milk volume and desired tang intensity. Using fresh lemon juice generally produces the most pleasant flavor profile, though vinegar remains a reliable and economical alternative.
Salt and Optional Flavor Enhancers
Salt serves dual purposes: it seasons the cheese and acts as a preservation element. Begin with approximately one-quarter to one-half teaspoon, adjusting according to personal preference. Beyond salt, this is your opportunity to introduce creative flavors. Fresh or dried herbs, minced garlic, chopped scallions, chives, and various spice combinations transform basic cream cheese into unique varieties tailored to your culinary vision.
Required Equipment and Setup
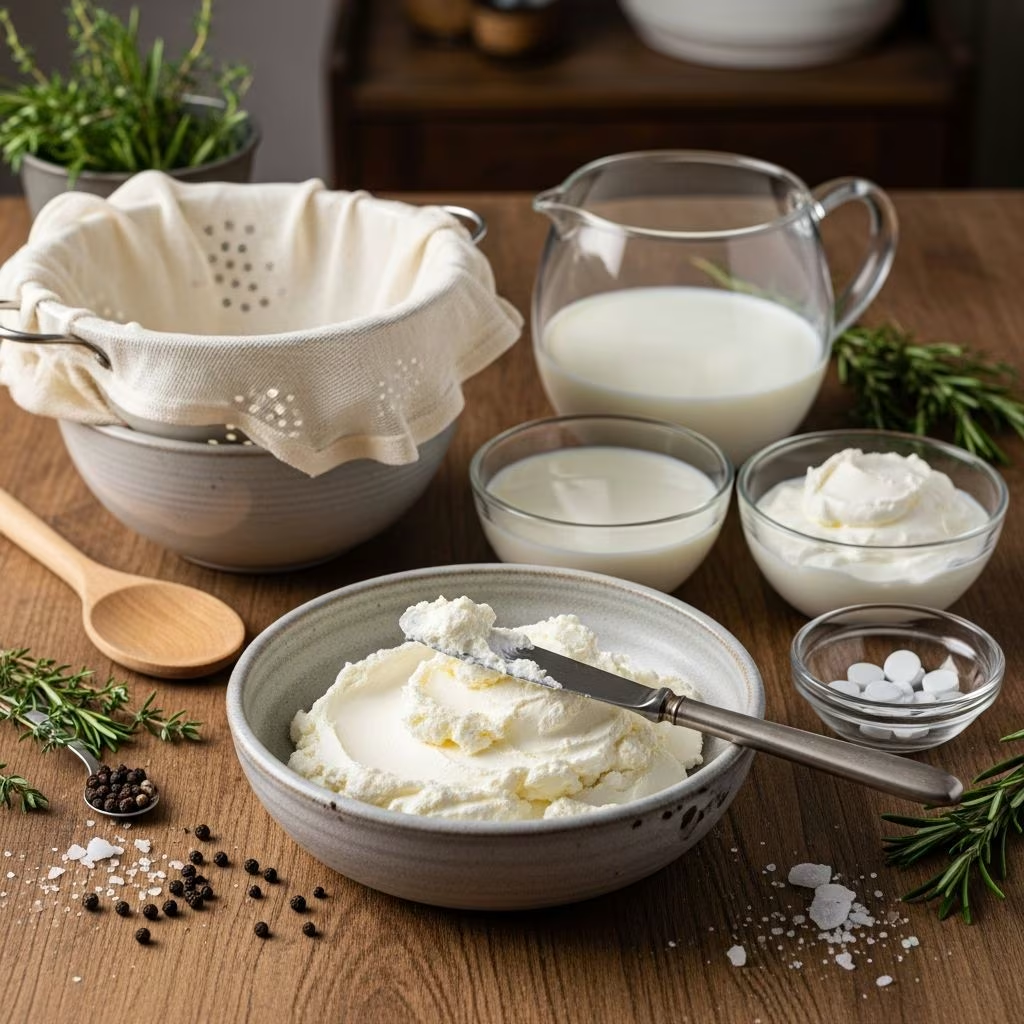
Successful cheese production depends less on expensive specialized equipment and more on having appropriate basic kitchen tools. Here’s what you’ll need:
- Heavy-bottomed saucepan: The thick base prevents milk scorching, ensuring even heating
- Reliable thermometer: For monitoring temperature accuracy, typically a food or candy thermometer works well
- Fine-mesh strainer or sieve: Essential for separating curds from whey
- Cheesecloth or muslin cloth: Creates a filter medium for draining; alternatives include nut milk bags
- Large bowl: Positioned beneath the strainer to catch whey
- Food processor: Transforms curds into smooth, creamy cheese
- Wooden spoon or silicone spatula: For gentle stirring without damaging forming curds
- Airtight storage container: For preserving finished cheese
Before beginning, ensure all equipment is thoroughly clean. This foundational step prevents contamination and ensures the best possible outcome.
The Transformation Process: Step-by-Step Instructions
Phase One: Heating and Acid Introduction
Begin by pouring your chosen milk volume into the heavy-bottomed saucepan. Place it over medium-high heat, stirring occasionally to prevent scorching on the bottom. The goal is reaching a gentle simmer, characterized by steam rising from the surface and small bubbles forming around the edges. Temperature should reach approximately 185 to 195 degrees Fahrenheit. This is not a rolling boil; maintain lower intensity heat to avoid damaging the milk proteins.
Once the milk reaches the target temperature and appears ready to boil, reduce the heat to medium. Now introduce your acid component. If using lemon juice, add it one tablespoon at a time in one-minute intervals, stirring constantly. This gradual introduction allows proper distribution and optimal curd formation. With vinegar, the addition can be slightly faster but should still occur with gentle stirring. The mixture will begin appearing curdled within moments, with distinct white solids separating from yellowish liquid whey.
Phase Two: Separation and Initial Draining
Once curdling appears complete—a process typically taking just a few minutes—turn off the heat. Some recipes recommend allowing the mixture to rest undisturbed for two to three minutes, facilitating complete separation. Others suggest longer resting periods of ten to fifteen minutes at room temperature, allowing heavier curds to settle.
While the mixture rests, prepare your straining station. Line your fine-mesh strainer with one to two layers of cheesecloth, positioning it over a large bowl. If the strainer or sieve is substantial, you may place it directly in a sink if you plan to discard the whey rather than reserving it.
Pour the curd mixture into the prepared cheesecloth. If the volume seems substantial, begin with a few spoonfuls, allowing initial drainage before pouring the remainder. Allow the mixture to drain until the curds are cool enough to handle comfortably—typically fifteen minutes.
Phase Three: Extended Drainage and Whey Removal
For those seeking denser, more concentrated cream cheese, an extended drainage period produces superior results. Gather the corners of the cheesecloth bundle and tie them securely. Suspend this bundle above a bowl by one to two inches using a sturdy support—a cabinet handle, faucet, or similarly robust fixture works well. Allow the bundle to drain for twelve to twenty-four hours at room temperature or in a cool location. This extended period permits gravity to extract additional whey, resulting in denser finished cheese.
Alternatively, for quicker results, skip this extended hanging process and proceed directly to the next phase after the initial fifteen-minute drain period.
Phase Four: Processing Into Creamy Texture
Transfer the drained curds to your food processor. Process for approximately three to four minutes, until the mixture transforms into a smooth, creamy consistency. This blending step is crucial; it breaks down any remaining graininess and develops the characteristic spreadable texture associated with commercial cream cheese.
If the mixture appears dry or maintains a grainy quality after three minutes of processing, gradually add reserved whey—one to two tablespoons at a time. Add salt according to your preference, processing briefly to incorporate. This is the optimal moment to introduce any desired flavor additions, processing just until evenly distributed.
Flavor Variations and Creative Applications
Once you’ve mastered the basic technique, endless customization possibilities emerge. Consider these approaches:
| Flavor Profile | Ingredients to Add | Best Used For |
|---|---|---|
| Herbaceous | Fresh chives, parsley, dill, or thyme | Vegetables, crackers, sandwiches |
| Savory Garlic | Minced fresh garlic or garlic powder | Bagels, bread spreads, cooking |
| Smoky | Smoked paprika or liquid smoke | Cheese boards, appetizers |
| Everything Bagel | Sesame seeds, poppy seeds, garlic, onion | Bagels, toast, breakfast spreads |
| Sweet Cinnamon | Cinnamon, vanilla extract, honey | Desserts, frosting, sweet bread |
Troubleshooting Common Challenges
Grainy or Lumpy Texture
If your finished product maintains a grainy quality despite processing, this typically indicates insufficient blending time or too-dry curds. Return the mixture to the food processor and blend for an additional two to three minutes. Gradually introduce reserved whey or heavy cream one tablespoon at a time, which adds moisture and encourages smoother integration. Ensure you’re processing thoroughly; rushed blending produces suboptimal results.
Excessively Thin or Runny Consistency
Over-moist cream cheese usually results from insufficient drainage before processing. If you’ve already begun processing, strain the mixture through cheesecloth for another thirty minutes to an hour, removing excess liquid. Alternatively, continue processing without adding additional whey; the agitation alone may thicken the mixture. For future batches, extend your drainage time or squeeze the cheesecloth bundle more firmly.
Insufficient Tanginess
If your cream cheese lacks the desired acidic character, increase acid quantity in your next batch. Some milk varieties require more acid for optimal curdling; adding an extra half tablespoon of lemon juice or vinegar typically addresses this issue. Additionally, allowing the finished cheese to sit refrigerated for a day or two develops more pronounced tang as fermentation processes continue.
Storage and Shelf Life Considerations
Transfer your finished cream cheese into clean, airtight containers immediately after processing. Proper storage extends usability significantly. Refrigerated homemade cream cheese maintains quality for approximately one to two weeks. Unlike commercial varieties containing preservatives, homemade versions lack these shelf-life extensions, making prompt storage essential.
For extended storage beyond two weeks, consider freezing. Portion your cheese into ice cube trays or small containers, then freeze for up to three months. Thaw in the refrigerator before using. The texture may become slightly grainy after freezing, but processing briefly with a small amount of milk restores smoothness.
Frequently Asked Questions
Can I use lactose-free milk?
Yes, lactose-free milk works acceptably, though results may vary slightly depending on processing methods. Standard whole milk remains the preferred choice for most consistent outcomes.
What should I do with reserved whey?
Whey contains valuable proteins and nutrients. Reserve it for marinades, bread baking, pancake batters, or even plant watering. Refrigerate unused whey for approximately one week.
Can I reduce the salt content?
Absolutely. Salt amounts are customizable based on dietary preferences. Begin with quarter-teaspoon and adjust to taste, remembering that salt can always be added but not removed.
Why shouldn’t I use ultra-pasteurized milk?
UHT processing damages milk proteins in ways that compromise curd formation and texture development. Standard pasteurized milk provides superior results.
How does homemade compare to store-bought?
Homemade cream cheese typically features brighter, more pronounced tanginess and superior spreadability. The absence of additives produces a cleaner dairy flavor. Texture may be slightly less uniform than commercial versions, but many prefer this artisanal quality.
Conclusion: Mastering Your Cheese-Making Journey
Transforming basic dairy ingredients into luxurious homemade cream cheese represents an accessible introduction to food preservation and culinary technique. The process requires minimal specialized equipment, readily available ingredients, and modest time investment. Once you’ve successfully completed one batch, subsequent attempts become increasingly intuitive as you develop familiarity with the visual and textural cues indicating proper progression through each phase.
Whether motivated by ingredient transparency, cost savings, or simple culinary curiosity, homemade cream cheese production offers tangible rewards. Your bagels, desserts, and various dishes will benefit from this fresh, customizable dairy creation. Begin today, and you’ll soon discover why home cheesemaking represents one of cooking’s most satisfying and surprisingly simple endeavors.
References
- How to Make Cream Cheese at Home — Homebrewers Association. https://homebrewersassociation.org/beer-food/how-to-make-cream-cheese-at-home/
- How to Make Cream Cheese (The Easiest Cream Cheese Recipe) — Bigger Bolder Baking. https://www.biggerbolderbaking.com/how-to-make-cream-cheese/
- How to Make Cream Cheese (Quick & Easy) — Alphafoodie. https://www.alphafoodie.com/super-easy-homemade-cream-cheese/
- The Best Homemade Cream Cheese — Farmhouse on Boone. https://www.farmhouseonboone.com/the-best-homemade-cream-cheese/