Creating a sourdough starter is the foundation of authentic artisan bread making. This natural leavening agent develops through the fermentation of flour and water, capturing wild yeasts and beneficial bacteria from the environment. With patience and consistency, you can cultivate a thriving culture ready for baking delicious loaves.
Understanding Sourdough Starters
A sourdough starter functions as a living ecosystem of microorganisms. When flour mixes with water, it creates an environment where wild yeasts and lactic acid bacteria multiply. These microbes produce carbon dioxide for rising dough and lactic acid for that signature tangy flavor. Unlike commercial yeast, this process yields complex tastes and improved digestibility in bread.
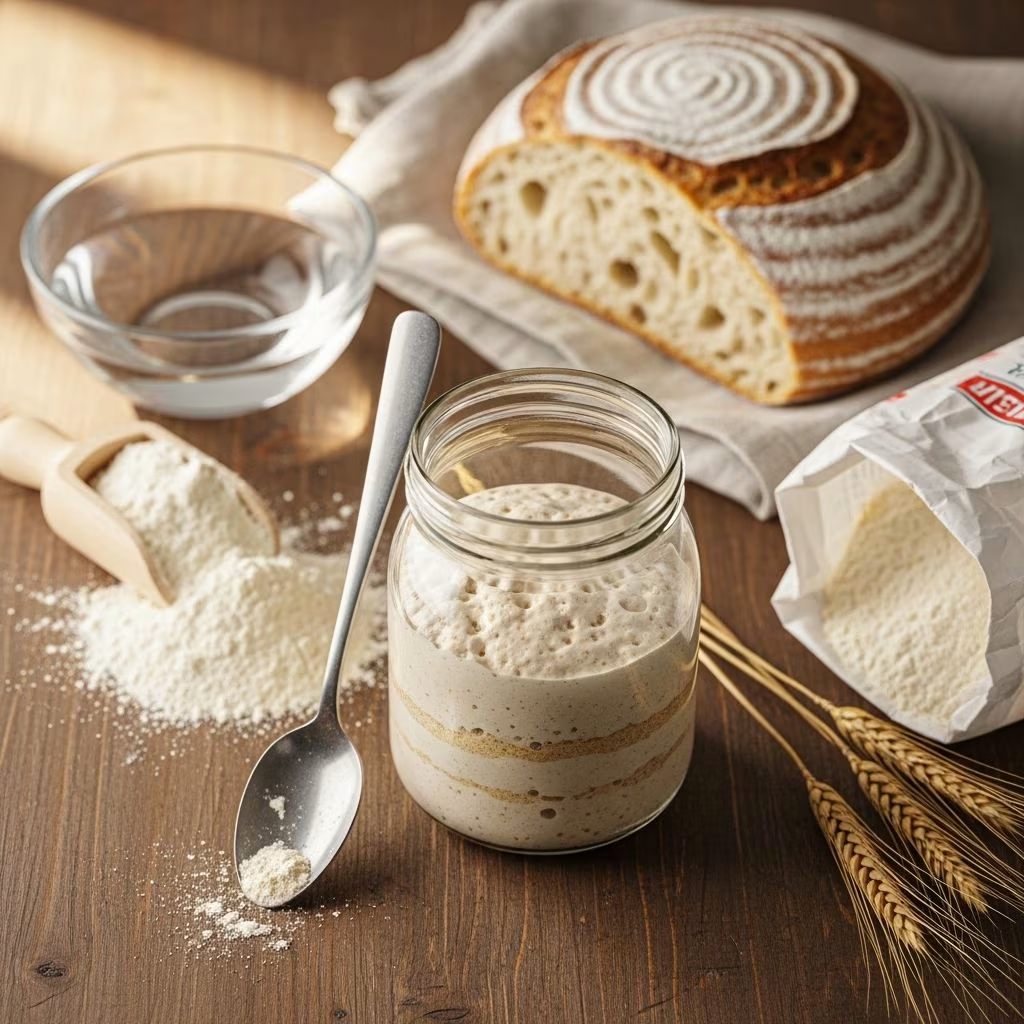
The starter’s strength shows through bubbling activity, volume doubling, and a pleasant acidic aroma. Maintaining proper hydration—typically 100% (equal flour and water weights)—ensures balanced fermentation. Whole grain flours like whole wheat or rye accelerate initial growth due to higher nutrient content.
Essential Tools and Ingredients
Gather these items before starting:
- Clear glass jar: 3/4 to 1 liter capacity with a loose-fitting lid or breathable cover like cheesecloth.
- Digital scale: For precise gram measurements; volume measures vary by flour type.
- Spatula or spoon: Non-metal to avoid disrupting microbes.
- Flour: All-purpose or bread flour for maintenance; whole wheat or rye for Day 1 boost.
- Water: Filtered or room temperature, around 75-85°F (24-29°C) to activate yeasts.
Prepare a flour blend ahead: mix 6 cups all-purpose with 3 cups whole wheat for consistent feedings. Store in an airtight container.
Step-by-Step Creation Process
Follow this 7-day schedule. Perform feedings at the same time daily in a warm spot (70-80°F or 21-27°C). Use weights for accuracy: 60g flour + 60g water per feeding after Day 1.
Day 1: Initial Mixture
Weigh 60g whole wheat flour and 60g warm water into the jar. Stir into a thick paste. Cover loosely and rest 24 hours. Expect minimal activity; tiny bubbles may appear.
Day 2: Observation
Check for subtle changes like small bubbles or a faint sour smell. No feeding needed. Keep covered in warmth.
Days 3-7: Daily Discard and Feed
Each day:
- Discard all but 60g starter (about 2-4 tablespoons).
- Add 60g all-purpose flour and 60g water.
- Stir thoroughly, scraping sides.
- Mark level with rubber band or tape.
- Cover loosely; rest 24 hours.
By Day 4-5, expect increased bubbling and rising. On Day 7, it should double within 4-8 hours post-feeding, passing the float test (drop teaspoon in water; it floats if ready).
| Day | Action | Expected Signs |
|---|---|---|
| 1 | Mix 60g WW flour + 60g water | Paste forms; rest |
| 2 | Observe | Faint bubbles possible |
| 3 | Discard to 60g, feed 60/60 | Bubbles emerge |
| 4-6 | Discard to 60g, feed 60/60 | Rising, tangy aroma |
| 7 | Discard to 60g, feed 60/60 | Doubles in 4-12 hrs; floats |
Troubleshooting Common Issues
Problems arise from temperature, flour quality, or hygiene. Here’s how to fix them:
- No bubbles by Day 5: Move to warmer spot (use proofing box or oven light). Switch to rye flour.
- Hooch (liquid layer): Normal; stir in or discard if excessive. Indicates hunger—feed more frequently.
- Orange/pink spots or foul odor: Discard and start over; likely bad bacteria.
- Slow growth: Use warmer water, unchlorinated water, or organic flour.
- Mold: Black/green fuzz means contaminated; toss immediately.
A healthy starter smells like yogurt or beer, not vinegar or nail polish.
Testing Readiness for Baking
Use these indicators:
- Float test: Mature starter floats in water.
- Doubling time: Peaks and falls within 4-12 hours after feeding.
- Bubble dome: Pronounced bubbles on surface and sides of jar.
Once active, bake your first loaf. Reserve 60-100g for maintenance.
Daily Maintenance Routines
For Frequent Bakers
Keep at counter: Discard to 60g, feed 60g flour + 60g water twice daily. Use excess in recipes like pancakes.
For Occasional Use
Refrigerate after feeding. Weekly: Discard to 60g, feed once, return to fridge. Refresh 12-24 hours before baking.
Scale up for big bakes: Maintain 100-200g mother starter.
Long-Term Storage Options
Fridge: Lasts months with weekly feeds. Signs of neglect (hooch): Feed twice before use.
Freezer: Spread thin on parchment, freeze in portions. Thaw, rehydrate, feed 2-3 days to revive.
Drying: Dehydrate thin layer at low heat, grind to powder. Reconstitute with water and flour.
Creative Uses for Discard
Don’t waste excess starter:
- Pancakes/waffles: Mix with eggs, milk, baking soda.
- Crackers: Roll thin, bake crisp.
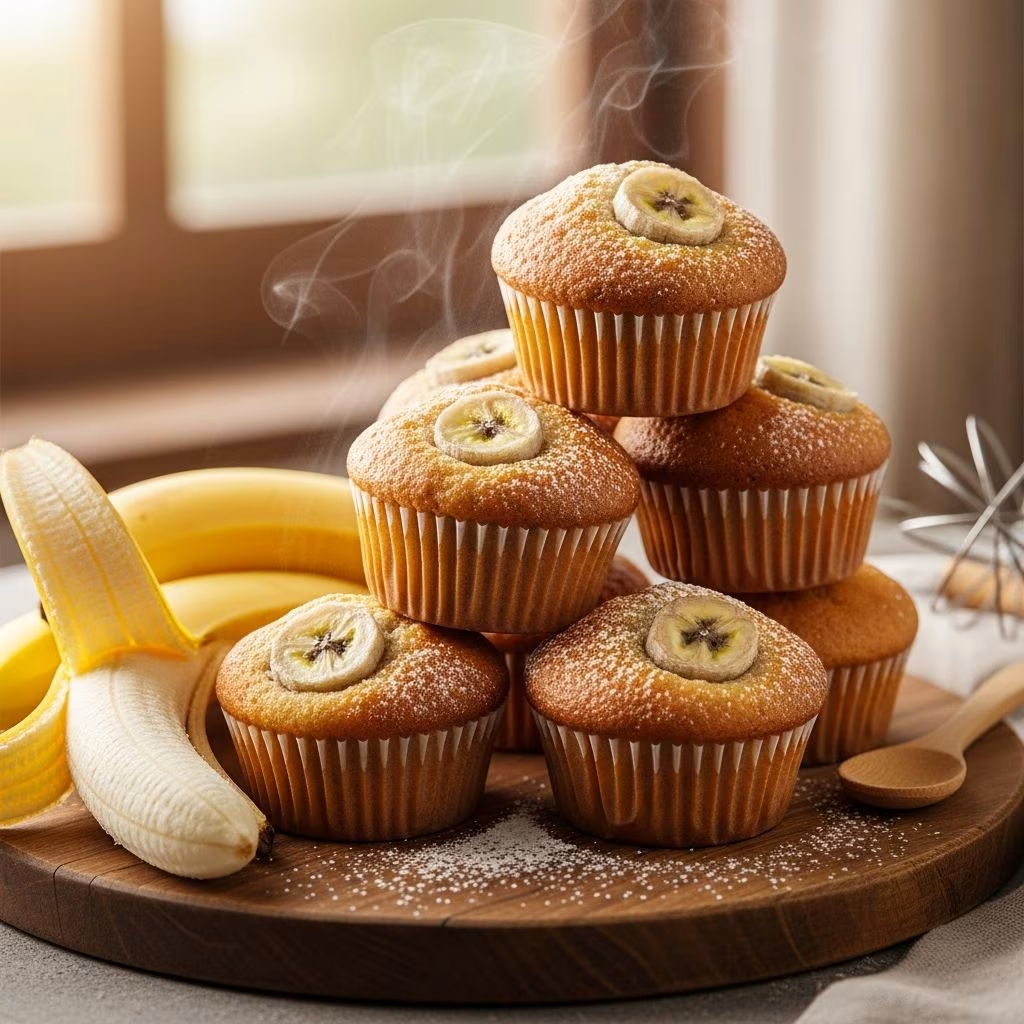
- Cookies/muffins: Substitute 20-50% flour.
- Pizza dough: Adds tang without full rise.
Discard adds flavor but lacks leavening power of mature starter.
Advanced Tips for Success
Experiment with flours: Rye for speed, einkorn for nutty notes. Track with journal: Photos, times, temps. Warmth is crucial—use seedling mat if needed. Consistent feeding builds resilient culture.
Frequently Asked Questions
How long until my starter is ready?
Typically 7-14 days, depending on environment. Warmer temps speed it up.
Can I use tap water?
Yes, if left out 24 hours to off-gas chlorine. Filtered preferred.
What if it doesn’t double?
Continue feeding; test float instead. Some starters peak subtly.
Can I speed it up with pineapple juice?
Acidic boost helps initially, but plain water works fine.
How do I know it’s healthy?
Bubbly, rises predictably, pleasant sour smell.
Conclusion
Patience rewards with endless baking potential. Your starter will evolve, gaining strength over time. Start small, observe daily, and soon you’ll craft bakery-quality bread at home.
References
- How to Make a Sourdough Starter — Scratchmade Southern. 2024-01-08. https://scratchmadesouthern.com/2024/01/08/sourdough-starter/
- How to Make Sourdough Starter From Scratch — Little Spoon Farm. N/A. https://littlespoonfarm.com/sourdough-starter-recipe/
- Beginner Sourdough Starter Recipe — The Clever Carrot. 2019-03-01. https://www.theclevercarrot.com/2019/03/beginner-sourdough-starter-recipe/
- Sourdough Starter For Beginners — Preppy Kitchen. N/A. https://preppykitchen.com/sourdough-starter/