Sponge cake represents one of the most elegant and versatile desserts in traditional baking. Its delicate crumb structure and light texture make it the perfect foundation for countless sweet creations, from simple glazes to elaborate layered compositions. The beauty of a well-executed sponge cake lies not in complicated procedures, but in understanding the fundamental techniques that transform simple ingredients into something truly extraordinary.
Understanding Sponge Cake Fundamentals
At its core, a sponge cake differs fundamentally from other cake varieties due to its reliance on incorporated air rather than chemical leavening agents like baking powder or baking soda. This distinction makes the technique as important as the ingredients themselves. The structure depends almost entirely on the proper incorporation and preservation of air throughout the mixing and baking process.
Traditional sponge cakes contain very little fat—either none at all or minimal amounts—which contributes to their characteristic light and airy crumb. This low-fat composition means the cake’s rise and texture depend entirely on the volume of air beaten into the eggs and the gentle folding technique used to combine ingredients. Understanding this principle is crucial for success.
Essential Ingredients and Their Roles
A classic sponge cake recipe typically requires just a handful of quality ingredients, each serving a specific purpose in the final product:
- Eggs: The foundation of sponge cake structure. Eggs provide both the leavening (through air incorporation) and the moisture that keeps the cake tender. Using room-temperature eggs allows for better air incorporation when beating.
- Sugar: Beyond sweetness, sugar stabilizes the foam created by beaten eggs, allowing the air bubbles to remain suspended throughout mixing and baking.
- Flour: Cake flour or all-purpose flour provides structure. Many bakers prefer sifting flour multiple times to ensure maximum aeration before adding to the batter.
- Vanilla Extract: Enhances flavor without overwhelming the delicate sponge taste.
- Oil or Butter: When used, these add richness and help maintain moisture, though some traditional recipes exclude fat entirely.
Ingredient Proportions and Variations
Different sponge cake recipes utilize varying ratios depending on desired outcomes. The most basic formulation uses only eggs, sugar, and flour in roughly equal proportions. However, many family recipes modify these ratios slightly for improved texture or additional flavor dimensions.
| Recipe Variation | Eggs | Sugar | Flour | Special Ingredients |
|---|---|---|---|---|
| Minimal Fat Version | 10 large | 300g (1.5 cups) | 188g (1.5 cups) | Vanilla, cream of tartar, oil |
| Basic Three-Ingredient | 5 large | 3/4 cup | 1 cup all-purpose | None required |
| Self-Rising Flour Variation | 6 large | 3/4 cup + 1/4 cup | 1.5 cups self-rising | Water, vanilla, cream of tartar |
Preparing Ingredients for Success
Temperature control plays a vital role in sponge cake preparation. While eggs should be separated when cold to prevent yolk breakage, they must reach room temperature before mixing to maximize air incorporation. Room-temperature eggs whip more efficiently, creating larger, more stable air bubbles that result in superior cake volume and texture.
Similarly, other ingredients should be at room temperature when combining. Cold ingredients don’t incorporate air as effectively and can lead to dense, compact cakes. Allow ingredients to sit at room temperature for at least 30 minutes before beginning the mixing process.
The Beating Process: The Heart of Sponge Cake
The extended beating of eggs and sugar represents perhaps the most critical step in sponge cake creation. This process should continue for approximately 10 minutes, during which the mixture should increase to three times its original volume. This extended beating incorporates substantial amounts of air into the eggs, creating countless tiny bubbles that provide the cake’s light structure.
When using separated eggs and egg whites, each component requires specific treatment. Egg yolks should be beaten with sugar until pale and creamy, which takes approximately 3-5 minutes. Separately, egg whites require whipping to the appropriate peak stage, which typically progresses through several distinct phases:
- Foamy Stage: Initially, egg whites become frothy and opaque as air begins incorporating.
- Soft Peak Stage: Peaks form when the whisk is lifted, but they collapse back into the mixture.
- Medium-Stiff Peak Stage: Peaks hold their shape more firmly when the whisk is lifted, with only slight curl at the tips.
- Stiff Peak Stage: Peaks stand completely upright and maintain their shape. Over-beating at this stage can cause the whites to become dry and grainy.
Adding sugar to egg whites gradually while beating (typically one tablespoon at a time) stabilizes the foam and creates a more stable meringue that resists deflation during subsequent mixing. This stabilized foam maintains its volume better when folded into other ingredients.
Folding Technique: Preserving Air
Perhaps equally important to the beating process is the folding technique used to combine ingredients. Vigorous stirring or aggressive mixing will deflate the carefully incorporated air, resulting in a dense, heavy cake. Instead, the goal is to combine ingredients as gently as possible while ensuring even distribution.
When folding beaten egg whites into the yolk mixture, use a large metal spoon or rubber spatula. Cut down through the center of the mixture, sweep along the bottom, and lift up and over the top, rotating the bowl as you go. This motion combines ingredients while maintaining air pockets. When adding sifted flour, fold in small portions at a time, ensuring complete incorporation before adding more.
Pan Selection and Preparation
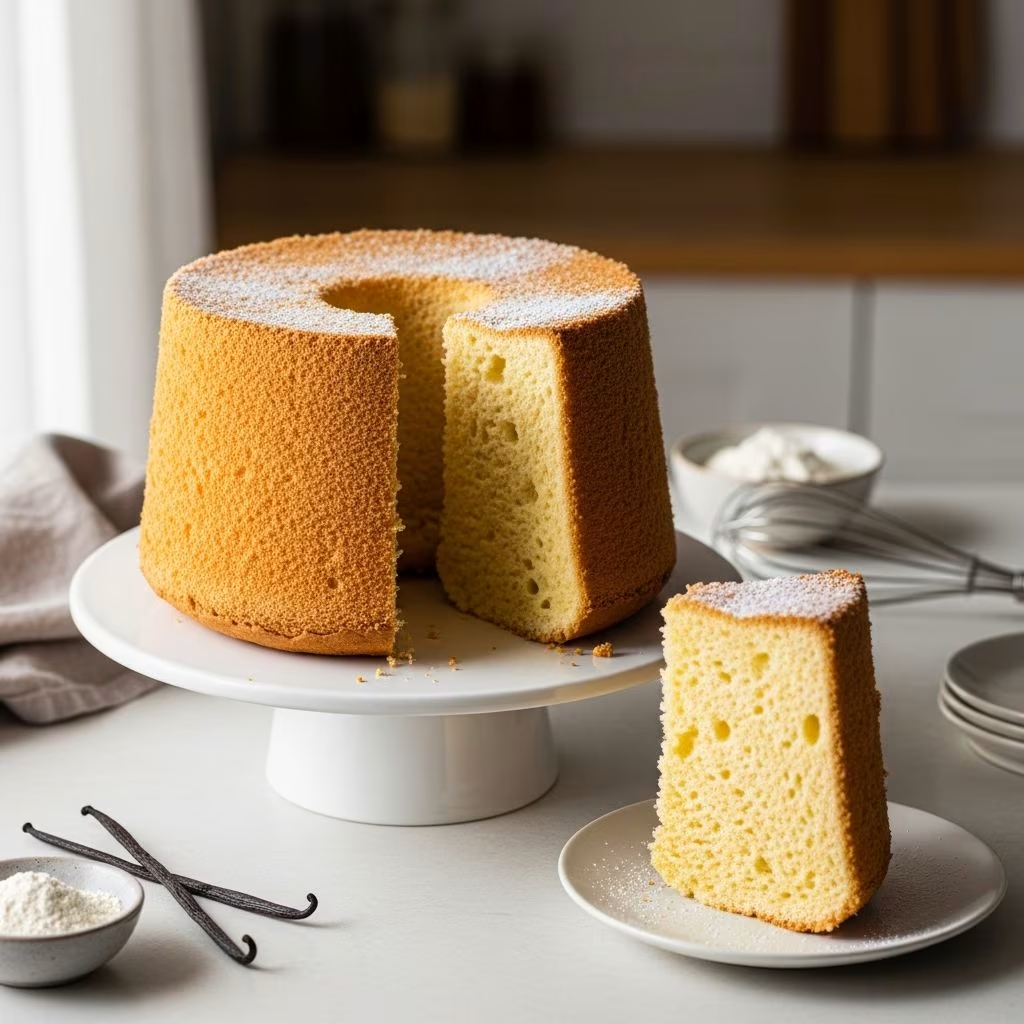
The pan chosen for baking significantly impacts the final cake structure. Tube pans with removable centers are traditional choices for sponge cakes, particularly larger recipes with many eggs. The tube design allows for even heat distribution and supports the tall, delicate crumb structure.
Pan preparation differs from most other cakes. Unlike recipes requiring parchment paper or greasing, sponge cakes need ungreased, unlined pans. This seemingly counterintuitive approach is essential because the cake must form a crust against the pan sides. Without direct contact between batter and pan, the cake cannot climb the sides properly, resulting in insufficient rise. The minimal fat content makes greasing actually detrimental to proper rising.
Some bakers dust ungreased pans with a thin layer of flour after greasing with butter, creating a flour coating that helps the cake adhere while not providing excess fat. This technique requires thorough, even distribution to prevent thick spots that could affect the final texture.
Baking Guidelines and Oven Considerations
Sponge cakes typically bake at 350°F (175°C), though some recipes specify slightly different temperatures. The baking time generally ranges from 45 to 55 minutes, depending on cake size and oven characteristics. A skewer or toothpick inserted into the center should emerge clean or with only a few moist crumbs when baking is complete.
During the entire baking period—at least the first 45 minutes—resist the temptation to open the oven door. Opening the oven allows heat to escape and causes temperature fluctuations that can cause delicate sponge cakes to collapse. The oven environment must remain stable and undisturbed until the cake has set sufficiently.
Position the oven rack in the lower third of the oven. This placement allows the bottom and sides of the cake to bake properly without the top browning excessively. The cake should emerge well-browned and set, with a slightly springy texture when gently pressed.
Cooling and Removal from Pan
The cooling process for sponge cakes requires a different approach than many other cakes. Once removed from the oven, the pan should be immediately inverted—turned upside down—to cool completely. This inverted position prevents the cake from compressing under its own weight as it cools and sets.
If the cake pan lacks feet or some other support mechanism to keep the pan elevated off the work surface, invert it over a funnel or place a heavy bottle through the center tube to maintain clearance. Allow the cake to cool completely in this inverted position, which can take several hours depending on cake size.
Once fully cooled, slide an offset spatula around the inner edge of the pan to loosen the cake, then remove the tube. Slide the spatula around the outside bottom edge to separate the cake from the pan base. Finally, invert the cake onto a serving platter to complete the removal process.
Optional Glazes and Finishing Touches
While sponge cakes are delicious unadorned, simple glazes enhance their appeal. A classic lemon glaze complements the delicate cake flavor beautifully. Combine sifted icing sugar with freshly squeezed lemon juice and a pinch of salt, whisking gradually until reaching the desired consistency. Drizzle the glaze over the cooled cake and garnish with lemon zest for brightness and visual appeal.
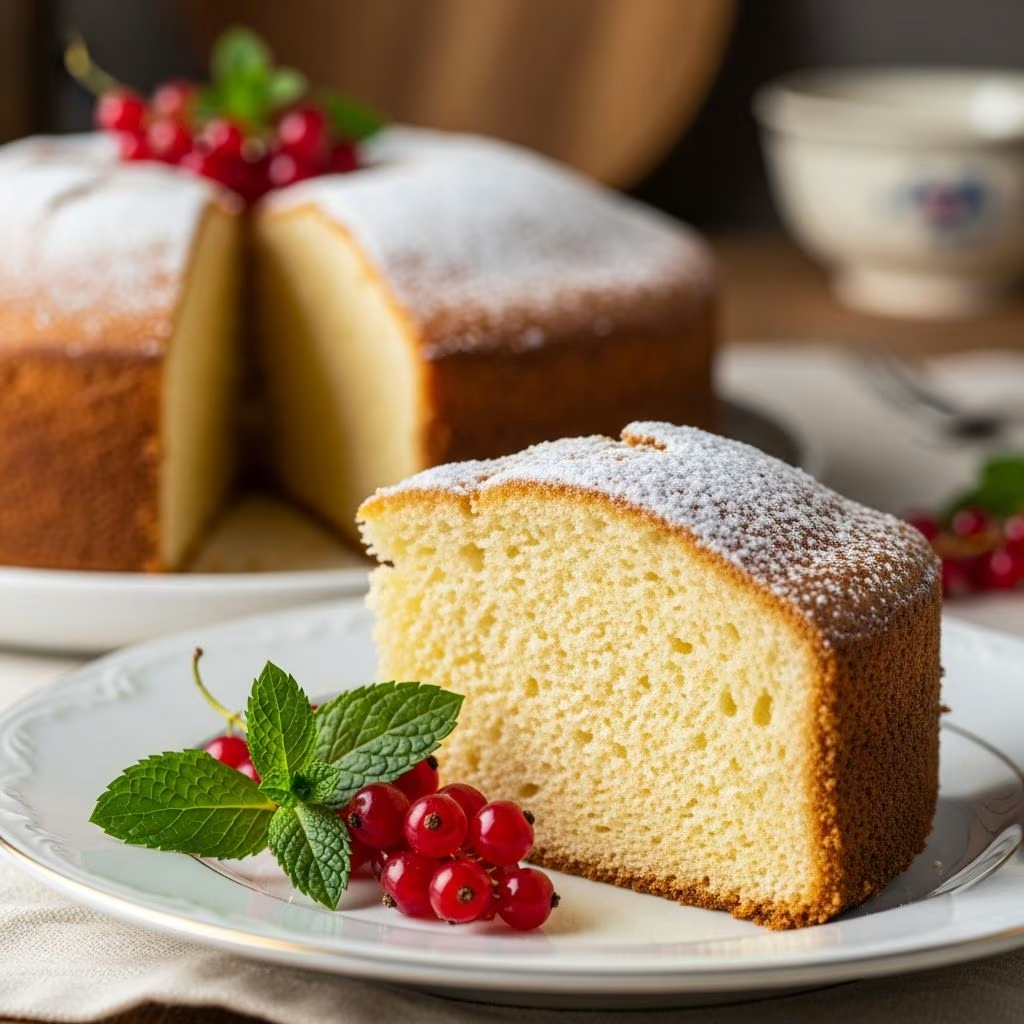
Alternative finishing options include dusting with powdered sugar, light brush applications of simple syrup for added moisture, or pairing with fresh berries and whipped cream. The minimal flavor profile of sponge cake makes it an ideal canvas for virtually any complementary accompaniment.
Troubleshooting Common Issues
Dense, Compact Crumb: This typically results from insufficient beating time during the egg-and-sugar stage, or from over-mixing when combining ingredients. Ensure adequate beating (at least 10 minutes) and use gentle folding techniques.
Cake Sinks in the Center: This usually indicates either insufficient beating of eggs initially, or the oven door was opened during baking. Additionally, cakes removed from the oven before fully set may collapse.
Dry Texture: Over-baking is the primary cause. Begin checking for doneness a few minutes before the recipe’s suggested time to prevent excessive baking.
Slight Eggy Taste: This flavor is common in sponge cakes using many eggs. Extended beating (at least 10 minutes) helps minimize this characteristic taste. Adding vanilla extract also masks eggy notes.
Storage and Serving Recommendations
Sponge cake keeps well when properly stored. Once completely cooled, wrap tightly in plastic wrap or store in an airtight container at room temperature for up to three days. The minimal fat content means sponge cake benefits from refrigeration during warm months to maintain freshness.
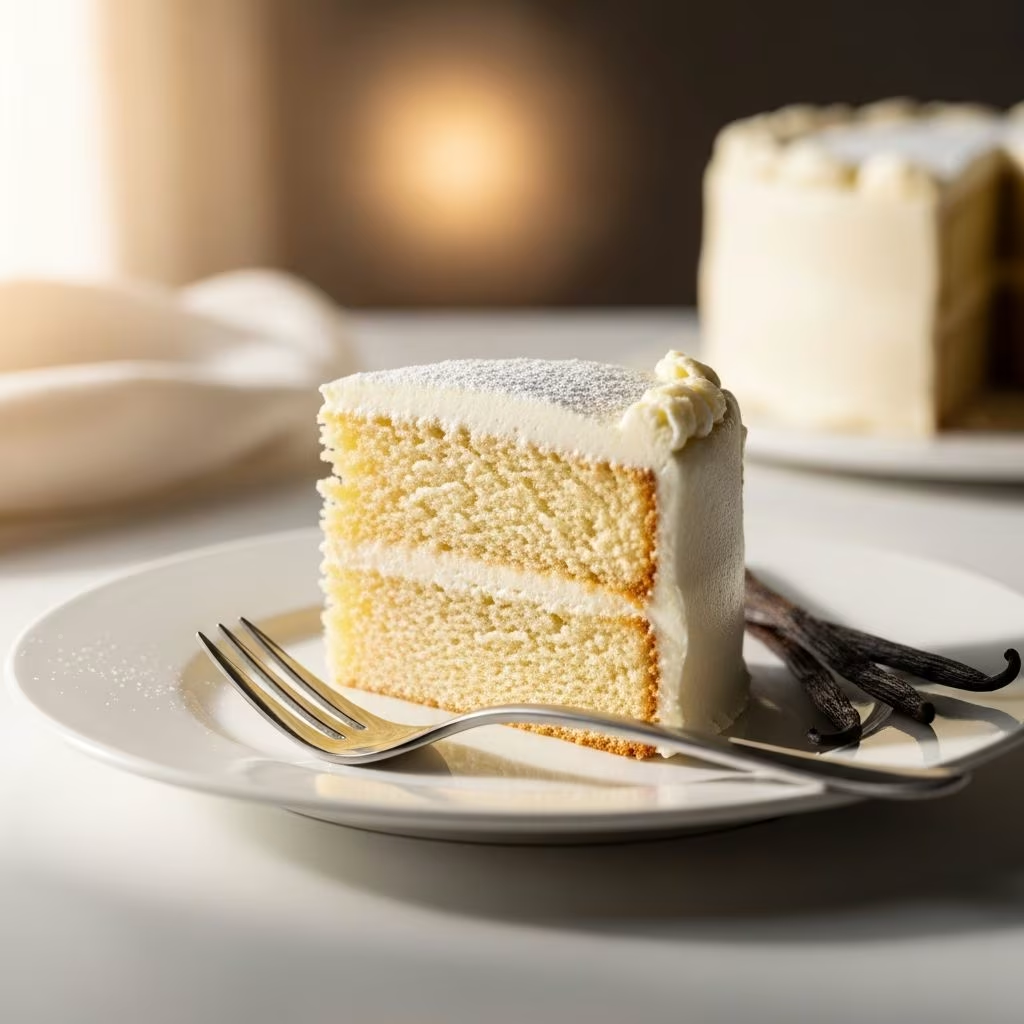
Sponge cake serves beautifully as a standalone dessert with minimal accompaniment, or as a foundational layer in more elaborate creations. Its neutral flavor profile and tender crumb make it ideal for absorbing syrups, supporting fillings, and pairing with various frostings and toppings.
Frequently Asked Questions
Can I prepare sponge cake batter in advance?
No—sponge cake batter should be baked immediately after preparation. The incorporated air begins escaping within minutes of completing mixing, resulting in decreased volume and density if baking is delayed.
What’s the difference between sponge cake and regular cake?
Sponge cake relies on air incorporation for leavening rather than chemical leavening agents. This produces a lighter, less dense crumb structure than traditional butter cakes.
Why must sponge cake pans be ungreased?
The cake needs direct contact with the pan sides to form a supporting crust that helps the cake rise. Grease prevents this crucial contact, resulting in inadequate rise and soggy sides.
Can I use all-purpose flour instead of cake flour?
Yes, though cake flour produces slightly more tender results due to lower protein content. All-purpose flour works perfectly and is often used in family recipes.
How long can I store sponge cake?
Properly wrapped sponge cake keeps for three days at room temperature, or up to one week refrigerated. It also freezes well for up to three months when tightly wrapped.
References
- Mom’s Sponge Cake Recipe — Cook Til Delicious. Accessed April 2026. https://cooktildelicious.com/moms-sponge-cake/
- The Perfect Sponge Cake + Video (Only 3 Ingredients) — Momsdish. Accessed April 2026. https://momsdish.com/recipe/92/perfect-sponge-cake
- Easy Sponge Cake Recipe with Professional Tips — Just a Mum’s Kitchen. Accessed April 2026. https://justamumnz.com/2019/11/21/easy-sponge-cake-recipe/
- Sponge Cake Leavening and Air Incorporation Science — Culinary professionals. Accessed April 2026. https://thesqueakymixer.com/mothers-day-cake/
- Traditional Baking Techniques for Classic Cakes — Women’s Weekly Food. Accessed April 2026. https://www.womensweeklyfood.com.au/baking/sponge-cake-recipes-32391/