Frozen desserts that combine ice cream with cake components represent one of the most versatile and impressive treats you can prepare in your own kitchen. These multi-layered creations bring together contrasting textures—the smoothness of ice cream, the structure of baked goods, and the crunch of cookies—into a single cohesive dessert that delights at any gathering. Whether you’re celebrating a special occasion or simply craving an indulgent treat, understanding how to construct these frozen cakes opens up endless possibilities for creativity and personalization.
Understanding the Foundation: Key Components
Every successful frozen dessert begins with understanding its essential building blocks. The most common approach involves layering multiple elements that serve distinct purposes within the final creation. The structural element typically comes from either traditional baked cake or easier alternatives like brownie bases. These provide stability and prevent your frozen creation from becoming a formless pile when sliced.
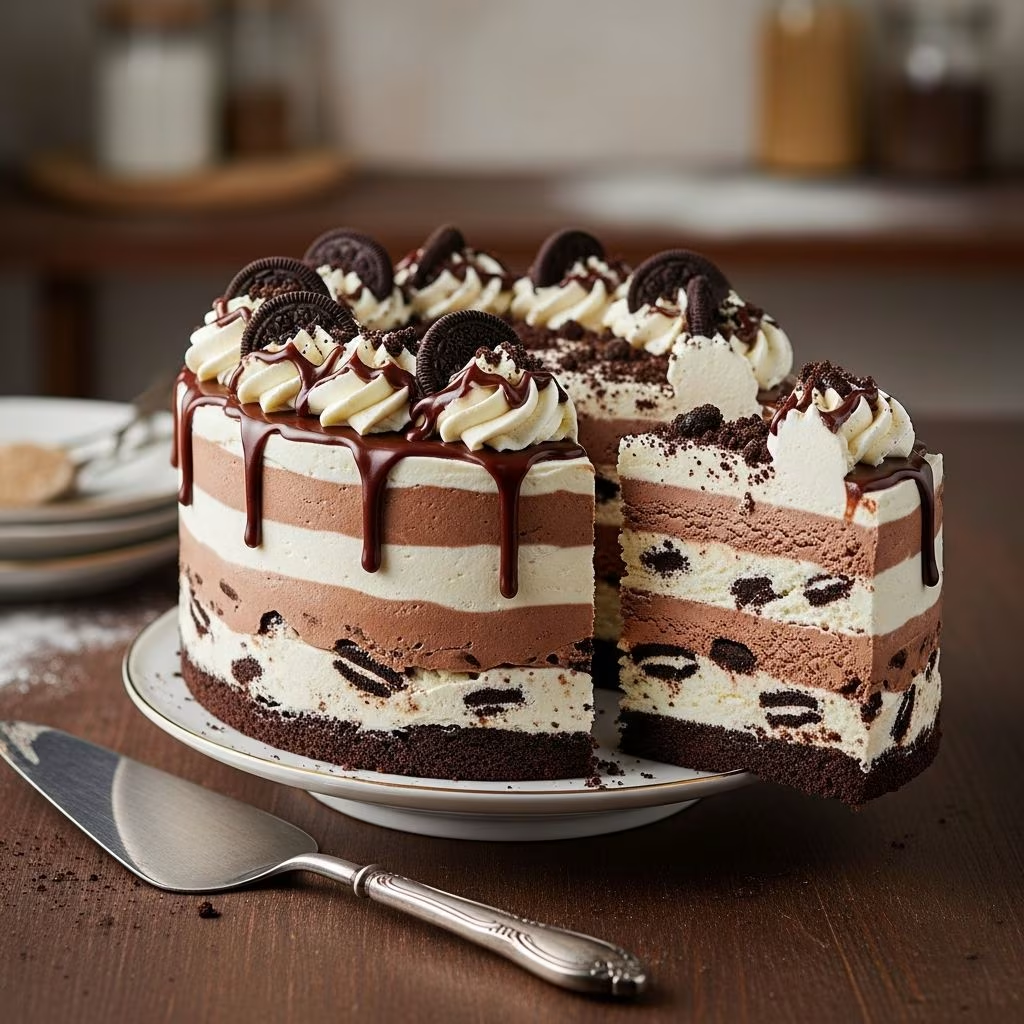
The primary filling component is always ice cream, which adds richness and the signature frozen texture that defines these desserts. The choice of ice cream flavor significantly impacts the overall flavor profile—cookies and cream varieties work beautifully as the main component, while vanilla options offer versatility for layering with other flavors. Finally, the topping layer provides visual appeal and additional flavor complexity, often featuring sauce elements, whipped cream, and additional cookie pieces.
Selecting Your Base Layer Options
The foundation upon which you build determines much of your dessert’s character. Bakers have several options to consider, each offering different advantages in terms of time investment and flavor development.
Traditional Baked Cake Bases
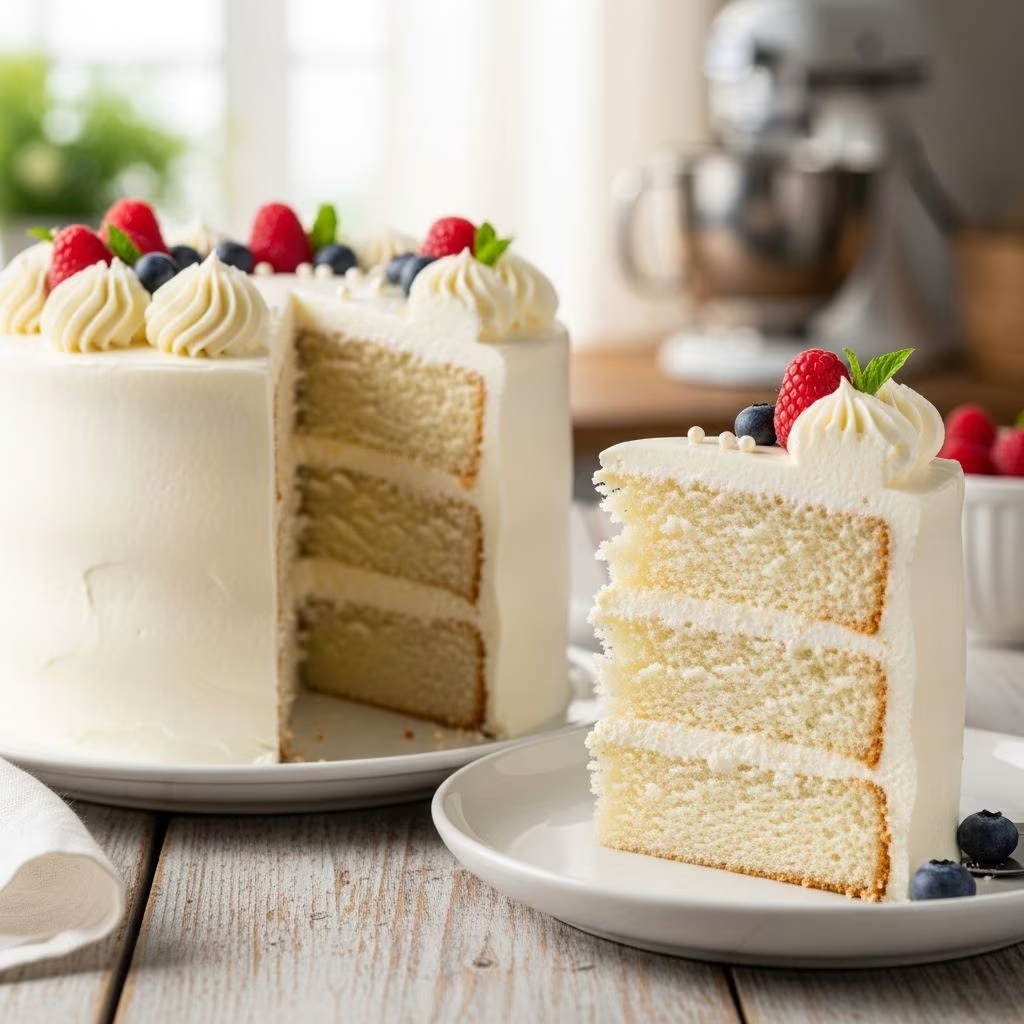
Creating a homemade cake base requires mixing dry ingredients separately from wet ingredients, then combining them methodically to avoid overdevelopment. For a cookies and cream themed dessert, a vanilla cake works exceptionally well, providing a neutral platform that allows the cookie components to shine. A typical vanilla cake base includes flour, sugar, butter, eggs, milk, and vanilla extract or vanilla bean paste. When baking this type of base, preheat your oven to approximately 350 degrees Fahrenheit and bake on a sheet pan rather than in a traditional round cake pan, which allows for easier portioning later.
The advantage of making your own cake is the ability to control moisture content and density. A slightly lighter, airier cake provides better texture contrast against the dense ice cream filling. Additionally, you can fold in crushed cookies directly into the batter, distributing them throughout the cake for enhanced flavor in every bite.
Simplified No-Bake Approaches
For those seeking to minimize preparation time or oven usage, store-bought brownie mixes or ready-made ice cream sandwiches can serve as structural foundations. Ice cream sandwich-based cakes require only stacking and frosting—a method that genuinely simplifies the process without sacrificing final results. This approach particularly appeals to novice bakers or those preparing desserts during warm seasons when minimizing oven heat matters.
Working with Ice Cream: Texture and Temperature Management
Achieving the ideal consistency when working with ice cream requires attention to temperature and timing. Ice cream straight from the freezer is typically too hard to spread effectively. Allow it to soften at room temperature for approximately fifteen to twenty minutes before attempting to apply it to your cake base. The goal is achieving a consistency that spreads smoothly without becoming so soft that it loses its structure.
A silicone spatula works better than standard utensils for spreading ice cream, as it doesn’t create unnecessary friction that can damage the texture. Work efficiently but without rushing—spreading ice cream smoothly creates visually appealing layers that contribute to the final presentation. After spreading, return the assembled cake to the freezer promptly to reset the ice cream before adding subsequent layers.
The quantity of ice cream matters significantly for achieving proper proportions. Most recipes call for approximately one and a half quarts of ice cream, which provides sufficient volume to create visible, satisfying layers without making the frozen cake too top-heavy with ice cream compared to structural components.
Incorporating Cookies Throughout Your Dessert
Cookies serve multiple functions within these frozen creations, appearing in different forms at various stages of assembly. Crushed cookie crumbs mixed into the ice cream base distribute flavor and texture throughout. Whole or coarsely chopped cookies create visible elements that catch light and contribute to visual interest. Finally, finely ground cookies mixed with butter can form the crust layer at the bottom, providing structural integrity and a distinct flavor barrier between the cake base and ice cream layers.
When preparing cookies for incorporation, consider the final texture you want to achieve. Fine grinding creates a more cohesive crust that holds together effectively. Medium-sized crumbles provide texture contrast without becoming overwhelming. Larger chunks offer visual drama and concentrated cookie flavor in specific bites. Most recipes call for approximately one and a quarter to one and a half cups of crushed cookies, though personal preference can guide this measurement.
Sauce Layers: Chocolate and Fudge Elements
Chocolate sauce and hot fudge layers add richness and visual distinction between ice cream layers. When applying fudge sauce over frozen ice cream, temperature becomes critical. The sauce must be warm enough to pour smoothly but not so hot that it melts the ice cream excessively. The ideal consistency resembles heavy cream—pourable but not runny.
Apply sauce using an offset spatula or rubber spatula, working quickly but carefully to distribute it evenly. After application, return the entire assembly to the freezer for at least thirty minutes, allowing the sauce to solidify and set properly. This intermediate freezing step ensures that each layer remains distinct rather than blending together during the final assembly stages.
Whipped Cream Topping and Final Garnish
The final frosting layer provides a cloud-like contrast to the dense frozen components below. Creating whipped cream from scratch involves combining heavy cream with sugar and vanilla extract, then whipping at medium speed until stiff peaks form. This typically requires three to four minutes of whipping, though times vary depending on equipment and starting temperature.
Cream whips more quickly and achieves better volume when both the bowl and whisk or beater attachments are pre-chilled. Adding sugar gradually once the cream begins to thicken, rather than at the beginning, promotes faster whipping and more stable peaks. Using one tablespoon of sugar per cup of heavy cream provides sweetness without excessive crystallization.
Once whipped cream reaches stiff peaks, apply it generously to the top and sides of your frozen cake using an offset spatula or piping bag. This layer not only tastes delicious but also provides an insulating effect that slows melting slightly when the dessert sits at room temperature before serving. Finally, garnish with additional crushed cookies, whole cookies, or chocolate shavings for visual appeal and added texture contrast.
Pan Selection and Assembly Techniques
Springform pans have become the industry standard for ice cream cakes because they allow easy removal without requiring inversion or manipulation. Line the pan with plastic wrap, ensuring coverage of all interior surfaces and extending beyond the rim. This prevents ice cream from adhering directly to the pan and creates an easy removal method.
For optimal results, place a cake board or circle at the bottom of the lined pan before adding cake layers. This allows you to slide the finished cake out onto a serving surface while still contained within the cake ring. After layering all components, cover the entire pan with plastic wrap and freeze overnight, allowing all elements to set firmly before attempting removal or serving.
Temperature Management During Assembly and Serving
Successful ice cream cake preparation requires strategic temperature management throughout the process. Keep your freezer at zero degrees Fahrenheit or below for proper ice cream storage and setting. When ready to assemble, have ice cream at refrigerator temperature to soften adequately, while keeping sauces at the appropriate warmth for application.
Before serving, remove the finished cake from the freezer and allow it to sit at room temperature for approximately five minutes. This brief waiting period allows the ice cream to soften slightly, making slicing cleaner and more achievable. A hot knife works better than a cold one for cutting through frozen layers—simply dip a sharp knife into hot water, wipe it dry, make one cut, then repeat for each subsequent slice.
Common Variations and Flavor Combinations
While cookies and cream represents the classic approach, numerous variations deserve exploration. Consider combining cookies and cream ice cream with brownie cake bases instead of vanilla, creating a more intense chocolate experience. Alternatively, use vanilla cake with crushed cookies folded directly into the batter, then top with chocolate ice cream for unexpected flavor interplay.
Some bakers experiment with incorporating crushed cookies into whipped cream topping, distributing cookie flavor throughout rather than concentrating it in specific layers. Others create cookie crumb crusts using butter and crushed cookies without adding a separate ice cream layer, reducing the cake’s overall height while maintaining visual appeal.
Storage and Make-Ahead Strategies
Ice cream cakes tolerate advance preparation well, actually improving as flavors meld over time. Once assembled and frozen overnight, these desserts maintain quality for up to one week when properly covered with plastic wrap to prevent freezer burn. Cakes left uncovered develop ice crystals on the surface within days as moisture migrates during the freeze-thaw cycle inherent in freezer storage.
If preparing cakes several days in advance, assemble everything except the final whipped cream layer. Add whipped cream topping and garnishes within twenty-four hours of serving for optimal appearance and texture.
Frequently Asked Questions
Can I make this dessert without special equipment?
Yes. While springform pans simplify removal, a standard round cake pan lined with plastic wrap works adequately. Run a warm knife around the edges to loosen the cake, then invert carefully onto a serving plate. The whipped cream topping can conceal imperfections from this removal method.
How long should I allow the cake to set before serving?
Overnight freezing ensures all layers set properly and flavors meld harmoniously. Minimum freezing time is six hours, but overnight provides better results and makes slicing significantly easier.
What if my cake is too soft to slice cleanly?
Return it to the freezer for an additional thirty minutes, then try again with a hot knife. If using store-bought ice cream, ensure it hasn’t been left at room temperature too long before assembly.
Can I prepare individual portions instead of a full-sized cake?
Absolutely. Use mason jars or small ramekins, layering ingredients vertically in the same proportions as the full cake. Individual portions often prove easier to serve and can be prepared up to five days in advance.
How do I prevent the cake from melting during transport?
Keep it in the freezer until the last possible moment. Transport in an insulated cooler with ice packs, and arrive at your destination within thirty minutes if possible. Store immediately in a freezer upon arrival.
References
- Cookin’ with Tee — YouTube Content Creator. Accessed April 2026. https://www.youtube.com/watch?v=fB1vDFZs9Xs
- Oreo Cookies and Cream Ice Cream Cake — Life Love and Sugar. https://www.lifeloveandsugar.com/oreo-cookies-cream-ice-cream-cake/
- Cookies and Cream Ice Cream Cake — The Little Epicurean. https://www.thelittleepicurean.com/cookies-and-cream-ice-cream-cake/
- Oreo Ice Cream Sandwich Cake — The Soccer Mom Blog. https://thesoccermomblog.com/easy-3-ingredient-cookies-cream-ice-cream-cake/
- Cookies and Cream Ice Cream Cake — Fresh April Flours. https://freshaprilflours.com/cookies-and-cream-ice-cream-cake/