Chitterlings, affectionately known as chitlins, represent a cornerstone of Southern culinary tradition and soul food heritage. This humble ingredient, when prepared correctly, transforms into a deeply flavorful and satisfying dish that has graced family dinner tables for generations. Understanding the proper techniques for cleaning and cooking chitterlings is essential for achieving the tender, delicious results that make this dish so beloved in traditional Southern cuisine.
Understanding Chitterlings and Their Culinary Significance
Chitterlings are the small intestines of pork, and their preparation requires knowledge and patience. The distinctive mild flavor of properly cleaned chitterlings develops beautifully when combined with aromatic vegetables, strategic seasonings, and slow cooking methods. The result is a dish with complex layers of taste that complement traditional side dishes like collard greens, cornbread, and rice. What makes chitterlings special is the way they absorb flavors from their cooking liquid and seasonings, creating a uniquely satisfying meal that connects diners to culinary traditions spanning centuries.
The Critical First Step: Proper Cleaning Techniques
The difference between exceptional and mediocre chitterlings begins with thorough cleaning. This step cannot be rushed or overlooked, as it directly impacts both the taste and texture of the finished dish.
Initial Preparation and Soaking
Begin by placing your chitterlings in a large sink or tub filled with cool water. Add either a spoonful of baking soda or apple cider vinegar to the soaking water, then allow them to soak for a few minutes. This preliminary soak helps loosen excess fat and impurities from the surface. While soaking, gently agitate the chitterlings by dunking them up and down in the water for several minutes. This motion helps dislodge any debris or unwanted material clinging to the intestines.
Removing Excess Fat and Debris
Carefully inspect each piece of chitterling and remove any visible fat, membrane, or foreign material by hand. Take your time with this process, as thoroughness during this stage prevents unpleasant textures and off-flavors in your final dish. Some cooks prefer using kitchen shears or scissors to trim away excess fat as they go. Pay particular attention to any areas where fat has accumulated, as these portions can contribute a strong, undesirable taste if not properly removed.
Final Rinses and Pre-Cooking Boil
After removing visible impurities, drain the water and rinse the chitterlings thoroughly under cool running water, using your hands to gently work through them. Repeat this rinsing process multiple times until the water runs relatively clear. Place the cleaned chitterlings in a medium-sized pot and add approximately two cups of water to cover them. Bring this to a high heat and allow them to boil for about one hour. During this boiling, a film will appear on the water surface—this represents additional impurities being released. After the hour of boiling, pour the chitterlings into a colander and discard all liquid. Rinse them once more under cool water and set aside. This pre-cooking step significantly improves the final product’s quality.
Essential Ingredients for Authentic Flavor Development
Creating memorable chitterlings requires more than just the main ingredient. A thoughtful combination of aromatics, seasonings, and cooking liquids builds the foundation for exceptional flavor.
Base Aromatics and Vegetables
The aromatic foundation typically includes one large onion, minced fresh garlic, and fresh thyme leaves. These three components create the flavor base upon which all other tastes build. When sautéed together briefly in oil, they release their essential oils and create an aromatic backdrop. Beyond this base layer, bell peppers in multiple colors and celery stalks add both flavor and subtle texture variation. Green bell peppers contribute an earthy, slightly bitter note, while red bell peppers bring sweetness and mild fruitiness. Celery adds a delicate herbaceous quality that rounds out the vegetable profile.
Seasoning Components
Traditional chitterlings recipes incorporate chicken bouillon, Creole seasoning blends, and bay leaves as primary seasoning elements. Salt and freshly ground black pepper should be adjusted to individual taste preferences at the end of cooking, rather than committed to early in the process. Apple cider vinegar plays a crucial role, helping to mellow and balance the flavors while contributing subtle acidity that brightens the finished dish. Red pepper flakes provide heat and complexity for those who enjoy spicier preparations. Fresh ground black pepper adds pepper-forward spiciness that differs distinctly from red pepper flakes’ fruity heat.
Cooking Liquids
Water serves as the primary cooking medium, typically requiring approximately four cups total divided into two cooking stages. Some cooks prefer using chicken broth in place of a portion of the water to add additional depth and richness. Apple cider vinegar should be included in the cooking liquid to help tenderize the chitterlings and add subtle flavor complexity.
Step-by-Step Cooking Instructions
Proper cooking technique ensures that chitterlings reach the ideal texture while developing their full flavor potential.
Preparation and Initial Assembly
Cut your cleaned chitterlings into small pieces, approximately one to two inches in length. Using kitchen scissors often works better than a knife for this task, as the material can be slippery and difficult to control. In a large pot, add one tablespoon of cooking oil and place it over medium heat. Once the oil is hot, add your minced garlic, chopped onion, and fresh thyme. Sauté these aromatics for approximately one minute, stirring constantly to prevent burning. The goal is to release their flavors without allowing them to brown significantly.
Building the Flavor Profile
Add your chopped bell peppers and celery to the pot, continuing to sauté for another minute. These vegetables should become fragrant and slightly softened. Now add the prepared chitterlings to the pot along with your bay leaves, chicken bouillon, Creole seasoning, and apple cider vinegar. Pour in approximately two cups of water—enough to cover all ingredients comfortably. Give the entire mixture a thorough stir to distribute the seasonings evenly throughout. Taste the liquid and adjust salt and pepper to your preference, keeping in mind that flavors will concentrate and develop as the mixture cooks.
The Long Simmer
Cover the pot and increase the heat to medium-high, bringing the mixture to a gentle boil. Once boiling, reduce the heat to maintain a steady, rolling simmer rather than a vigorous boil. Allow the chitterlings to cook for approximately two to three hours, depending on the size of your pieces and how tender you prefer them. The chitterlings are finished when they are completely tender and pull apart easily when tested with a fork. Check the pot frequently throughout cooking to ensure the cooking liquid hasn’t evaporated completely—add more water as needed to maintain adequate liquid level. The final result should have white, fluffy chitterlings with concentrated, flavorful cooking liquid.
Serving and Flavor Enhancements
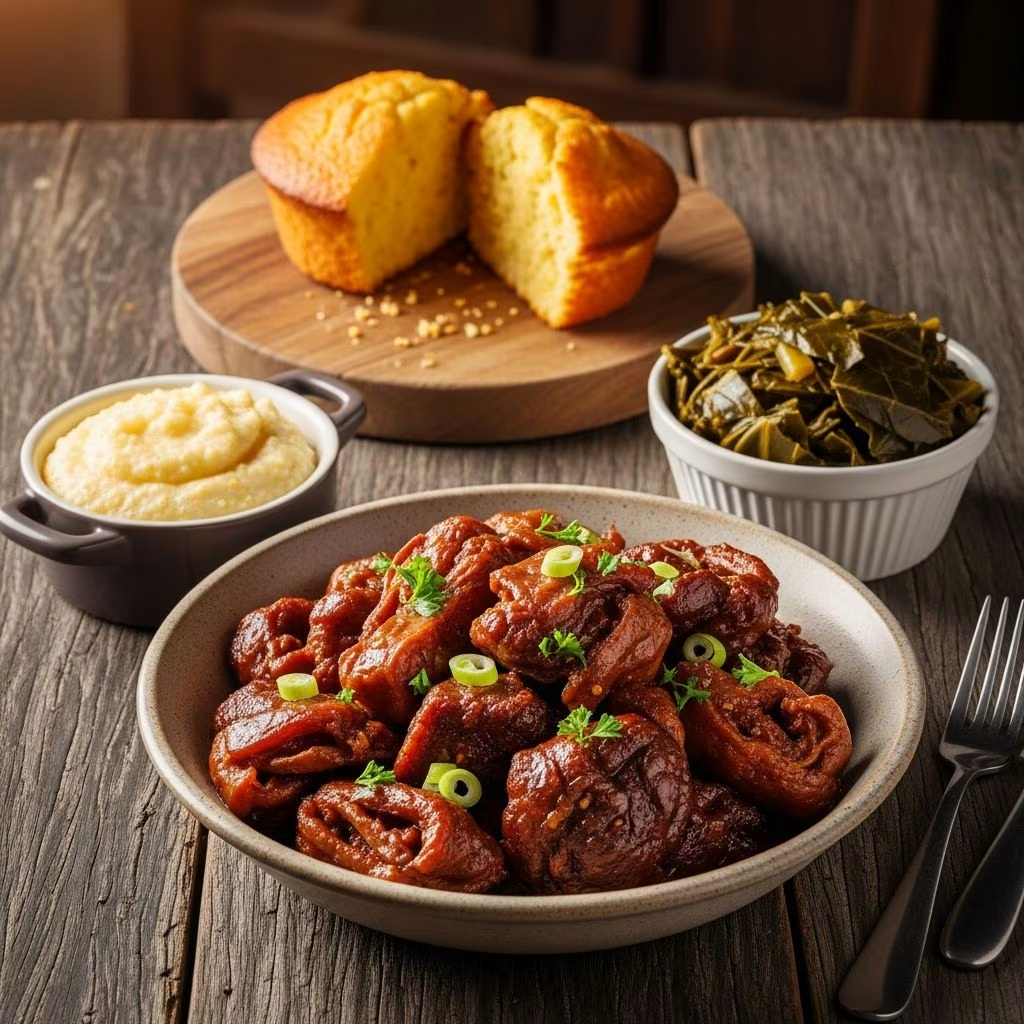
The way you finish and serve chitterlings significantly impacts the dining experience. Traditional accompaniments include hot sauce served on the side or drizzled over the chitterlings themselves. Red pepper flakes can be sprinkled on individual portions for those preferring additional heat. Vinegar-based hot sauces particularly complement the rich flavors of chitterlings. Serve chitterlings hot in bowls with generous portions of their cooking liquid, which has developed into a flavorful broth. Common side dishes include collard greens with smoked meat, creamy cornbread, seasoned rice, and slow-cooked black-eyed peas. The combination of chitterlings with these traditional sides creates a complete Southern soul food meal.
Troubleshooting Common Challenges
Even experienced cooks occasionally encounter issues when preparing chitterlings. Understanding potential problems helps you achieve better results. If your chitterlings turn out tough or rubbery, they likely didn’t cook long enough—extend the simmering time by thirty minutes or more until they reach the desired tenderness. If the flavor seems too strong or unpleasant, you may need more thorough cleaning in future preparations, or you could add additional vinegar to the cooking liquid to balance and mellow the taste. If the dish seems bland, ensure you’re tasting and adjusting seasonings properly—never skip the final seasoning adjustment step. If the cooking liquid reduces too quickly, cover the pot more securely or reduce the heat slightly to maintain adequate liquid throughout cooking.
Storage and Reheating Recommendations
Properly stored chitterlings maintain their quality for several days. Transfer cooled chitterlings and their cooking liquid to an airtight container and refrigerate for up to three days. They also freeze well for up to three months. To reheat, thaw frozen chitterlings overnight in the refrigerator, then warm gently on the stovetop over medium heat with a splash of water added to prevent sticking. The flavors often deepen during storage, making leftover chitterlings particularly delicious on the second day.
Frequently Asked Questions
Can I purchase pre-cleaned chitterlings to save time?
Yes, many specialty grocery stores and butchers sell pre-cleaned chitterlings, which can significantly reduce preparation time. However, many experienced cooks recommend performing an additional rinse even with pre-cleaned versions to ensure optimal cleanliness and quality.
What can I substitute if I don’t enjoy spicy foods?
Omit the red pepper flakes and jalapeños entirely, and choose a mild hot sauce or no hot sauce at all for serving. The chitterlings will still develop wonderful flavor from the aromatics, bouillon, and vinegar.
How do I know when chitterlings are properly cooked?
Properly cooked chitterlings should be completely white in color, fluffy in texture, and tender enough to pull apart easily with a fork. They should never remain pink or have a rubbery consistency.
Can I use a slow cooker instead of stovetop cooking?
Yes, slow cooker preparation works well for chitterlings. Cook on low for six to eight hours after following the same cleaning and preparation steps, adjusting liquid amounts as needed.
References
- Chitterlings Recipe Guide — Black People’s Recipes. 2024. https://blackpeoplesrecipes.com/chitterlings/
- Stovetop Chitterlings Recipe (Chitlins) — I Heart Recipes. 2024. https://iheartrecipes.com/chitterlings-recipe/
- Authentic Southern Chitlins (Chitterlings) — Grandbaby Cakes. 2024. https://grandbaby-cakes.com/chitterlings/