Carving a turkey can seem intimidating, but with the right approach and technique, you can transform your holiday meal into a restaurant-quality presentation. Whether you’re preparing dinner for a intimate gathering or a large celebration, understanding the proper methodology ensures efficient meat removal, minimal waste, and an impressive final presentation. This comprehensive guide walks you through each stage of the process, from initial setup through final plating.
Preparation and Setup: Creating Your Carving Station
Before you begin working with your turkey, proper preparation is essential. The success of your carving session depends largely on having the right tools and environment ready. Start by allowing your cooked turkey to rest for approximately 20 minutes after it emerges from the oven. This resting period allows the internal juices to redistribute throughout the meat, making carving easier and resulting in more tender, flavorful portions.
Set up your carving station with a large, sturdy cutting board as your base—ideally one with grooves to catch any juices. Position the turkey breast side up, with the legs facing toward you. This orientation gives you optimal access and leverage for the removal of each component. Gather your essential tools nearby: a sharp carving knife with an 8-10 inch blade, a carving fork with two sturdy tines to stabilize the bird, clean paper towels for handling and grip, and a serving platter where you’ll arrange your finished pieces.
If your turkey has been tied with butcher’s twine, remove it completely before starting. This gives you full access to all the meat portions and ensures nothing restricts your knife work. Take a moment to examine the turkey’s structure so you understand the bone and joint positions before you begin cutting.
Extracting the Leg and Thigh Portions: Your First Major Components
Begin your carving process by removing the leg and thigh sections, as these are the easiest to identify and remove. Using your sharp knife, make a shallow cut through the skin connecting the breast to the leg quarter. This initial cut allows you to see where the natural separation occurs between these two major sections.
Once you’ve cut through the skin, hold the turkey breast steady with one hand while using your other hand to gently pull the entire leg quarter away from the body. You may hear a subtle popping sound as the hip joint begins to separate—this is completely normal. Continue bending the leg outward to fully expose the hip joint where the thigh bone connects to the backbone.
Make a deep cut through the joint using your knife, then cut along the backbone to completely separate the leg and thigh piece from the bird. Repeat this process on the other side. Set both leg-and-thigh portions aside on your cutting board. You now have the two largest components removed, which makes accessing the remaining portions much simpler.
Liberating the Wings: Secondary Protein Portions
With the legs removed, you now have clear access to the wings. Gently pull one wing away from the breast to extend it fully. Using your knife, cut through the skin and connective tissue around the wing joint. Once you’ve exposed the joint itself, cut through it to completely separate the wing from the body. Repeat on the other side.
Many carvers choose to remove the wing tips at this point, as they contain minimal meat and are primarily bone. The drumettes and flats portions of the wing contain the most usable meat and are better suited for serving. Set your wings aside with the leg and thigh pieces.
Releasing the Breast Meat: The Signature Presentation Pieces
The breast is the most visually impressive component when properly carved, making this stage particularly important for presentation. Rotate your turkey so the wishbone side now faces you. This positioning gives you the best access to both sides of the breastbone.
Feel through the skin for the breastbone (also called the keel bone), which runs vertically between the two breast halves. Starting on one side of the breastbone, begin cutting through the skin and between the bone and the breast meat. The key to success here is using long, smooth strokes with your knife rather than a sawing motion—this approach creates cleaner cuts and preserves the meat structure.
As you work your knife down, stay close to the rib cage to maximize the amount of meat you remove while minimizing waste. Use your thumb to gently pull the breast outward as you continue cutting downward and away from the bone. If needed, make a horizontal cut at the bottom of the breast from the outside to help release it completely. If you can preserve the tenderloin piece (the small strip of meat on the underside of the breast) and keep it connected to the breast, this adds to the final presentation.
Repeat this entire process on the other side of the breastbone. You now have two complete breast portions ready for slicing.
Breaking Down the Legs: Separating Thighs from Drumsticks
Once you’ve removed all the major components, the final stage involves breaking down the leg-and-thigh pieces into individual portions. Hold the end of the drumstick in one hand while keeping the thigh steady on your cutting board. Bend the drumstick away from the thigh to expose the joint where they connect.
Cut through this joint to completely separate the drumstick from the thigh. Repeat with the second drumstick and thigh. You now have six main components: two thighs, two drumsticks, two wings, plus your two breast pieces.
Advanced Preparation: Optional Bone Removal and Additional Breakdown
For a more refined presentation, you can remove the thighbone from the thigh meat. Using your knife, carefully slice around the bone while preserving as much meat as possible. This technique creates boneless thigh portions that are elegant for serving and easier for guests to consume.
Some experienced carvers also employ what’s called the “magic cut”—making a horizontal cut just above the thigh parallel to the breast before slicing vertical cuts down the breast. This technique allows breast slices to release from the bird more easily and creates visually perfect pieces that almost fall away on their own.
Slicing and Arranging: Creating Your Final Presentation
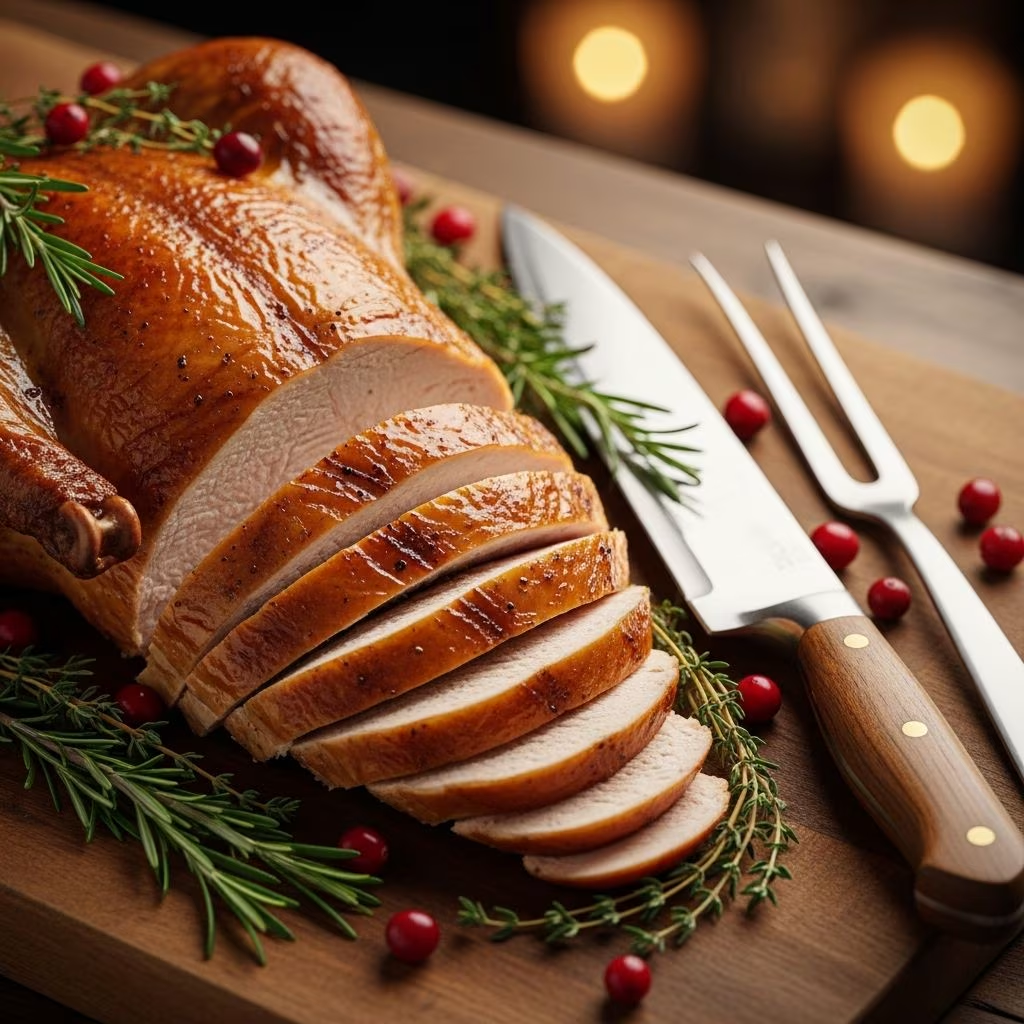
Once you’ve separated all the components, it’s time to slice the breast meat. Place one breast on your cutting board lengthwise and slice it crosswise into approximately ½-inch thick slices. Try to maintain some skin on each slice, as this adds both visual appeal and flavor. The consistency of your slice thickness contributes significantly to the overall presentation quality.
For your plating arrangement, position the thigh meat in the center of your serving platter. Arrange the sliced breast around the sides, attempting to maintain the breast’s original shape through your arrangement—this creates a more visually impressive presentation. Crown this arrangement by placing the drumsticks on top of the thigh meat, with the wings positioned strategically around the platter.
Consider adding garnishes that complement both the appearance and the meal—fresh herbs like parsley or sage, roasted vegetables, or seasonal greens all enhance the visual presentation and suggest accompaniments to guests.
Essential Tools and Equipment Checklist
- Sharp 8-10 inch carving knife with a flexible blade
- Two-tined carving fork for stabilizing the bird
- Large cutting board with juice grooves or channels
- Clean paper towels for gripping and handling
- Serving platter appropriately sized for your turkey
- Clean kitchen shears for removing twine and trimming excess skin
- Meat thermometer to verify the turkey reached safe temperatures during cooking
Frequently Asked Questions About Turkey Carving
How long should I let the turkey rest before carving?
Allow your cooked turkey to rest for approximately 20 minutes. This resting period redistributes the internal juices throughout the meat, resulting in more tender, juicy portions and easier carving.
What’s the sharpest knife angle for carving?
Hold your carving knife at approximately a 90-degree angle to the cutting board when making vertical cuts through the breast meat. Use smooth, continuous strokes rather than a sawing motion to create clean cuts that preserve the meat’s structure and appearance.
Can I carve the turkey ahead of time?
While carving immediately before serving yields the best results in terms of meat temperature and appearance, you can carve the turkey up to several hours in advance. Cover the carved pieces with plastic wrap and refrigerate, then allow them to come back to room temperature before serving if desired.
What should I do with leftover bones and scraps?
Save all bones, skin, and scraps for making homemade turkey stock or broth. These elements form the foundation for delicious soups, gravies, and sauces that extend your holiday meal well beyond the initial carving.
Is there a preferred carving order?
Most professional carvers begin with the legs and thighs as they’re the easiest to identify and remove, then proceed to the wings, followed by the breast meat. This order provides the clearest access to each successive component and minimizes awkward knife angles.
Professional Tips for Impressive Results
Practice knife control and smooth cutting motions rather than sawing back and forth. Long, confident strokes through the meat create cleaner cuts and a more professional appearance. Keep your carving knife sharp—a dull blade makes the task more difficult and risks slipping, which can cause injury or torn meat.
Use your carving fork to stabilize the bird throughout the process, preventing unnecessary movement that can compromise your cuts. Hold the fork firmly but not so tightly that you damage the meat or create unnecessary puncture marks that would detract from the presentation.
If you’re nervous about your carving skills, practice your technique on a smaller chicken first. The same fundamental techniques apply, but a chicken requires less intimidating knife work and provides a lower-stakes practice opportunity.
Pay attention to the grain of the meat when slicing breast portions. Cutting perpendicular to the grain rather than parallel to it results in more tender pieces that are easier for guests to chew and enjoy.
References
- How to Carve a Turkey (Step-by-Step) — Preppy Kitchen. 2025. https://preppykitchen.com/how-to-carve-a-turkey/
- How to Carve a Turkey Like a Pro (Step-By-Step) — Downshiftology. 2025. https://downshiftology.com/recipes/how-to-carve-a-turkey/
- The Only Way to Carve a Turkey — Instructables. https://www.instructables.com/How-to-Carve-a-Turkey/
- How to Carve a Turkey — Culinary Institute of America. https://www.youtube.com/watch?v=939uGzs484M
- How to Carve a Turkey — Butterball. https://www.butterball.com/how-to/carve-a-turkey