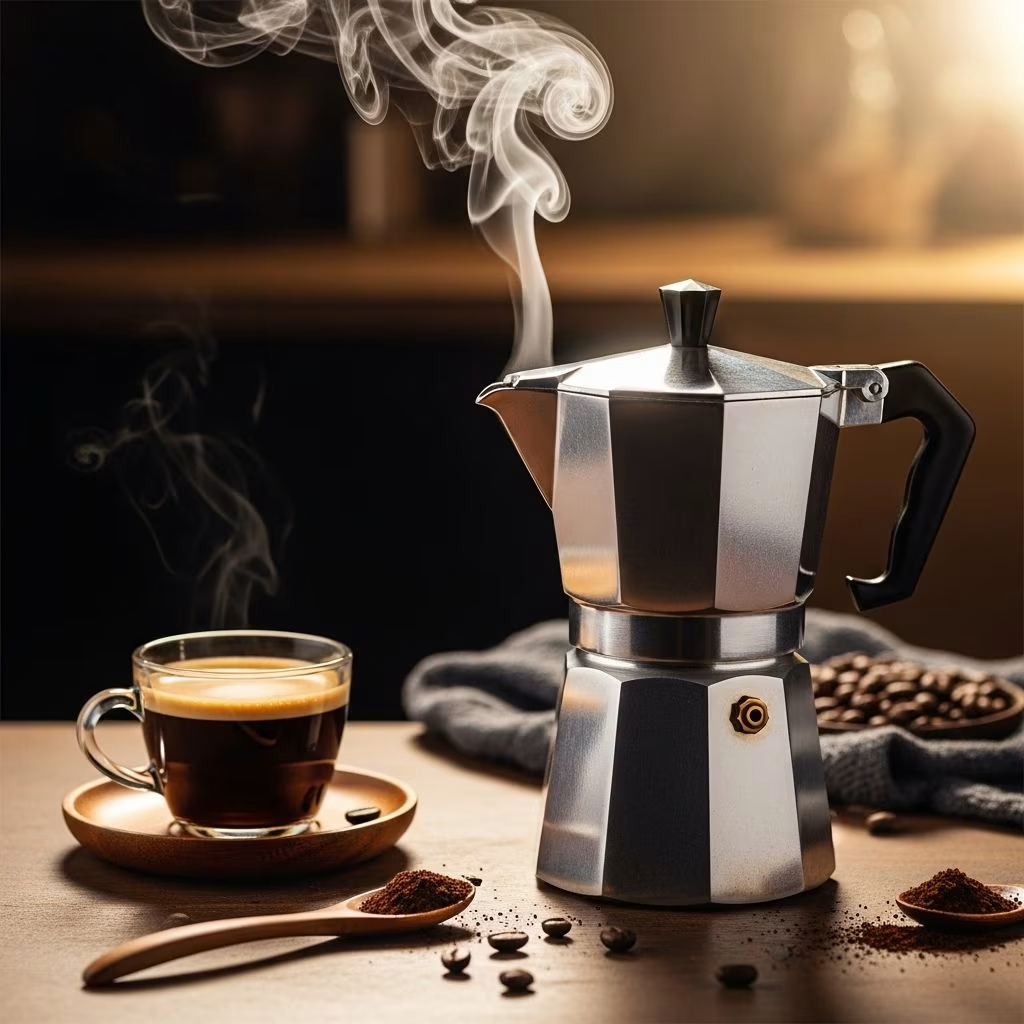
Stovetop brewers like the Moka pot deliver bold, espresso-like coffee without fancy machines. With the right approach, you can achieve consistent, delicious results every time. This guide covers everything from setup to advanced tweaks for the best cup possible.
Understanding the Moka Pot Basics
The Moka pot, invented in the early 20th century, uses steam pressure to push hot water through coffee grounds. It consists of three main parts: a bottom chamber for water, a middle filter basket for grounds, and a top collector for the brewed coffee. When heated, water boils, creating pressure that forces it up through the grounds and into the top.
Success hinges on balance—too fine a grind clogs the system, too coarse under-extracts. Aim for a **medium-fine grind**, finer than drip but coarser than espresso to prevent pressure buildup. Use a burr grinder for uniformity; blade grinders create inconsistent particles that lead to uneven flavor.
Selecting the Right Coffee Beans
Choose fresh, high-quality beans roasted within the last month. Lighter roasts need finer grinds for proper extraction, while darker roasts work with slightly coarser settings. Single-origin beans highlight unique flavors, but blends offer reliability.
- Freshness tip: Buy whole beans and grind just before brewing.
- Roast level: Medium roasts balance body and acidity best in Moka pots.
- Quantity: Fill the basket to the brim without tamping—about 90-100g per liter of water.
Water Quality and Preparation
Coffee is over 98% water, so quality matters. Use filtered water low in minerals to avoid off-flavors from hard water. Avoid distilled water, as it lacks necessary minerals for taste.
Preheat water to near-boiling (around 100°C) before adding to the bottom chamber. This shortens brew time, prevents scorching the grounds, and reduces bitterness. Fill to just below the pressure valve—typically 65-70% of your target yield.
| Moka Pot Size | Water Amount | Coffee Dose | Yield (approx.) |
|---|---|---|---|
| 3-cup | 120-150g | 12-15g | 120g |
| 6-cup | 200-250g | 20-25g | 200g |
| 9-cup | 400g | 36-40g | 260-280g |
Use a scale for precision; this ensures a 1:10 coffee-to-water ratio.
Step-by-Step Brewing Process
- Assemble dry: Insert the filter basket into the bottom chamber without water or grounds yet.
- Add preheated water: Pour into the bottom up to the valve line. Wipe the funnel rim dry.
- Fill basket: Grind medium-fine, add grounds leveling gently—no pressing down.
- Secure top: Screw on tightly but not overly so. Place on medium heat (gas or electric stovetop).
- Monitor flow: Coffee appears in 1-3 minutes. Reduce to low heat immediately.
- Stop brewing: When 2/3 full or gurgling starts, remove from heat and cool base under cold water.
- Serve: Stir top chamber and pour. Dilute with hot water if desired for Americano-style.
For electric stoves, use a heat diffuser to prevent overheating.
Heat Management for Optimal Extraction
Medium heat builds pressure steadily without scorching. If flow is too fast, lower heat; too slow means coarser grind or higher heat. Once dripping starts, maintain gentle simmer—never boil vigorously.
Timing: Aim for steady trickle. Lighter roasts may take longer; stop before steam pushes through harshly.
Common Pitfalls and Fixes
Bitterness often comes from over-extraction. Solutions:
- Coarser grind.
- Lower heat/shorter brew.
- Quicker cooling.
Weak coffee? Finer grind, full basket, hotter start. Clogs? Clean thoroughly after each use—disassemble and scrub to remove oils.
Enhancing Flavor with Add-Ins
Experiment post-brew: Add milk for lattes (heat milk separately). Salt pinch reduces bitterness; cinnamon adds warmth. For cold brew twist, chill brewed coffee over ice.
Cleaning and Maintenance
Disassemble while warm, rinse with hot water—no soap to preserve seasoning. Dry fully. Store disassembled. Weekly deep clean with vinegar solution for buildup.
Advanced Techniques for Pros
Cover filter with AeroPress paper for cleaner cup. Preheat entire pot in oven at low temp. Vary grind by roast: Finer for light, coarser for dark. Track brews with notes on grind, heat, taste.
Pairing Moka Coffee with Food
Its bold profile pairs with pastries, chocolate, or savory breakfasts. Strong enough for straight shots or diluted.
FAQs
What’s the ideal grind for Moka pot?
Medium-fine, like table salt—finer than drip, coarser than espresso.
Should I tamp the grounds?
No—lightly level only for even flow.
Why is my coffee bitter?
Over-extracted: Try coarser grind, lower heat, or stop earlier.
Can I use cold water?
Avoid it—preheat to prevent scorching and bitterness.
How do I clean my Moka pot?
Disassemble, rinse with hot water after each use; vinegar for deep cleans.
Choosing Your Moka Pot
Aluminum classics season over time; stainless steel resists dents but needs breaking in. Smaller sizes (1-3 cup) yield best concentration. Bialetti remains gold standard.
Master these steps, and your Moka pot becomes a daily powerhouse for cafe-quality coffee. Practice refines taste—happy brewing!
References
- The Ultimate Guide to Brewing Moka Pot Coffee — JavaPresse. 2023. https://www.javapresse.com/blogs/stovetop-brewing/ultimate-guide-moka-pot-coffee
- Perfect Moka Pot brewing — Steampunk Coffee Roasters. 2023. https://www.steampunkcoffee.co.uk/blogs/steampunk-coffee-blog/perfect-moka-pot-brewing
- Making a decent Moka Pot coffee? — Home-Barista.com. 2023. https://www.home-barista.com/brewing/making-decent-moka-pot-coffee-t89180.html
- The Ultimate Moka Pot Technique (Episode #3) — YouTube (James Hoffmann channel). 2023-10-01. https://www.youtube.com/watch?v=BfDLoIvb0w4
- Make Great Coffee with a Moka Pot — YouTube (Chowhound channel). 2023. https://www.youtube.com/watch?v=rpyBYuu-wJI