Blanching is a fundamental cooking technique that transforms fresh green beans into perfectly tender vegetables while maintaining their vibrant color and nutritional value. Whether you’re preparing a quick weeknight side dish, planning ahead for meal preparation, or looking to preserve your harvest, understanding how to blanch green beans properly is an essential skill that every home cook should master. This versatile method works equally well for fresh-picked beans from your garden or those purchased from your local farmers market.
Understanding What Blanching Actually Does
At its core, blanching is a two-step process that involves exposing vegetables to rapidly boiling water for a brief period, followed immediately by submersion in ice-cold water. This technique serves several important purposes in the kitchen. First, it inactivates naturally occurring enzymes within the bean cells that would otherwise cause deterioration over time, leading to loss of color, texture, and nutritional content. When you blanch green beans, you’re essentially pausing their aging process, which is particularly valuable if you plan to freeze them for later consumption.
The bright green color you see in blanched beans results from the intense heat temporarily breaking down the chlorophyll structure, allowing the vibrant pigments to shine through without the duller olive-green tones that develop in overcooked beans. Beyond aesthetics, blanching also begins the softening process without pushing beans all the way to doneness, which means they remain crisp-tender rather than becoming mushy. This textural quality is what distinguishes a properly blanched bean from one that has been boiled too long.
Selecting and Preparing Your Green Beans
The quality of your final dish begins with selecting appropriate beans and preparing them correctly. Green beans come in various varieties, each with slightly different characteristics that influence cooking time and preparation needs. French beans, also called haricot verts, are slender varieties that cook quickly and require minimal preparation, making them excellent candidates for blanching. Thicker, more robust varieties take longer to cook through and may have fibrous strings running along their sides that need removal.
Before blanching, you’ll want to wash your beans thoroughly under cool running water and inspect them for any blemishes or soft spots that indicate spoilage. Remove the woody stem end by snapping it off or using a sharp knife—this part is tough and unpleasant to eat. The opposite end, sometimes called the tail, can be left intact if you prefer the aesthetic, or trimmed away according to your personal preference. Some cooks prefer cutting beans into uniform pieces for consistency in cooking time and presentation, while others leave them whole for a more rustic appearance.
Establishing Your Blanching Station
Success with blanching depends heavily on preparation and having all your equipment ready before you begin cooking. Set up your workspace strategically to minimize the time between removing beans from hot water and placing them in cold water. You’ll need several components in place:
- A large pot with sufficient capacity to hold several quarts of water—the water level should allow room for beans without boiling over
- A slotted spoon, mesh skimmer, or spider strainer to safely remove beans from boiling water
- A large bowl filled with ice and water, positioned conveniently near your cooking station
- Paper towels or a clean kitchen towel for drying beans after the ice bath
- A timer to track cooking duration precisely
Gathering all equipment in advance prevents the common mistake of scrambling to find a tool while beans sit in hot water, becoming overcooked before you can cool them down. Organization is paramount when executing this technique, as seconds matter in achieving the perfect texture.
The Blanching Process: Step-by-Step
Bringing Water to the Right Temperature
Fill your pot with enough water to cover the beans generously, typically about three-quarters full. Adding salt to the blanching water—approximately one tablespoon of kosher salt per quart of water—enhances the beans’ natural flavor and helps them cook more evenly. Some cooks worry that this salt level will make beans inedibly salty, but beans absorb minimal salt during the brief cooking time, while the seasoning significantly improves their taste. If you’re using table salt rather than kosher salt, reduce the amount to one teaspoon per quart, as table salt is more densely packed and saltier by volume.
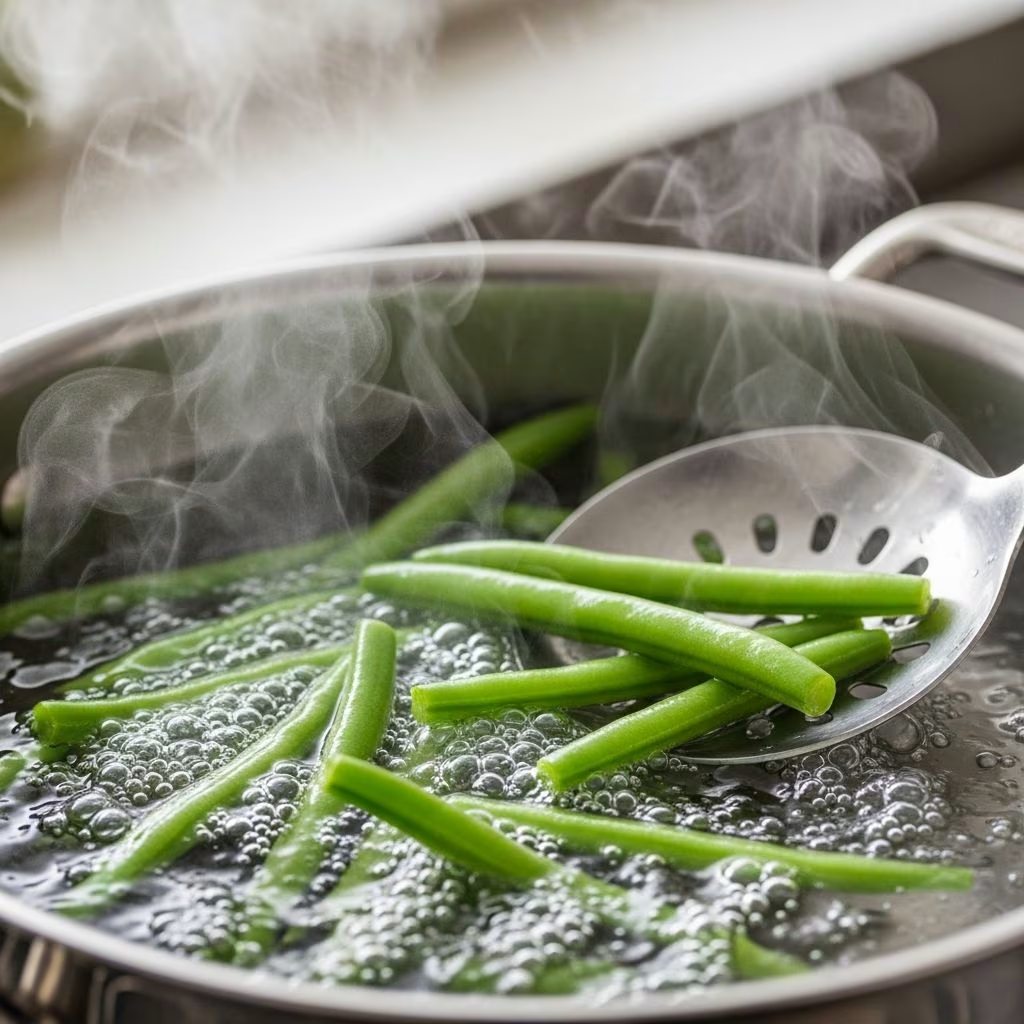
Bring the water to a rolling boil before adding beans. This initial high temperature is crucial for immediately halting enzyme activity and setting the green color. If you add beans to water that isn’t yet boiling, they’ll begin cooking more gently, allowing enzymes to continue their deteriorative work and resulting in a duller color.
Cooking Beans to Perfect Tenderness
Add beans to boiling water in batches small enough that the water quickly returns to a boil—overcrowding the pot drops the temperature too drastically, extending cooking time and compromising results. Once the water returns to a rolling boil, set your timer based on bean thickness. Thin French beans typically require two minutes, medium beans need about three minutes, and thicker varieties may need four to five minutes. These are guidelines rather than absolute rules, as variables like bean age, size variation within a batch, and altitude can affect exact timing.
The most reliable way to determine doneness is testing. Remove a single bean with your skimmer after the minimum time has elapsed and allow it to cool slightly, then bite into it. You’re aiming for beans that are tender enough to cut easily but still retain a slight snap when bitten—texture professionals call this crisp-tender. If your test bean still feels too firm, continue cooking for another thirty seconds and test again.
The Critical Ice Bath Step
The moment beans reach perfect tenderness, immediately transfer them to the ice bath using your slotted spoon or mesh skimmer. This rapid temperature drop stops the cooking process instantly, preventing the residual heat from continuing to soften the beans further. The ice bath also sets the vibrant green color by halting the enzymatic reactions that cause color degradation.
Allow beans to remain in the ice bath until they’re completely cooled, which typically takes about five minutes. The temperature contrast is dramatic and essential—some sources recommend at least fifteen seconds minimum in the ice bath, but five minutes ensures thorough chilling throughout. You can prepare a fresh ice bath by placing a bowl of ice in the freezer and adding cold water just before the beans finish cooking, which ensures adequately cold water.
Post-Blanching Handling and Storage
Once beans are completely cooled, remove them from the ice bath using a slotted spoon or by carefully pouring them into a colander. Pat them dry thoroughly with paper towels or a clean kitchen towel. Excess moisture left on beans can create ice crystals during freezing or lead to soggy beans when reheating, so this step shouldn’t be rushed.
If you’re freezing blanched beans, spread them in a single layer on a baking sheet and place in the freezer for one to two hours until solid, then transfer to freezer-safe containers or bags for long-term storage. This flash-freezing method prevents beans from clumping together, making it easier to remove only the quantity you need for future meals. Properly blanched and frozen beans maintain quality for up to eight months.
Serving Blanched Green Beans
Blanched beans can be served immediately while still slightly warm, served cold as part of salads or composed plates, or reheated through various methods for finished dishes.
| Serving Method | Instructions | Best For |
|---|---|---|
| Sautéing | Heat butter or olive oil in a skillet, add blanched beans, toss until heated through (2 minutes) | Quick weeknight sides, warm service |
| Roasting | Toss dried beans with olive oil and seasonings, roast at 400°F for 8-10 minutes | Caramelized edges, deeper flavor |
| Cold Salads | Combine cooled beans with vinaigrettes, nuts, or other vegetables | Summer meals, make-ahead dishes |
| Finishing in Sauces | Add blanched beans to simmering sauces briefly to warm and absorb flavors | Complex dishes, flavor integration |
Troubleshooting Common Blanching Problems
Dull or olive-green color: This indicates overcooking or skipping the ice bath. Ensure you’re timing correctly and immediately transferring beans to ice water.
Mushy texture: Reduce cooking time slightly. Remember that carryover cooking continues even as beans cool, so err on the side of slightly underdone rather than overdone.
Tough or stringy beans: Ensure you’ve removed the stem end completely. If beans still feel tough after cooking, your variety may simply be thicker and require a few additional seconds of cooking.
Beans floating to surface: This is normal and doesn’t indicate a problem. Beans naturally float as their density changes during cooking.
Frequently Asked Questions
Can I blanch beans without an ice bath?
While technically possible if you’re serving beans immediately, the ice bath is essential for preserving color and texture, especially important when freezing or making ahead. Skipping this step results in duller color and softer texture than desired.
How long do blanched beans keep in the refrigerator?
Properly blanched and dried beans stored in an airtight container in the refrigerator remain fresh for three to five days. Beyond this timeframe, quality deteriorates significantly.
Can I use the same water for multiple batches?
Yes, but maintain a rolling boil between batches and add more salt if the water level decreases significantly. Change the water if it becomes noticeably cloudy or foamy.
What’s the difference between blanching and par-cooking?
Blanching involves very brief cooking followed immediately by ice bath chilling, resulting in beans that are crisp-tender. Par-cooking involves cooking vegetables further toward doneness without the ice bath step, often used when vegetables will be cooked again in another preparation.
Are blanched beans as nutritious as raw beans?
Blanching causes minimal nutrient loss—water-soluble vitamins may decrease slightly, but overall nutritional value remains high, and certain minerals may become more bioavailable after brief cooking.
References
- How to Blanch Green Beans and Freeze Without Plastic — Zero Waste Chef. 2023-06-28. https://zerowastechef.com/2023/06/28/blanch-freeze-green-beans-reduce-wasted-food/
- Simple Blanched Green Beans — Breathing And Cooking. https://breathingandcooking.com/simple-blanched-green-beans/
- How to Cook Fresh Green Beans Recipe — Love and Lemons. https://www.loveandlemons.com/how-to-cook-green-beans/
- Blanched Green Beans with Scallion and Soy — Alison Roman. https://www.alisoneroman.com/recipes/blanched-green-beans-with-scallion-and-soy/
- How To Blanch Green Beans — Live Eat Learn. https://www.liveeatlearn.com/how-to-blanch-green-beans/