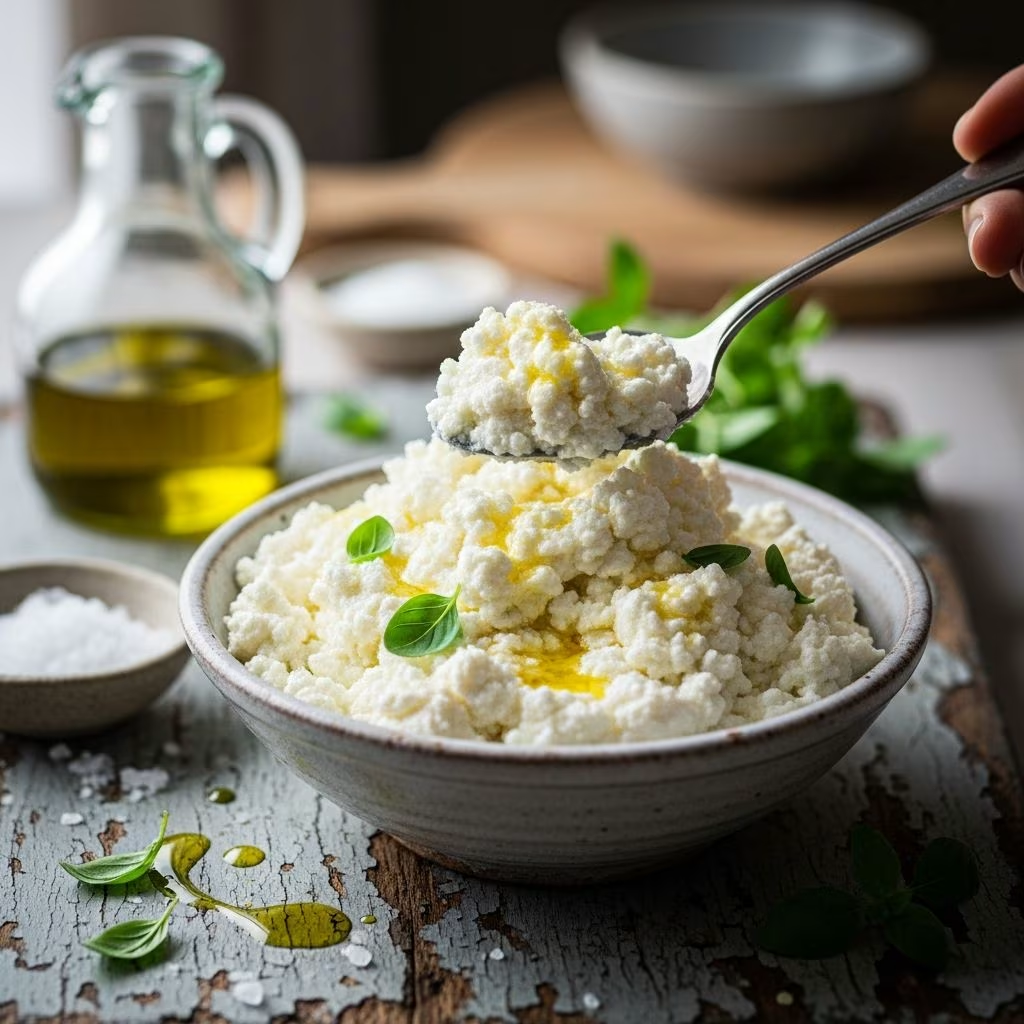
Creating your own ricotta cheese transforms everyday ingredients into a luxurious, creamy delight that elevates any dish. Unlike store-bought versions, homemade ricotta boasts a fresh, mild flavor and velvety texture achieved through a straightforward process of heating milk and adding an acid to form curds. This guide provides everything needed to master the technique, from essential tools to creative serving ideas.
Why Choose Homemade Over Store-Bought
Store ricotta often contains stabilizers and has a grainy consistency due to processing. Homemade versions, made in about 30 minutes, offer superior creaminess and customizable freshness. The process separates curds from whey, yielding cheese that’s ideal for both sweet and savory applications. Whole milk ensures richness, while avoiding ultra-pasteurized varieties prevents failed curds.
Gathering Your Ingredients and Tools
Simplicity defines this recipe, requiring minimal components for maximum impact.
- Whole milk: 8 cups (2 liters) of full-fat milk (3.25% or higher) for optimal curd formation. Avoid ultra-pasteurized milk as it won’t separate properly.
- Acid: 3 tablespoons fresh lemon juice or white vinegar to coagulate the milk without imparting strong flavors.
- Salt: ½ to 1 teaspoon, added to taste for balanced seasoning.
- Optional heavy cream: ½ cup for extra richness and yield.
Essential tools include a heavy-bottomed saucepan, wooden spoon, thermometer (ideal for precision), cheesecloth or fine mesh sieve, colander, and a large bowl to catch whey. Cheesecloth should be dampened and folded 3-4 times for proper straining.
Step-by-Step Preparation Guide
Follow these steps precisely for foolproof results. The entire process takes about 45 minutes, including draining time.
Prepare the strainer: Line a colander with 3-4 layers of damp cheesecloth, securing edges if needed. Place over a deep bowl to collect whey. Non-reactive materials like stainless steel prevent off-flavors.
Heat the milk: Pour milk (and cream if using) into the saucepan with salt. Over medium heat, warm to 185°F (85°C), stirring occasionally to avoid scorching. Look for steam, edge bubbles, and a light film—about 20 minutes without a thermometer.
Add acid: Reduce heat to low, stir in lemon juice or vinegar gently for 1-2 minutes. Curds will form rapidly, separating from yellowish whey.
Rest and strain: Remove from heat, cover, and let stand 5-20 minutes for maximum curd development. Ladle curds into cheesecloth-lined colander. Drain 5-20 minutes: shorter for creamy, longer for firmer texture.
Finish and store: Transfer ricotta to a bowl, season if needed, and refrigerate in an airtight container for up to 5 days. It thickens upon chilling.
Expect 2 cups of ricotta and 4-5 cups of whey, which can be saved for baking bread or smoothies.
Mastering Texture and Flavor Variations
Control draining time for desired consistency: 3-5 minutes yields spreadable creaminess for toast; 15-20 minutes produces drier curds for fillings. Experiment with acids—lemon adds subtle brightness, vinegar neutrality.
| Drain Time | Texture | Best Uses |
|---|---|---|
| 3-5 minutes | Ultra-creamy | Whipped dips, desserts |
| 10-15 minutes | Soft and spreadable | Toast, lasagna layers |
| 20+ minutes | Firm curds | Ravioli filling, salads |
Incorporate herbs like basil or zest for flavored ricotta. For richer results, add heavy cream during heating.
Common Mistakes and Troubleshooting
- No curds forming: Milk was ultra-pasteurized or not hot enough. Use fresh whole milk and reach exact temperature.
- Grainy texture: Over-stirred after acid addition or drained too long. Stir minimally and adjust time.
- Weak flavor: Insufficient salt or acid. Taste and adjust post-straining.
- Scorched taste: High heat used. Maintain medium and stir frequently.
If curds are sparse, let rest longer off-heat before straining.
Creative Ways to Enjoy Fresh Ricotta
This versatile cheese shines in countless dishes.
- Savory: Mix with olive oil, salt, and pepper for bruschetta. Layer in lasagna or stuff ravioli.
- Sweet: Sweeten with honey and berries for breakfast bowls or cannoli filling.
- Snacks: Spread on crostini with roasted tomatoes or figs.
- Baking: Substitute in cheesecakes or scones for moisture.
Whey isn’t waste—use in pizza dough, pancakes, or ricotta gnocchi.
Health Benefits and Nutritional Insights
Fresh ricotta provides high-quality protein, calcium, and probiotics from minimal processing. A ½ cup serving offers about 14g protein, 25% daily calcium. Opt for grass-fed milk for omega-3 boosts. Lower sodium by reducing salt.
Scaling Up and Storage Tips
Double ingredients for larger batches, using a bigger pot. Freeze ricotta in portions for 1 month; thaw overnight. Always use within 5 days fresh for peak flavor.
Frequently Asked Questions
Can I use low-fat milk?
No, it yields insufficient curds. Stick to whole milk.
What if I don’t have cheesecloth?
A nut milk bag or clean kitchen towel works. Fine mesh sieve alone may let finer curds escape.
Is vinegar better than lemon juice?
Vinegar is neutral; lemon adds citrus note. Both effective at equal volumes.
How do I know when milk is at 185°F without a thermometer?
Steam rises steadily, tiny bubbles form at edges, and a skin appears—do not boil.
Can I reuse the whey?
Yes, for bread, soups, or beverages. Freeze in ice cube trays.
Advanced Techniques for Cheese Enthusiasts
For professional results, use a ricotta basket for even draining. Experiment with citric acid for purer flavor. Track variables like milk quality and acid ratio in a journal to perfect your method over time.
References
- Homemade Ricotta Cheese: Only 3 Ingredients! — She Loves Biscotti. 2023-05-15. https://www.shelovesbiscotti.com/creamy-homemade-fresh-ricotta-cheese/
- Creamy 4-Ingredient Homemade Ricotta — Alexandra’s Kitchen. 2019-01-13. https://alexandracooks.com/2019/01/13/how-to-make-ricotta-from-scratch/
- Homemade Ricotta (Easy Foolproof Method) — The Burnt Butter Table. 2022-08-20. https://www.theburntbuttertable.com/homemade-ricotta/