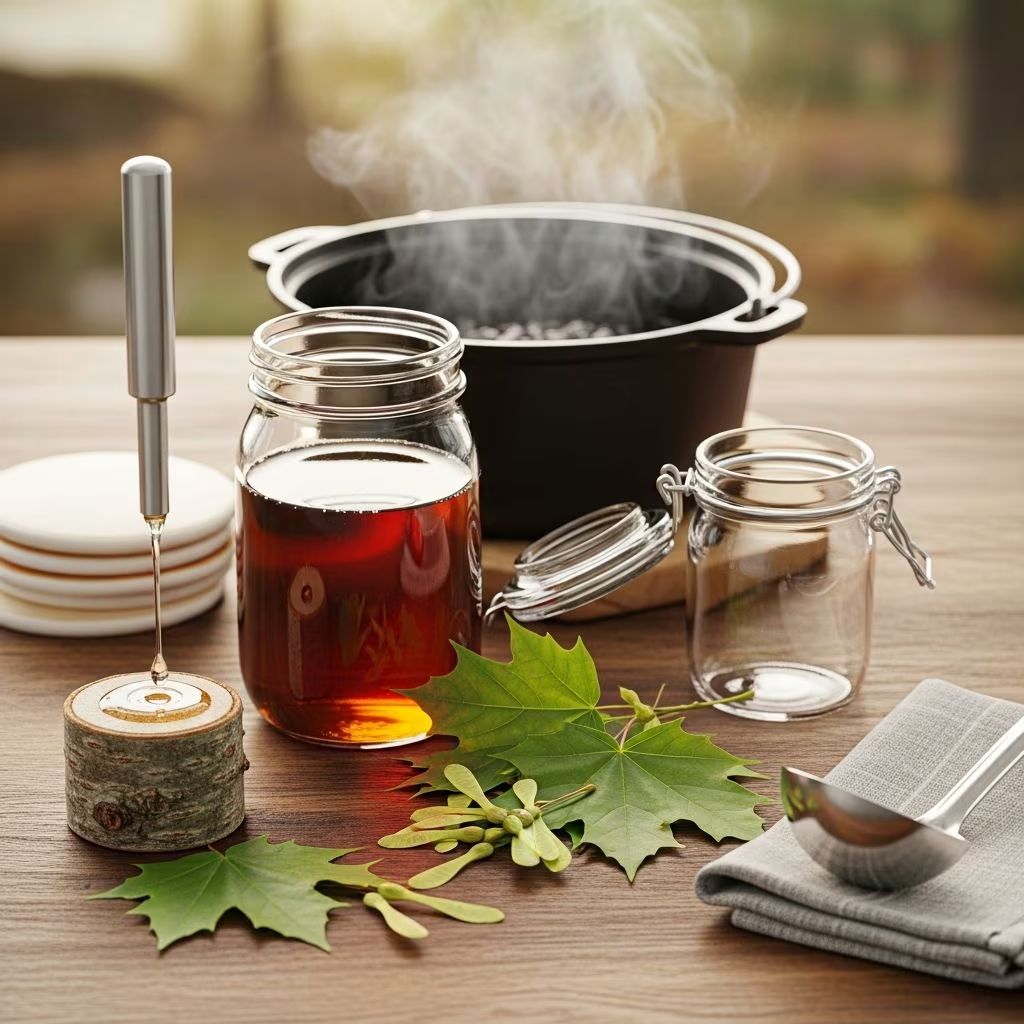
The quest for the perfect breakfast condiment often leads us to grocery store shelves filled with synthetic options and preservatives. However, crafting your own maple-flavored syrup at home eliminates the need for store-bought alternatives and puts you in complete control of the final product. What makes this endeavor particularly appealing is the remarkable simplicity involved—using just a handful of common pantry items, you can produce a syrup that rivals commercial varieties in taste and texture, all while knowing exactly what goes into your food.
This comprehensive guide walks you through everything you need to know about creating homemade maple syrup, from ingredient selection through storage and advanced flavor variations. Whether you’re a seasoned home cook or someone seeking budget-friendly solutions for your family’s breakfast table, this method delivers consistent results in under ten minutes.
Understanding Your Ingredient Foundation
The beauty of homemade maple syrup lies in its minimalist ingredient list. Unlike commercial syrups laden with additives and high-fructose corn syrup, your homemade version contains only what you deliberately include. The foundation of any maple syrup consists of a few essential components that work together to create the desired flavor profile and consistency.
Sugar Selection and Ratios
The base of your syrup relies on a combination of sugars that create depth and complexity. Most recipes employ a blend of white granulated sugar and brown sugar, with white sugar providing a clean slate for the maple flavoring while brown sugar introduces subtle caramel and molasses notes. The typical ratio calls for one cup of white sugar combined with one cup of brown sugar, though some recipes adjust this balance based on desired sweetness levels.
The choice between white and brown sugar significantly impacts the final flavor. White granulated sugar maintains a neutral taste that allows the maple extract to shine prominently, making it ideal if you want a more traditional maple syrup flavor. Brown sugar, conversely, adds complexity with hints of molasses that create a richer, more indulgent taste experience. Alternative sweeteners like coconut sugar can substitute for either option, offering unique flavor dimensions for those seeking experimentation.
Water and Consistency Control
Water serves dual purposes in syrup creation: it enables sugar dissolution and determines the final consistency of your product. The standard formula uses approximately two-thirds to one cup of water combined with your sugar mixture. The water-to-sugar ratio directly influences thickness—less water produces thicker syrup, while additional water creates a thinner pour.
A crucial consideration involves accounting for thickening that occurs during cooling. As your syrup cools after removal from heat, its consistency naturally increases, sometimes dramatically. Experienced syrup makers intentionally aim for a slightly thinner consistency than desired for the finished product, knowing that cooling will bring it to the perfect pourable state.
Extract Selection: The Flavor Heart
The maple extract represents the star ingredient that transforms simple sugar water into recognizable maple syrup. Two primary options exist: pure maple extract and imitation maple extract. Pure maple extract, derived directly from real maple sources, offers a more authentic and nuanced flavor profile, making it the preferred choice for those prioritizing taste authenticity. Imitation maple extract, while more budget-friendly, provides satisfactory results for most households and still delivers that characteristic maple taste.
The typical amount ranges from one to two tablespoons of extract per batch, though individual preference guides the exact quantity. Starting conservatively with two teaspoons allows for taste-testing and adjustment before committing to larger quantities, preventing over-flavoring that can create an artificial taste.
Optional Flavor Enhancers
Beyond the essential ingredients, several optional additions can elevate your syrup beyond standard versions. Vanilla extract contributes warmth and subtle sweetness that complements maple flavoring beautifully. A half teaspoon to one teaspoon works well for most batches. Some recipes incorporate unsalted butter for richness, cream of tartar for texture refinement, and salt to enhance and balance the overall flavor profile.
Mastering the Cooking Process
The actual preparation of homemade maple syrup involves straightforward cooking techniques that yield professional results when executed properly. Understanding each step ensures consistent success regardless of experience level.
Initial Preparation and Combining Ingredients
Begin by measuring your white sugar and brown sugar directly into a medium saucepan. Add your measured water to the same vessel. Using a whisk or spoon, combine these ingredients thoroughly, stirring until the sugars begin to break apart and integrate with the water. This preliminary mixing, performed at room temperature, initiates the dissolution process and ensures even cooking when heat is applied.
Proper saucepan selection matters more than many home cooks realize. A medium-sized nonstick saucepan prevents sticking and burning while providing sufficient surface area for even heat distribution. The nonstick surface proves particularly valuable when working with sugary mixtures that tend to adhere to conventional cookware.
Heat Application and Sugar Dissolution
Place your saucepan over medium heat and maintain continuous stirring as the mixture gradually warms. This constant motion serves multiple purposes: it distributes heat evenly, prevents localized burning on the saucepan bottom, and ensures uniform sugar dissolution. As the mixture heats, the sugar crystals gradually dissolve into the water, transforming the cloudy mixture into a clear liquid.
Continue heating and stirring until the mixture reaches a gentle boil. You’ll notice larger bubbles forming across the surface and steam rising from the pan. Resist the temptation to increase heat for faster results—medium heat provides the controlled environment necessary for proper syrup development without scorching the sugars.
Achieving Proper Consistency
Once boiling begins, reduce the heat slightly to maintain a gentle, steady boil rather than a rolling one. Continue stirring frequently for three to four minutes while the mixture thickens. During this crucial window, the excess water gradually evaporates, concentrating the sugar and creating syrup consistency. The mixture will appear to bubble vigorously at first, then gradually slow as it thickens.
A helpful indicator involves observing how the syrup coats a spoon or spatula. When you dip your cooking utensil into the hot syrup and hold it sideways, properly thickened syrup should coat the utensil and slowly drip rather than immediately running off. Experienced cooks also watch for the temperature to reach approximately 150°F (65°C), indicating optimal thickness.
Incorporating Flavor Elements
Once your syrup has reached desired thickness, immediately remove the saucepan from heat. Adding your maple extract and any additional flavorings while the mixture is still hot allows these ingredients to distribute evenly throughout. Stir thoroughly to ensure complete incorporation, breaking up any clumps that might form when extracts meet the hot syrup.
This is your optimal moment for taste-testing and adjustment. Start with the minimum recommended amount of maple extract, stir well, allow a moment for the flavor to fully develop, then assess. If additional maple flavor is desired, add more extract in small increments until satisfied. This cautious approach prevents over-flavoring that cannot be easily corrected once added.
Critical Techniques for Perfect Results
Temperature Control Strategies
Maintaining appropriate heat throughout the cooking process separates successful batches from disappointing ones. Medium heat provides the sweet spot—hot enough to achieve proper boiling and thickening but not so intense that sugars scorch or the mixture burns. Should you notice the edges of the syrup darkening excessively or smell any burnt sugar aroma, immediately reduce heat further or remove the pan momentarily to allow cooling.
If your first attempt produces syrup that’s too thick even after cooling, don’t discard it. Simply reheat gently and add water in small quantities until reaching desired consistency. Conversely, syrup that’s too thin can be returned to medium heat for additional cooking time, checking consistency frequently.
Consistent Stirring Importance
The instruction to stir continuously isn’t merely suggestion—it’s fundamental to success. Constant stirring prevents sugar from crystallizing on the pan bottom, ensures even heating throughout, and promotes proper texture development. Invest in a sturdy wooden spoon or silicone whisk and commit to maintaining motion throughout cooking.
Cooling and Thickening Process
After removing from heat, allow your syrup to cool slightly before transferring to serving containers or storage vessels. During this cooling period, the syrup continues thickening as it cools to room temperature and beyond. This post-cooking thickening often surprises first-time makers—syrup that seemed perfect consistency when hot might become quite thick as it cools. This is entirely normal and represents proper syrup formation rather than a problem requiring correction.
Storage Solutions and Shelf Life
Proper storage ensures your homemade syrup remains fresh and maintains its quality for extended periods. Store cooled syrup in clean glass jars or bottles with tight-fitting lids, preferably in your refrigerator where it keeps for several weeks. The cool environment slows any potential degradation while maintaining the syrup’s consistency.
For longer-term storage, consider freezing your syrup in ice cube trays or containers, allowing you to thaw individual portions as needed. Properly stored homemade maple syrup maintains quality for months in the freezer, making this an excellent method for batch cooking and future use.
Practical Applications Beyond Breakfast
While pancakes and waffles represent the most common applications, homemade maple syrup offers versatility across numerous culinary contexts. Drizzle it over oatmeal, yogurt, or ice cream for instant elevation. Incorporate it into salad dressings, marinades, or glazes for meats. Use it as a sweetener in coffee or tea for a sophisticated breakfast beverage. Bakers can substitute homemade syrup for corn syrup in various recipes or use it to create maple-flavored baked goods.
Frequently Asked Questions
What’s the difference between pure and imitation maple extract?
Pure maple extract comes from real maple sources and offers more authentic, nuanced flavor. Imitation maple extract provides satisfactory results at lower cost. Both work well in homemade syrup; your choice depends on budget and flavor preference.
Can I adjust the recipe for different sweetness levels?
Yes. Increase sugar for sweeter syrup, increase water for less sweet syrup. Remember the syrup thickens as it cools, so aim slightly thinner than desired when hot.
How do I fix syrup that turned out too thick?
Reheat gently and add water gradually until reaching desired consistency. This is a common first-attempt issue and easily corrected.
Is brown sugar or white sugar better for homemade syrup?
Both work well. White sugar provides cleaner maple flavor, brown sugar adds caramel notes. Most recipes combine both for balanced flavor.
Can I make larger batches?
Yes. Double or triple the recipe using the same heat and timing, though slightly longer cooking time may be needed for larger volumes.
Summary: Your Homemade Syrup Journey
Creating maple syrup at home represents one of the simplest yet most rewarding culinary projects available to home cooks. The minimal ingredient list, short preparation time, and consistent results make this endeavor accessible to everyone from complete beginners to experienced home chefs. With this comprehensive guide’s techniques and strategies, you’re equipped to produce restaurant-quality maple syrup that surpasses most commercial options in both flavor and freshness.
Start with a single batch using the basic recipe, then experiment with variations and flavor combinations once comfortable with the fundamental process. Your family’s breakfast table will never look the same once homemade maple syrup becomes a regular feature.
References
- How to Make Homemade Pancake Syrup — An Off Grid Life. Accessed April 10, 2026. https://www.anoffgridlife.com/homemade-pancake-syrup/
- Homemade Maple Syrup Recipe — Like Mother, Like Daughter. Accessed April 10, 2026. https://lmld.org/homemade-maple-syrup/
- Homemade Maple Syrup — Dances with Knives. Accessed April 10, 2026. https://www.danceswithknives.com/homemade-maple-syrup/
- How to Make Maple Syrup From Scratch — Slow Food USA. Accessed April 10, 2026. https://slowfoodusa.org/how-to-make-maple-syrup-from-scratch/
- Homemade Maple Syrup — Cooks Vanilla. Accessed April 10, 2026. https://cooksvanilla.com/blogs/recipes/homemade-maple-syrup