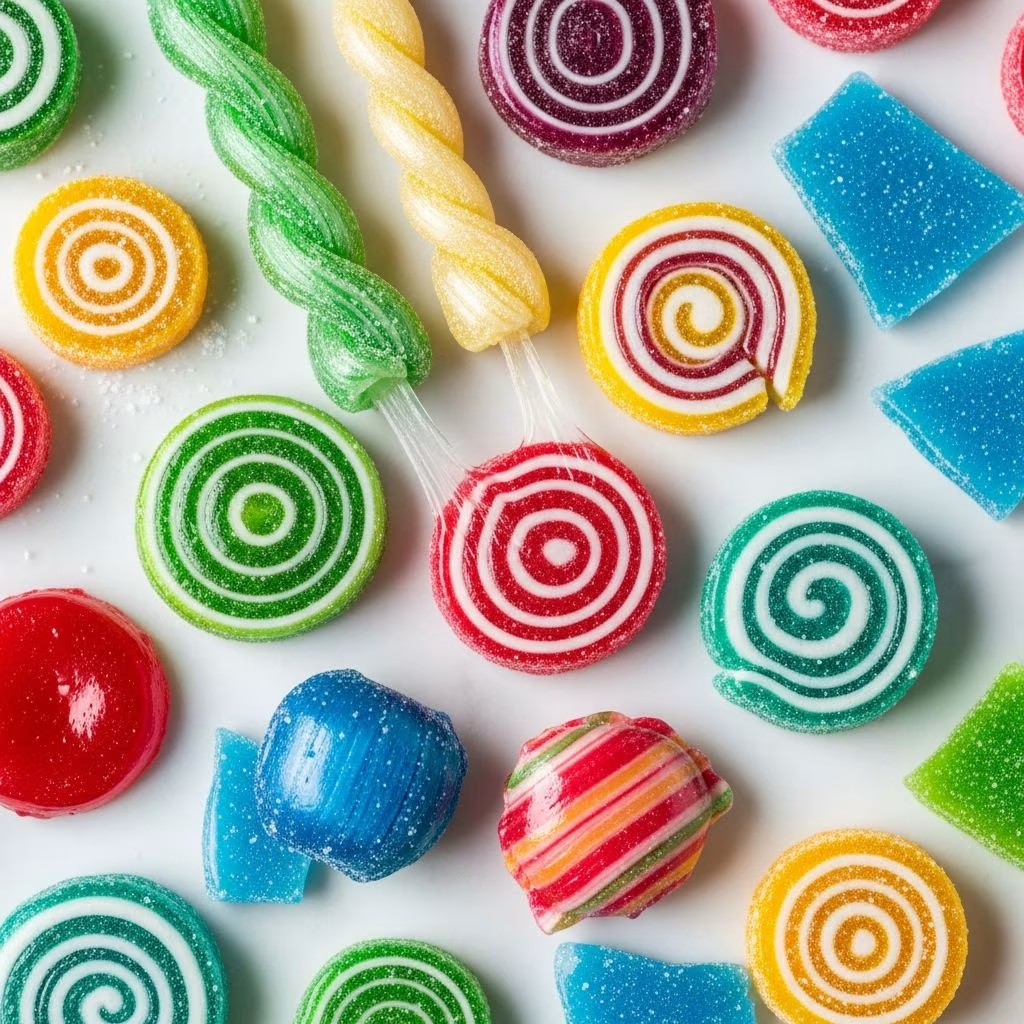
Creating **hard candy** at home transforms basic pantry staples into dazzling, crunchy treats that sparkle with color and burst with flavor. This timeless confection, often called rock candy, relies on precise heating of sugar syrup to achieve its signature brittle texture. Whether you’re preparing for holiday gifting, party favors, or a fun kitchen project, mastering this recipe opens endless customization options.
Why Make Hard Candy Yourself
Store-bought versions often pale in comparison to homemade ones, which allow full control over ingredients, intensity of flavors, and vibrant hues. The process builds confidence in candy-making fundamentals, applicable to chocolates, brittles, and more. Families enjoy the activity, especially during festive seasons, turning cooking into a bonding experience.
Economically, a single batch yields pounds of candy at a fraction of retail cost. Healthier tweaks, like reducing artificial additives, make it appealing for mindful eaters. The satisfaction of breaking apart a shimmering slab into perfect pieces is unmatched.
Essential Ingredients for Success
The core formula is straightforward, but quality matters. Here’s what you’ll need for a standard batch serving 20-30 people:
- Granulated sugar: 3-4 cups provides the sweet base and structure. Use pure cane sugar for best clarity.
- Light corn syrup: 1-1.5 cups prevents crystallization, ensuring smooth, glassy results. Avoid dark varieties to maintain color purity.
- Water: 1 cup to dissolve sugars initially. Distilled water minimizes impurities.
- Flavoring oils: 1-2 teaspoons of potent candy oils like LorAnn brand. Extracts weaken in heat; oils withstand high temperatures.
- Food coloring: Gel or liquid, 7-10 drops for vivid shades matching your flavor.
- Powdered sugar: 1-2 cups for dusting to prevent sticking.
Variations abound: pair red coloring with cinnamon oil, pink with peppermint, green with spearmint, yellow with lemon, purple with grape, or blue with anise. Experiment with butter rum or watermelon for unique twists.
Critical Tools and Equipment
Precision tools elevate results from amateur to professional:
| Tool | Purpose | Tips |
|---|---|---|
| Candy thermometer | Monitors exact temperature for ‘hard crack’ stage | Clip to pan side, not touching bottom. Digital for accuracy. |
| Heavy-bottomed saucepan (3-4 qt) | Even heating without scorching | Nonstick or stainless steel; deep sides prevent boil-overs. |
| Silicone mat or parchment-lined sheet | Cooling surface | Dust heavily with powdered sugar. |
| Heatproof spatula | Stirring and pouring | Silicone withstands 300°F+. |
| Mallet or rolling pin | Breaking cooled candy | Protect eyes with goggles. |
Other must-haves: oven mitts, greased knives for scoring, and storage tins.
Step-by-Step Candy Making Process
Timing is crucial; the entire cook takes 30-45 minutes. Work in a cool kitchen to avoid humidity interference.
Prep workspace: Line a rimmed baking sheet with foil or a silicone mat. Dust generously with sifted powdered sugar. Have flavorings measured nearby.
Combine base: In saucepan, mix sugar, corn syrup, and water. Stir over medium heat until sugar dissolves fully, about 5 minutes. No granules should remain.
Boil to temperature: Increase to medium-high. Attach thermometer. Boil without stirring until 290-310°F (hard crack stage), 25-40 minutes. Bubbles thicken; test by dropping a bit into ice water—if it forms brittle threads, it’s ready. Swirl pan gently if needed.
Add flair: Remove from heat immediately. Let bubbles subside 1 minute. Stir in flavor oil and coloring swiftly—the aroma hits hard!
Pour and cool: Pour onto prepared sheet. After 5-10 minutes, score into squares with a greased knife. Cool fully, 30-60 minutes.
Break and dust: Crack along scores using mallet. Toss pieces in powdered sugar sieve to coat evenly.
Yield: About 2 pounds. Store airtight up to 2 weeks.
Safety First: Handling Hot Sugar
Boiling syrup exceeds 300°F, hotter than boiling oil—spatters cause severe burns. Key precautions:
- Wear long sleeves, closed shoes, and protective eyewear.
- Keep children/pets away; use back burners.
- If spill occurs, flush with cool water; seek medical help for burns.
- Never taste or touch during cooking.
- Ventilate well—fumes from oils can irritate.
Humidity above 60% promotes stickiness; make on dry days.
Flavor and Color Pairing Guide
Matching enhances appeal. Here’s a table of proven combos:
| Flavor Oil | Color | Notes |
|---|---|---|
| Peppermint | Pink/Red | Classic holiday pick; cooling sensation. |
| Cinnamon | Red | Spicy warmth; pharmacy staple. |
| Spearmint | Green | Fresh, minty alternative. |
| Lemon | Yellow | Tangy citrus burst. |
| Grape | Purple | Sweet, nostalgic. |
| Watermelon | Pink/Green | Summery fun. |
Start with half the oil, adjust for potency. LorAnn oils are ideal; one dram bottle flavors multiple batches.
Troubleshooting Common Issues
Problems arise from temperature or moisture—here’s how to fix:
- Sticky candy: Undercooked or humid. Recook scraps to 310°F.
- Grainy texture: Stirred too much post-dissolve or impure sugar. Use corn syrup next time.
- Cloudy appearance: Impurities; strain syrup or use filtered water.
- Uneven hardening: Thin pan; opt for thick-bottomed.
- Too brittle/fast cooling: Pour quicker next batch.
Save failed batches—recrystallize by reheating gently.
Creative Variations and Twists
Elevate basics with innovations:
- Layered candy: Pour multiple flavors in thin layers for swirls.
- Stuffed centers: Pour thin base, add nuts/cherries, top with more syrup.
- Shaped molds: Silicone molds for uniform pieces; grease lightly.
- Low-sugar version: Substitute half sugar with isomalt for clearer, diabetic-friendly candy.
- Spicy kick: Add chili oil to cinnamon for heat.
Incorporate into desserts: crush for pie toppings or rim cocktail glasses.
Storage and Gifting Tips
Airtight containers in cool, dry spots keep candy fresh 1-2 months. Wrap individually in cellophane for gifts—add ribbons for charm. Label flavors to avoid mix-ups.
Freeze up to 6 months; thaw slowly to prevent moisture absorption.
Frequently Asked Questions (FAQs)
What temperature is hard crack stage?
290-310°F. Use a reliable thermometer; test in cold water for brittle snap.
Can I use extract instead of oil?
Limited success—extracts lose flavor in heat. Oils are stronger and heat-stable.
How long does it take to cool?
30-60 minutes fully. Score after 10 for clean breaks.
Is corn syrup necessary?
Yes, it inhibits crystallization for glassy texture.
Gluten-free? Vegan?
Yes to both; check oil labels.
Hard candy making rewards patience with addictive results. Practice refines technique—soon you’ll craft professional-grade confections effortlessly.
References
- How to make Rock Candy, aka, Hard Tack Candy — A Cowboy’s Wife. 2015-approx. https://acowboyswife.com/make-rock-candy-aka-hard-tack-candy/
- Rock Candy — Serena Bakes Simply From Scratch. 2018-12-01. https://www.serenabakessimplyfromscratch.com/2018/12/rock-candy.html
- Hard Rock Candy — Blind Pig and The Acorn. 2010-approx. https://blindpigandtheacorn.com/hard-rock-candy/
- Easy Homemade Hard Candy — Persnickety Plates. 2020-approx. https://www.persnicketyplates.com/homemade-hard-candy/
- Hard Candy Recipe — Desserts On A Dime. 2022-approx. https://dessertsonadime.com/hard-candy-recipe/
- Old Fashioned Hard Candy — My Country Table. 2019-approx. https://mycountrytable.com/old-fashioned-hard-candy/
- How to make ROCK CANDY – DIY Dessert Recipe — YouTube. 2014-approx. https://www.youtube.com/watch?v=6FQlIslZYAM