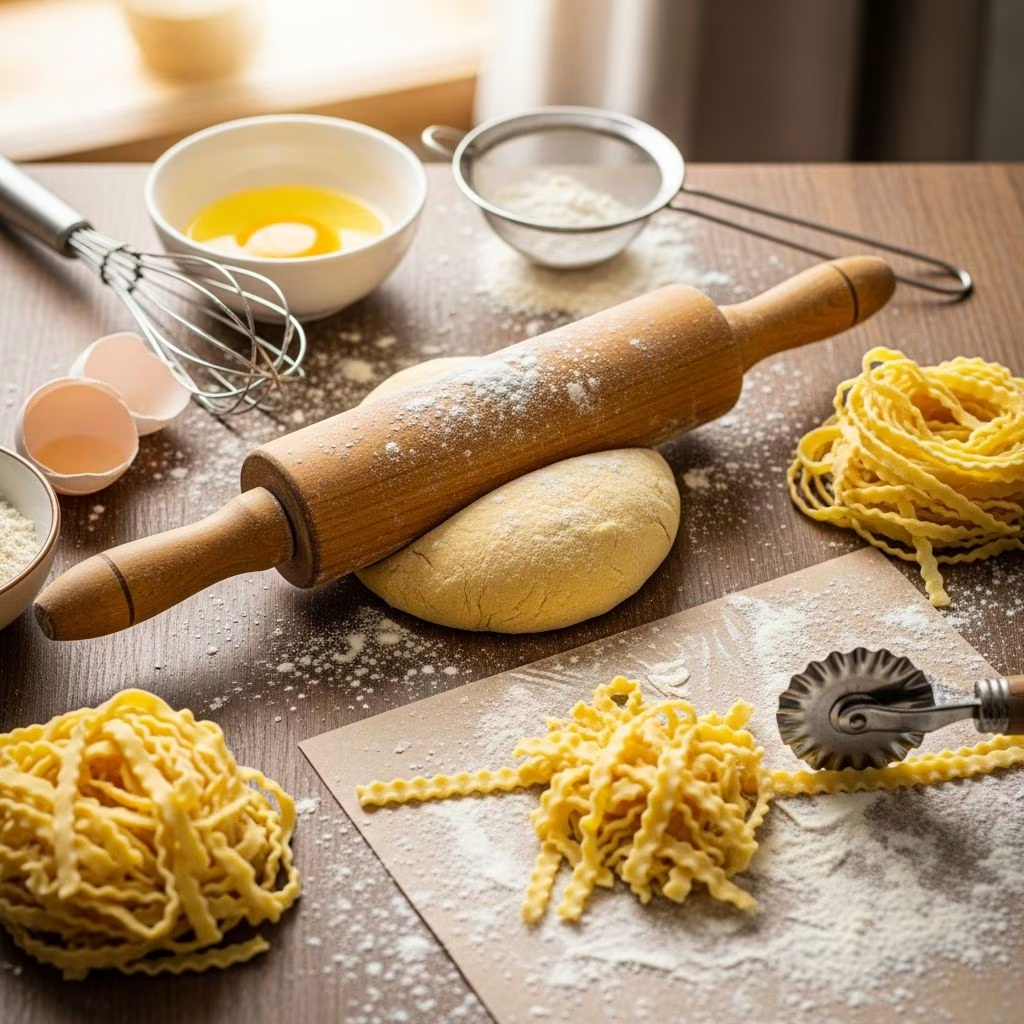
There’s something deeply satisfying about creating pasta from the most elemental ingredients—flour, eggs, salt, and water. Homemade egg noodles represent one of the most accessible and rewarding kitchen projects, requiring no specialized equipment and delivering restaurant-quality results in under 30 minutes. Whether you’re seeking to elevate weeknight dinners, perfect a cherished soup recipe, or explore the fundamentals of pasta-making, understanding the process of crafting egg noodles by hand opens doors to culinary creativity and deeper appreciation for this humble staple.
Understanding the Foundation: Essential Ingredients
The beauty of homemade egg noodles lies in their remarkable simplicity. Each ingredient serves a specific purpose in creating the perfect texture and flavor profile that distinguishes homemade pasta from its commercially produced counterparts.
All-purpose flour forms the structural backbone of your noodles. This versatile flour contains sufficient gluten development to create elasticity and strength in the dough without requiring specialized bread flour or pastry flour. Most recipes call for approximately two cups of flour, though this measurement can vary slightly depending on humidity levels and egg size.
Eggs function as both a binding agent and enrichment component. Whole eggs combined with additional egg yolks create a luxuriously rich dough with superior color and flavor. The fat content in yolks contributes to tender noodles with a silky mouthfeel that distinguishes them from egg-white-only versions. Typically, three egg yolks plus one whole egg provides optimal richness and binding power.
Salt enhances flavor development and strengthens gluten networks. Between one-quarter teaspoon and two teaspoons of kosher salt (adjusted based on your total flour quantity) seasons the dough adequately without creating an overly salty final product.
Water serves as a hydration agent, bringing dry ingredients into cohesion. The amount varies between one-quarter cup and one-half cup, added incrementally since egg content fluctuates and environmental humidity affects absorption rates.
Preparing Your Workspace and Ingredients
Success in pasta-making begins with proper preparation. Gather all ingredients at room temperature—cold eggs and water resist incorporation more stubbornly than warm components. Clear a generous work surface, preferably a wooden cutting board or laminate counter that permits long strokes with a rolling pin.
Some experienced cooks employ the traditional well method, pouring flour onto a clean surface and creating a crater in the center where eggs and water collect. This approach prevents flour from spreading across your workspace while you incorporate ingredients gradually. Alternatively, mixing within a large bowl provides containment and suits those with limited counter space.
Constructing the Dough: A Step-by-Step Process
Combining Dry Ingredients
Begin by thoroughly mixing flour and salt together using your fingertips or a fork. This even distribution of salt prevents pockets of overly salted dough and promotes uniform flavor throughout your noodles. If using the well method, create a pronounced indentation in your flour mound—deep enough to hold your egg mixture without overflow during initial stirring.
Introducing Wet Components
Add eggs and a small quantity of water to your flour mixture. Using a fork or your fingers, gently beat the eggs as you would for scrambling, then gradually incorporate surrounding flour. Add water in one-teaspoon increments as the dough begins forming, working methodically to avoid creating a soupy paste. The goal is achieving a shaggy, semi-soft dough with minimal dry flour remaining in your mixing vessel.
Kneading and Development
Once the mixture begins holding together, transfer to your prepared work surface and knead vigorously for eight to ten minutes. Kneading develops gluten strands that create elasticity and strength in your finished noodles. Push the dough away from you with the heel of your hand, fold it back over itself, rotate ninety degrees, and repeat. The dough transforms from rough and slightly sticky to smooth and supple as gluten networks strengthen.
You’ll recognize proper kneading completion when your dough springs back when poked and no longer sticks aggressively to your hands. A light flour dusting on your hands and work surface prevents excessive stickiness without overdrying the dough.
Resting and Relaxation
Allow your dough to rest for ten to thirty minutes under a clean kitchen towel or inverted bowl. This resting period permits gluten to relax, making rolling and shaping dramatically easier. Additionally, resting allows flour to fully hydrate, creating a more cohesive, supple dough structure.
Shaping Your Noodles: Rolling and Cutting Techniques
Rolling Methodology
Divide your rested dough into two portions, working with one section at a time. This approach prevents the non-working dough from drying while you focus on creating thin, uniform sheets. Press your dough segment into a rough rectangle using your fingertips, then employ a rolling pin to extend it further.
The goal is achieving paper-thin sheets, ideally less than one-quarter inch thick. Work from the center outward, rotating your dough a quarter turn after each rolling stroke to maintain even thickness. Dust your work surface and rolling pin lightly with flour as needed, but avoid excessive flouring, which can be incorporated into your noodles and create a gritty texture.
Cutting and Forming
Using a sharp chef’s knife, pizza wheel, or fluted pasta cutter, slice your thin dough sheets into noodles of your desired width. There’s no single correct width—personal preference reigns supreme. Some prefer classic quarter-inch ribbons, while others opt for thinner strands resembling fettuccine or thicker, hearty widths more similar to pappardelle.
Gently separate individual noodles and allow them to rest briefly on a floured surface or parchment paper. If preparing noodles ahead of cooking, dust them generously with cornstarch or flour to prevent sticking. Noodles can be refrigerated for several hours, frozen for future use, or cooked immediately.
Cooking Your Homemade Noodles
Fresh homemade noodles require significantly less cooking time than dried commercial varieties. Bring a large pot of salted water to a rolling boil, then add your noodles directly to the turbulent water. Fresh egg noodles typically reach perfect tenderness in two to four minutes, depending on thickness. Test a noodle after two minutes to assess doneness, targeting a tender texture with a slight firmness when bitten.
Drain your cooked noodles thoroughly, reserving a small quantity of cooking water if you plan to toss them with sauce. The starchy cooking water helps sauces cling to noodles more effectively than drained noodles alone.
Culinary Applications and Serving Suggestions
Homemade egg noodles shine in numerous applications, from simple preparations to complex recipes. Their rich, eggy flavor and tender texture elevate classic comfort dishes:
- Stroganoff: Toss warm noodles with a creamy sour cream and beef sauce for this beloved Russian-inspired classic
- Chicken noodle soup: Add noodles directly to simmering broth for a restorative, warming meal
- Buttered and garnished: Serve plain noodles with melted butter, fresh parsley, grated Parmesan, and cracked black pepper for understated elegance
- Casseroles and bakes: Incorporate into tuna noodle casseroles, vegetable gratins, and other baked pasta dishes
- Asian-inspired preparations: Toss with sesame oil, soy sauce, and fresh vegetables for contemporary fusion dishes
Storage and Make-Ahead Strategies
Fresh egg noodles can be stored in multiple ways depending on your timeline. Uncooked noodles keep refrigerated for up to two days when stored in an airtight container or wrapped tightly in plastic wrap. For longer storage, freeze noodles on a baking sheet, then transfer to freezer bags—they’ll maintain quality for up to three months without thawing before cooking.
Cooked noodles also store well refrigerated for three to four days in an airtight container. Reheat by adding to boiling water for one minute or warming gently in a skillet with a small amount of butter or oil.
Troubleshooting Common Challenges
| Issue | Likely Cause | Solution |
|---|---|---|
| Dough too sticky | Excessive moisture or insufficient kneading | Add flour gradually in half-teaspoon increments and knead longer |
| Dough too dry and crumbly | Insufficient hydration or excess flour | Add water one teaspoon at a time and knead thoroughly |
| Uneven noodle thickness | Inconsistent rolling pressure | Rotate dough frequently and apply even pressure throughout |
| Noodles stick together when cooking | Insufficient salt in cooking water or overcrowding pot | Use generously salted water and avoid adding all noodles at once |
| Tough or rubbery texture | Overcooking or excessive gluten development | Reduce cooking time and avoid over-kneading |
Frequently Asked Questions
Can I make egg noodles without eggs?
While traditional egg noodles specifically include eggs for richness and color, you can create eggless pasta using water alone. However, the resulting texture and flavor will differ significantly—eggless noodles lack the richness and golden hue that characterizes authentic egg noodles.
Do I need special equipment to make homemade noodles?
No. A rolling pin, sharp knife, and clean work surface comprise all necessary equipment. Many cooks successfully craft noodles using only their hands and basic kitchen tools.
Why does my dough feel sticky despite adding flour?
Environmental humidity affects flour absorption significantly. Rather than immediately adding more flour, try kneading longer—extended kneading helps flour hydrate more thoroughly. Add flour only in small increments if stickiness persists.
How thick should my noodles be?
This depends entirely on personal preference and intended use. Thinner noodles cook faster and work well in broths, while thicker noodles provide more substance and pair beautifully with heavy sauces.
Can I use whole wheat flour instead of all-purpose?
Whole wheat flour creates denser, heartier noodles with earthier flavor. Substitute up to one-half of your all-purpose flour with whole wheat flour. You may need additional water due to whole wheat’s higher absorption capacity.
Mastering Your Craft
Creating homemade egg noodles from scratch represents more than simply mixing ingredients—it’s an introduction to fundamental pasta-making techniques that extend to filled pastas, cut shapes, and beyond. Your first batch may not achieve absolute perfection, but each attempt teaches valuable lessons about dough hydration, proper kneading, and optimal thickness. With practice, producing restaurant-quality noodles becomes second nature, transforming a modest collection of pantry staples into elegant, homemade meals that nourish both body and soul.
References
- Homemade Egg Noodles — I Am Homesteader. 2024. https://iamhomesteader.com/homemade-egg-noodles/
- Homemade Egg Noodles (鸡蛋面) — Omnivore’s Cookbook. 2024. https://omnivorescookbook.com/homemade-egg-noodles/
- Egg Noodles — Tastes Better From Scratch. 2024. https://tastesbetterfromscratch.com/homemade-egg-noodles/
- Easy Homemade Egg Noodles — Kansas Living Magazine. 2024. https://kansaslivingmagazine.com/recipe/easy-homemade-egg-noodles
- Homemade Egg Noodles — The Salted Pepper. 2024. https://thesaltedpepper.com/egg-noodles/