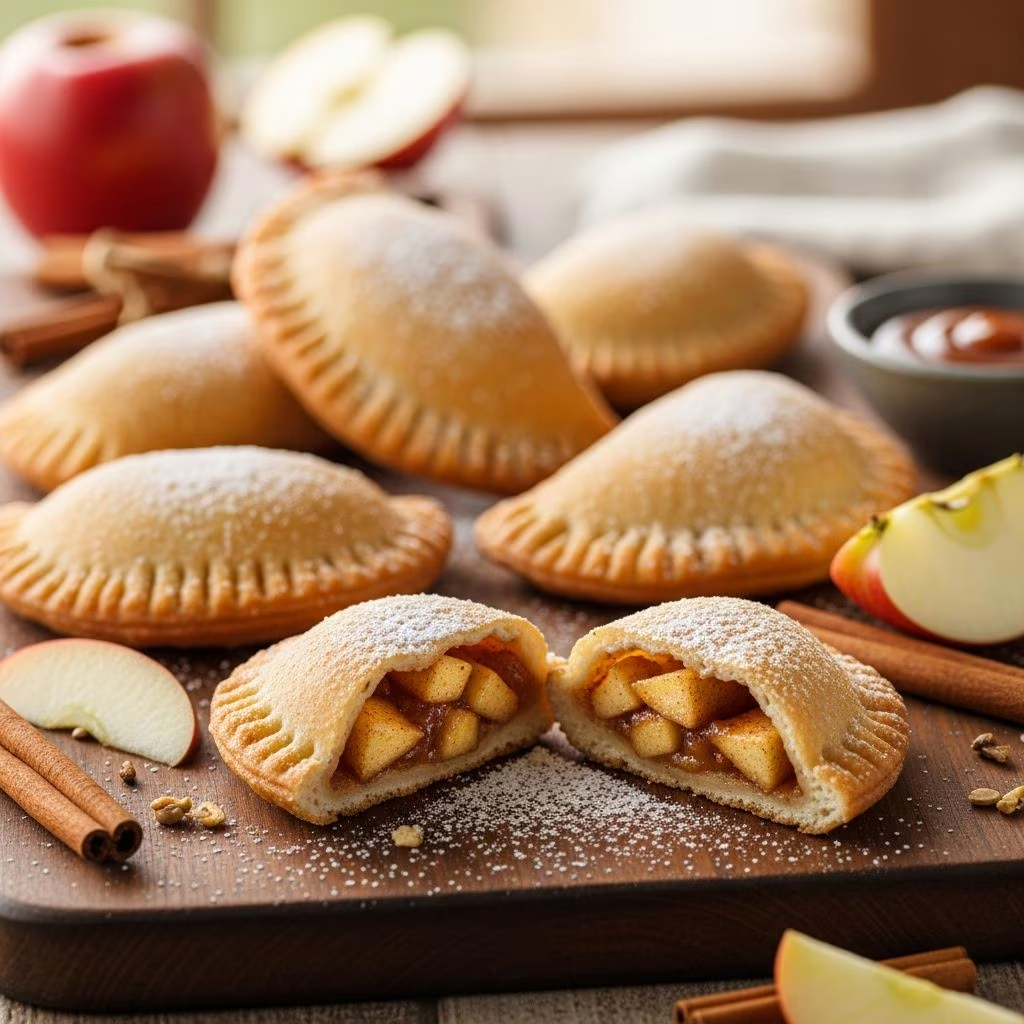
Fried apple pies represent a timeless dessert tradition that combines flaky pastry with warm, spiced apple filling. These hand-held treats offer the comfort of classic apple pie in a portable, indulgent format. Whether you prefer traditional made-from-scratch dough or convenient pre-made pastry sheets, creating these delightful confections at home is more achievable than you might think.
Understanding the Fundamentals of Fried Apple Pies
The appeal of fried apple pies extends beyond their delicious taste. These pies bridge the gap between casual snacking and proper dessert, making them suitable for various occasions. The frying process creates a distinctive texture—a crispy exterior that contrasts beautifully with the tender, spiced apple filling within. The cooking method also allows the exterior to develop a golden-brown color that signals readiness and enhances visual appeal.
The history of fried pies traces back to traditional Amish and Southern cooking techniques, where they were crafted as practical desserts for family gatherings and community events. Modern interpretations maintain these beloved qualities while offering flexibility in ingredient selection and preparation methods.
Selecting Your Filling Ingredients
The foundation of exceptional fried apple pies begins with the filling. Your choice of apples significantly influences the final product’s flavor profile and texture.
Fresh Apple Options
When working with fresh apples, combining varieties yields superior results. A balanced approach uses one tart variety with one sweeter variety. Granny Smith apples provide tartness and hold their shape during cooking, while Honeycrisp, Gala, or Fuji apples contribute natural sweetness and moisture. This combination prevents the filling from becoming one-dimensional and maintains textural interest throughout the pie.
Dried Apple Alternatives
Dried apples offer advantages for certain baking scenarios. They concentrate natural sugars, requiring less added sweetener and producing a more intense apple flavor. When using dried apples, reconstitute them in water before cooking to achieve the proper consistency. This approach works particularly well for those seeking a denser, more fruit-forward filling.
Complementary Seasoning Elements
Beyond apples, several ingredients enhance your filling:
- Brown Sugar: Provides depth and molasses undertones that complement spiced apple
- Ground Cinnamon: The signature spice that defines apple pie character
- Nutmeg: Adds warmth and complexity when used sparingly
- Butter: Creates richness and helps bind filling components
- Lemon Juice: Brightens flavors and prevents oxidation
- Cornstarch or Flour: Thickens filling to prevent soggy pastry
- Salt: Enhances overall flavor complexity
Preparing Your Apple Filling
Fresh Apple Filling Method
Begin by selecting firm, unblemished apples. Peel and core each apple carefully, then cut into uniform small cubes approximately one-quarter inch in size. Consistent sizing ensures even cooking throughout your batch.
In a medium saucepan, melt butter over medium heat. Add your prepared apples along with brown sugar, cinnamon, and salt. Stir gently to combine, allowing the mixture to heat until juices begin releasing from the fruit, approximately three minutes. Reduce heat to low, cover the saucepan, and continue cooking for ten to fifteen minutes until apples soften completely.
For a thickened filling that prevents moisture from seeping into pastry during frying, create a slurry by whisking cornstarch with a small amount of cold water or apple cider. Stir this mixture into your cooked apples and heat on high for an additional three minutes while stirring constantly. The filling should reach a consistency similar to pie filling—thick enough to hold its shape but still spreadable.
Allow your filling to cool completely before assembly. This step prevents the pastry from becoming soggy and protects your hands during handling.
Dried Apple Filling Approach
Place your dried apples in a saucepan and cover with approximately four cups of water. Bring to a boil, then reduce heat and simmer until the water reduces significantly and a thick syrup forms. This typically requires thirty to forty minutes of cooking. Add butter, brown sugar, and cinnamon during the final minutes of cooking. The resulting consistency should be quite thick, almost jam-like, ensuring structural integrity during frying.
Pastry Selection and Preparation
Pre-Made Puff Pastry Option
For efficiency and consistency, commercial puff pastry sheets provide excellent results. These frozen products require minimal preparation—simply thaw according to package directions, typically five to ten minutes at room temperature. Once slightly softened, cut the sheets into rectangles or rounds as your recipe specifies. The laminated structure of puff pastry creates natural flakiness that rivals homemade dough while dramatically reducing preparation time.
Traditional Pie Crust Route
Homemade pie dough requires flour, cold butter, salt, and ice water. The key to tender, flaky crusts involves keeping all ingredients as cold as possible. Cut cold butter into flour using a pastry cutter or fork until the mixture resembles coarse breadcrumbs. Add ice water one tablespoon at a time, mixing gently until the dough just comes together. Avoid overworking, which develops gluten and results in tough pastry.
After mixing, wrap your dough in plastic wrap and refrigerate for at least one hour. This resting period allows gluten to relax and prevents excessive shrinking during cooking. Divide your dough into six equal portions and roll each into a ball. Using a rolling pin or glass bottom, gently flatten each ball into a thin circle approximately six inches in diameter.
Assembly Techniques
Successful pie assembly balances filling quantity with proper sealing to prevent bursting during frying.
Filling Distribution
Place one to two tablespoons of cooled filling in the center of each pastry round, leaving a half-inch border completely free of filling. This border, often moistened lightly with water or beaten egg, creates the seal that prevents filling from escaping during cooking.
Sealing Methods
Fold the pastry circle in half to create a half-moon shape. Using a fork, press the tines firmly around the entire sealed edge. This creates both a decorative appearance and a secure seal. Some recipes recommend using an egg wash—a mixture of beaten egg and water—around the border before folding, which further strengthens the seal and promotes even browning.
Pre-Frying Preparation
Once assembled, place your pies on parchment paper and refrigerate for at least one hour. This chilling step serves multiple purposes: it firms the pastry, preventing excessive spreading during frying, and it allows the gluten to relax, promoting tenderness. For optimal texture, some bakers freeze their assembled pies for several hours or even overnight before frying.
The Frying Process
Oil Selection and Temperature
Choose neutral oils with high smoke points, such as refined coconut oil, vegetable oil, or peanut oil. Avoid olive oil, which has too low a smoke point for deep frying. Heat three to four inches of oil in a deep pot or deep fryer to precisely 350-375°F. Temperature control proves essential—oil that’s too cool produces greasy results, while excessively hot oil burns the exterior before the interior cooks through.
If you lack a thermometer, the wooden spoon test provides a reliable alternative. Insert a wooden spoon handle into the oil; if small bubbles form around the handle, the oil has reached appropriate temperature.
Frying Technique
Working in small batches to maintain oil temperature, carefully lower pies into the hot oil using a slotted spoon or spider strainer. The oil will splatter—this is normal. Fry for approximately two minutes per side, or until the pastry achieves a light golden-brown color. The pies will float when the interior cooks through.
Use a slotted spoon to retrieve the finished pies, placing them on paper towels to absorb excess oil. Allow them to cool for several minutes before consuming, as the filling becomes dangerously hot.
Finishing Touches and Glazes
While traditional fried apple pies need no embellishment, optional glazes add elegance and extra sweetness.
Powdered Sugar Glaze
Whisk together powdered sugar, vanilla extract, and milk until you achieve a smooth, pourable consistency. Brush or drizzle this glaze over cooled pies for a professional appearance and sweet coating. Cinnamon sugar provides an alternative—combine granulated sugar with ground cinnamon and sprinkle over warm pies while they’re still slightly sticky.
Storage and Serving Recommendations
Freshly fried apple pies taste best within a few hours of preparation. Store any leftovers in an airtight container at room temperature for up to two days. Reheat in a 300°F oven for five to ten minutes to restore crispness.
Serve these pies as afternoon snacks, casual desserts, or special occasion treats. They pair beautifully with vanilla ice cream, whipped cream, or caramel sauce. Many people enjoy them with a hot beverage like coffee or tea.
Troubleshooting Common Issues
| Problem | Cause | Solution |
|---|---|---|
| Greasy pies | Oil too cool or pies too crowded | Maintain proper temperature and fry in small batches |
| Burnt exterior, cold filling | Oil too hot or excessive frying time | Lower temperature and reduce frying duration |
| Filling leaking during frying | Over-filling or inadequate sealing | Use less filling and press edges firmly with fork |
| Tough, dense pastry | Overworking dough or insufficient chilling | Handle dough minimally and refrigerate adequately |
| Soggy filling | Insufficient thickening agent | Increase cornstarch or reduce apple moisture |
Frequently Asked Questions
Can I prepare fried apple pies ahead of time?
Yes, assemble and freeze pies up to two weeks before frying. Fry directly from frozen without thawing, adding just one to two minutes to the cooking time. This advance preparation makes them ideal for meal planning.
What’s the difference between fried and baked apple pies?
Frying creates a crispier exterior and richer flavor through the Maillard reaction, while baking produces a more delicate crust. Fried versions typically feel more indulgent and hand-held friendly.
Can I use store-bought pie filling?
While possible, homemade filling offers superior control over texture and flavor intensity. If using commercial filling, ensure it’s cooled and appropriately thick before assembly.
Are these pies gluten-free?
Standard recipes contain gluten in the pastry. Substitute gluten-free flour blends that include xanthan gum for traditional flour to accommodate dietary restrictions.
How many pies does a standard recipe yield?
Most recipes produce six individual pies, though this varies depending on size. Smaller pies work well as appetizers or snacks, while larger versions serve as proper desserts.
References
- Easy Fried Apple Pie with Puff Pastry — Catherine Desserts. 2024. https://zhangcatherine.com/fried-apple-pie/
- Old Fashioned Fried Pies — Kent Rollins. 2024. https://kentrollins.com/blogs/dessert/old-fashioned-fried-pies
- Traditional Fried Apple Pies — Feast and Farm. 2024. https://feastandfarm.com/traditional-fried-apple-pies/
- The Best Fried Apple Pies Recipe (Homemade) — Kindly Unspoken. 2024. https://www.kindlyunspoken.com/best-fried-apple-pies-recipe/
- How to Make Fried Apple Pies — Southern Living. 2024. https://www.youtube.com/watch?v=5-aNd0NvfK4