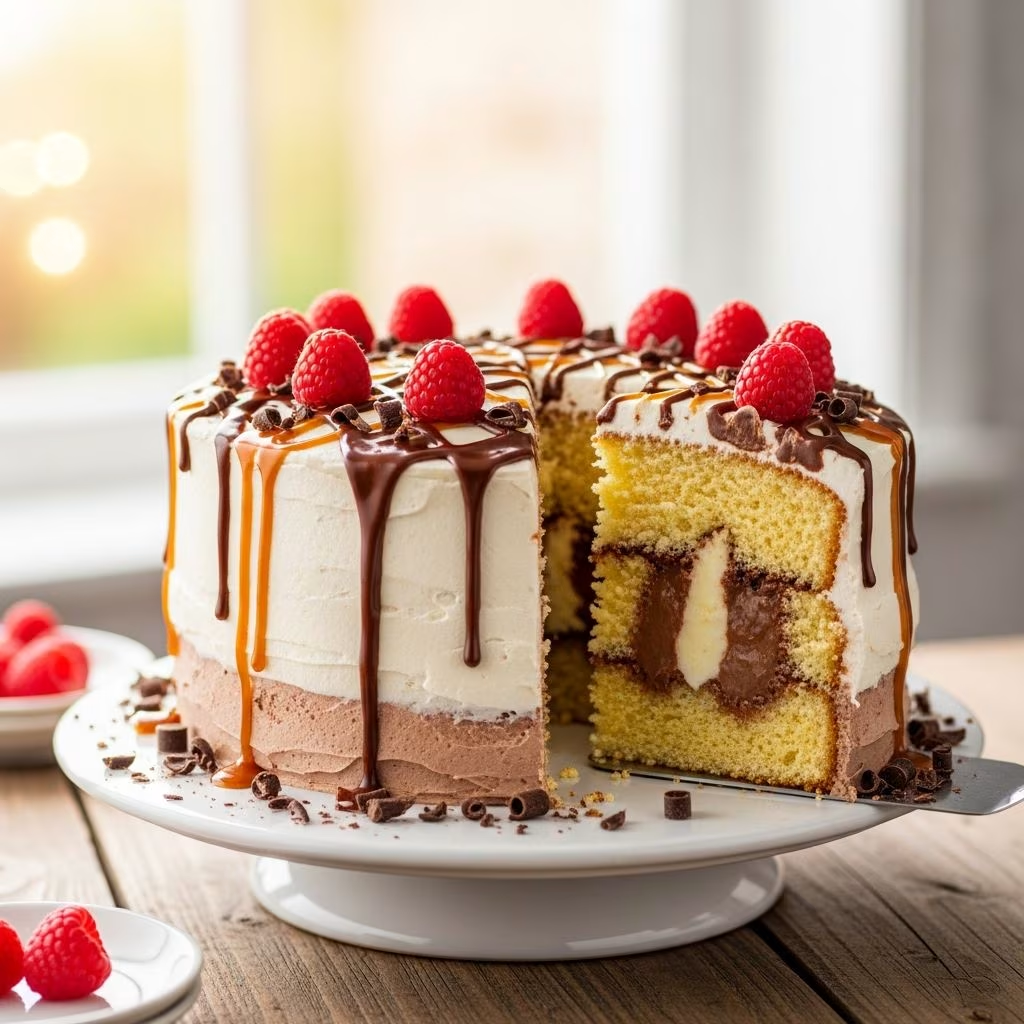
The poke cake represents one of the most approachable yet impressive desserts you can prepare in your home kitchen. This beloved treat combines tender cake layers with creamy pudding filling that seeps into every pore, creating a moist and satisfying confection. The technique of poking holes into a warm cake and flooding it with liquid filling transforms a simple cake mix into something remarkably sophisticated. Whether you’re preparing this dessert for a family gathering, potluck, or casual weeknight treat, understanding the fundamentals will set you up for success.
Understanding the Foundation: What Makes a Poke Cake Special
The poke cake’s magic lies in its construction method and the way flavors intermingle throughout the baking process. Unlike traditional layer cakes where fillings sit between stacked components, the poke cake allows pudding to infiltrate the cake structure itself. This creates a unified texture where every bite contains both cake and pudding flavoring. The name itself describes the essential technique: strategically creating openings in the baked cake that serve as entry points for liquid filling.
This dessert gained popularity as a practical solution for home bakers seeking dramatic results with minimal complexity. The method requires no special equipment, advanced skills, or difficult-to-find ingredients. Most poke cakes utilize pantry staples and convenience products, making them accessible for bakers of all experience levels.
Essential Components and Selection Guide
The Cake Foundation
Starting with quality cake is fundamental to your final result. Most traditional recipes call for yellow cake mix, which provides a neutral flavor profile that complements pudding fillings beautifully. When preparing your batter, follow the package directions precisely, typically combining the mix with eggs, water, and melted butter. The specific measurements matter because they affect moisture content and crumb structure. Some bakers prefer using unsalted butter to control sodium levels, while others find salted butter adds desirable depth. Either option works effectively as long as you maintain consistency with the specified quantity.
Baking time typically ranges from 25 to 30 minutes, depending on your oven’s characteristics. The cake achieves proper doneness when it springs back when lightly touched and displays a golden-brown exterior. Avoid overbaking, as this can result in a cake too dry to properly absorb the pudding filling.
Pudding Selection and Preparation
Instant pudding mixes offer convenience without sacrificing flavor. Banana pudding represents the classic choice for this dessert, though creative variations using chocolate, vanilla, or butterscotch pudding create interesting alternatives. The ratio of pudding to milk significantly impacts the final texture. Using too much milk produces a thin mixture that won’t adequately coat the cake, while too little creates a consistency too thick to properly penetrate the poked holes.
The proper mixing technique involves gradually whisking the milk into the pudding powder, ensuring complete dissolution of lumps before the mixture sets. Pudding thickens rapidly, so timing matters when pouring it over the cake. The mixture should be pourable but beginning to thicken slightly—typically within 1 to 2 minutes of mixing.
Topping Considerations
Whipped topping provides the classic finishing layer for poke cakes. Frozen varieties require thawing before use, while homemade whipped cream offers superior flavor for those willing to invest extra effort. The topping should be spread evenly across the cooled, set pudding layer, creating an appealing presentation while adding textural contrast.
Crushed vanilla wafer cookies serve as the traditional garnish, adding both visual interest and subtle vanilla flavor that enhances the overall eating experience. Fresh banana slices complement banana pudding versions particularly well, introducing freshness to the sweet layers beneath.
Step-by-Step Preparation Instructions
Preparing Your Equipment and Workspace
- Preheat your oven to 350°F approximately 15 minutes before baking
- Prepare a 9×13-inch cake pan by lightly greasing the interior surfaces
- Gather all ingredients and equipment to establish an organized workflow
- Ensure you have a sturdy wooden spoon with an appropriately-sized handle for creating holes
Batter Creation and Initial Baking
Combine your cake mix with the specified amount of water, melted butter, and eggs in a large mixing bowl. Whisk these components together until a smooth batter forms, typically requiring about one minute of mixing. Overmixing can develop too much gluten, resulting in a tougher crumb structure. Pour the batter into your prepared pan, spreading it evenly to ensure consistent thickness throughout.
Place the pan in your preheated oven and bake for the duration specified on your cake mix box. Check for doneness by gently touching the cake surface—it should spring back without leaving an impression. The edges may pull slightly away from the pan sides, and the surface should display an even golden-brown color.
The Critical Cooling Phase
Remove the baked cake from the oven and allow it to cool in the pan for approximately 5 to 10 minutes. This brief cooling period prevents the cake from being too delicate to poke while remaining warm enough to absorb filling efficiently. The timing here is important: cake that’s too hot may crumble when pierced, while fully cooled cake won’t absorb the pudding mixture as effectively.
Creating the Perforation Pattern
Using the handle of your wooden spoon, systematically create holes across the entire cake surface. Space these openings approximately one-half to one-and-a-half inches apart, depending on your preference for pudding density. Press the spoon handle straight down through the cake, extending into the very bottom of the pan. The objective is creating pathways through which pudding can travel, so holes must penetrate completely.
Some bakers find that wiping the spoon handle between each puncture prevents it from sticking to the cake and extracting unwanted crumbs. This simple technique maintains hole integrity and your cake’s overall appearance.
Pudding Mixing and Application
In a separate bowl, combine your instant pudding mix with cold milk, whisking constantly to incorporate the powder evenly. Continue mixing until the pudding thickens to a consistency that pours easily but coats a spoon—typically 1 to 2 minutes of whisking. Pouring too early produces a mixture too thin to concentrate filling in the holes, while waiting too long results in a gel-like consistency that won’t flow properly.
Pour the pudding mixture directly over the entire cake surface. Using the back of a spoon or an offset spatula, spread the pudding across the cake while gently pushing it into the previously created holes. This dual action ensures pudding reaches deeply into the cake structure while establishing an even surface layer.
Setting and Final Assembly
Transfer the cake to your refrigerator and allow it to chill for a minimum of two hours. This time allows the pudding to fully set and the flavors to meld throughout the cake. Once adequately chilled, spread the whipped topping across the entire surface, creating an appealing presentation. Finish with crushed vanilla wafers and any additional garnishes you prefer—sliced bananas, chocolate shavings, or sprinkles enhance both appearance and flavor.
Variations and Creative Adaptations
While banana pudding represents the traditional favorite, numerous variations expand this dessert’s possibilities. Chocolate enthusiasts can substitute chocolate cake mix with chocolate pudding, creating a decadent double-chocolate experience. White cake mixed with white chocolate pudding and pastel sprinkles creates an elegant Easter or spring dessert. Butterscotch pudding offers a rich alternative for those seeking deeper caramel notes.
Seasonal variations introduce flavors aligned with specific times of year. Pumpkin spice cake with vanilla pudding suits autumn celebrations, while strawberry cake with strawberry pudding captures summer freshness. These adaptations maintain the fundamental preparation method while offering new flavor experiences.
Storage and Make-Ahead Tips
Properly stored poke cake maintains quality for up to 4 days when kept refrigerated in an airtight container. The pudding-soaked cake actually improves slightly over the first 24 hours as flavors continue developing and integrating. Adding whipped topping immediately before serving prevents it from becoming watery or absorbing pudding moisture.
For advance preparation, you can bake and poke the cake up to one day ahead, then add pudding the next day. This flexibility makes poke cakes excellent for entertaining, as the most time-intensive steps can be completed early. Simply add toppings shortly before serving.
Frequently Asked Questions
Can I prepare this dessert without instant pudding mix?
While instant pudding provides convenience, you can substitute with homemade pudding made from scratch using cornstarch, milk, sugar, and flavoring. The consistency should match instant pudding for optimal results—pourable but beginning to thicken. Prepare homemade pudding shortly before use to ensure proper timing.
What causes a dry poke cake?
Dryness typically results from overbaking the initial cake or using insufficient pudding mixture. Ensure your cake reaches proper doneness without exceeding recommended baking time. Use the full amount of pudding specified, allowing adequate liquid to soak into the cake structure.
How can I prevent holes from closing during pudding application?
Holes naturally remain open once created in the cake structure. Gently pushing pudding into holes using the back of a spoon ensures filling reaches throughout the cake without disrupting the hole patterns themselves.
Is this dessert suitable for individual servings?
Yes, you can adapt this recipe to cupcake or individual ramekin formats. Reduce baking time accordingly for smaller portions, and adjust pudding quantity proportionally. Individual servings can be stored in covered containers and assembled shortly before serving.
What’s the best milk temperature for pudding mixing?
Cold milk works best for instant pudding, as it sets more reliably and creates the desired texture. Avoid warm milk, which can result in a thinner consistency that won’t properly set before serving.
Conclusion: Mastering Your Poke Cake Success
The pudding poke cake represents an achievable yet impressive dessert that combines simplicity with elegant results. By understanding each component’s role and following preparation steps carefully, you’ll create a moist, flavorful confection that impresses family and guests alike. The versatility of this dessert allows for creative variations while maintaining a proven foundation. Whether you’re preparing your first poke cake or refining an established technique, these guidelines ensure consistently delicious outcomes that showcase your baking confidence.
References
- All Things Mamma Banana Pudding Poke Cake — All Things Mamma. Accessed 2026-04-09. https://www.allthingsmamma.com/pudding-poke-cake/
- Pudding Poke Cake Recipe — Jell-O / Kraft Heinz. Accessed 2026-04-09. https://www.kraftheinz.com/jell-o/recipes/506281-pudding-poke-cake
- Banana Pudding Poke Cake — The Country Cook. Accessed 2026-04-09. https://www.thecountrycook.net/banana-pudding-poke-cake/
- Banana Pudding Poke Cake Recipe — Amanda’s Cookin’. Accessed 2026-04-09. https://amandascookin.com/banana-pudding-poke-cake/