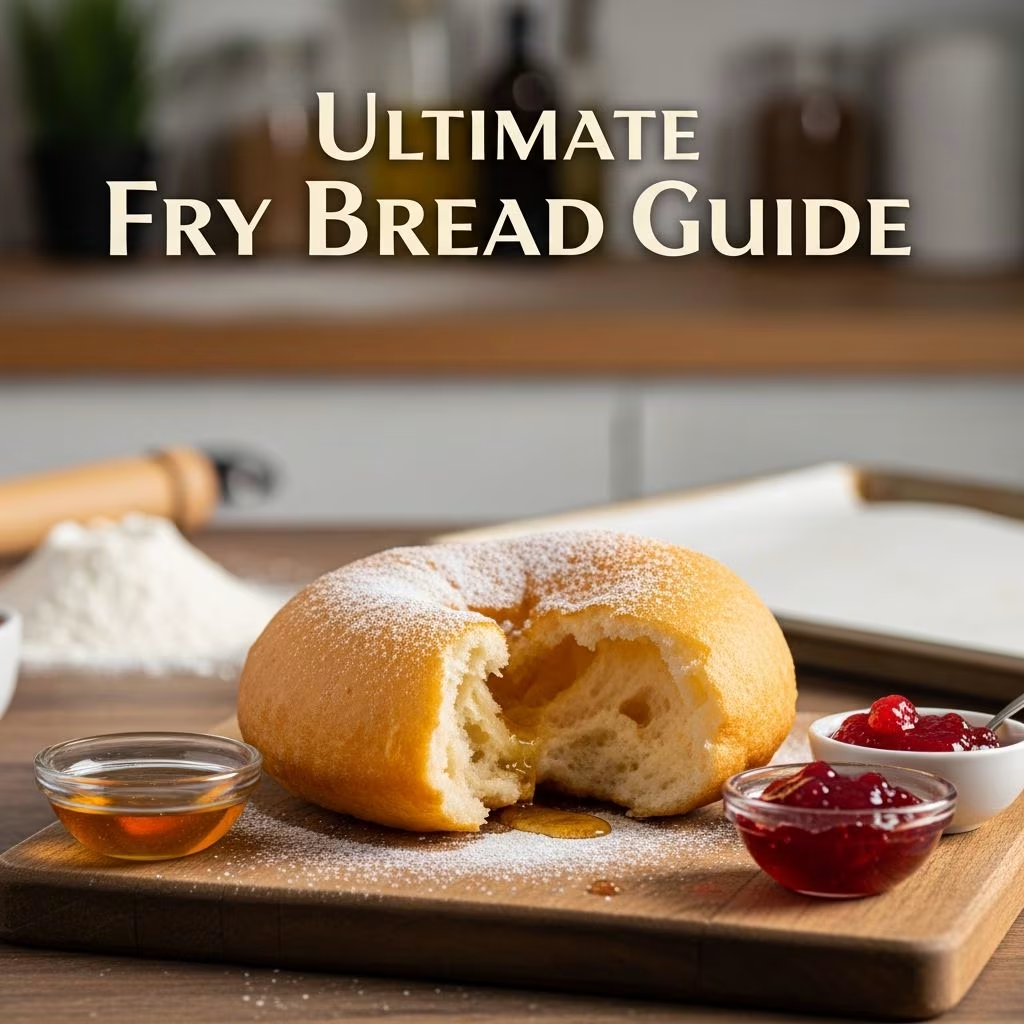
Golden, puffed, and irresistibly crispy on the outside while soft within, fry bread stands as a beloved staple that bridges cultures and cuisines. This versatile flatbread, often associated with Native American traditions, requires just a handful of pantry basics and minimal effort to prepare. Whether topped with savory taco fillings or drizzled with honey for a sweet finish, mastering fry bread opens doors to endless meal possibilities.
The Origins and Cultural Significance of Fry Bread
Fry bread emerged as a creative adaptation during challenging historical periods, particularly among Native American communities in the United States. Introduced through government-issued rations in the 19th century, it transformed limited ingredients like flour, salt, and lard into a nourishing food source. Over generations, it evolved from necessity to celebration, featuring prominently at powwows, family gatherings, and everyday meals.
Today, fry bread symbolizes resilience and ingenuity. In Southwestern tribes like the Navajo, it’s the base for ‘Navajo tacos,’ layered with beans, meat, and fresh vegetables. Elsewhere, it’s enjoyed plain, sweetened, or as a side. Its popularity extends beyond indigenous kitchens, appearing in diners and home recipes nationwide, adapting to modern tastes while honoring its roots.
Essential Ingredients for Perfect Fry Bread
At its core, fry bread relies on simplicity. Most recipes call for all-purpose flour as the structural base, providing gluten for elasticity. Baking powder or self-rising flour introduces lift, creating that signature puff during frying. Salt enhances flavor, while a liquid—warm water, milk, or a mix—binds everything into a soft, workable dough.
Oil is crucial for frying, with neutral options like vegetable, canola, or peanut holding up to high heat without burning. Some variations incorporate a touch of oil or fat into the dough for tenderness. Here’s a breakdown of common components:
- Flour: 2 cups all-purpose (240-300g); self-rising works for quicker prep.
- Leavening: 1-1.5 tsp baking powder; skip if using self-rising.
- Salt: 1/2 tsp for balanced seasoning.
- Liquid: 3/4-1 cup warm water or milk (180-240ml) for hydration.
- Fat: 1 tbsp oil (optional, for dough softness).
- Frying oil: 1-2 inches deep in pan.
Proportions may vary slightly by recipe, but the goal is a slightly sticky dough that rests briefly to relax gluten.
Step-by-Step Recipe: Classic Quick Fry Bread
This beginner-friendly version yields about 8-10 pieces, ready in under an hour. It uses baking powder for instant rise, no yeast required.
Ingredients
| Ingredient | Amount |
|---|---|
| All-purpose flour | 2 cups (240g) |
| Baking powder | 1 tbsp (12g) |
| Salt | ½ tsp |
| Warm water | ¾-1 cup (180-240ml) |
| Oil (for dough) | 1 tbsp (optional) |
| Vegetable oil (for frying) | Enough for 1-2 inches depth |
Instructions
Mix dry ingredients: In a large bowl, whisk flour, baking powder, and salt until evenly combined.
Add liquid: Pour in warm water (and oil if using) gradually. Stir with a spoon or hands until a shaggy dough forms—avoid overmixing to keep it tender.
Knead and rest: Turn onto a floured surface and knead lightly for 1-2 minutes. Cover with a damp cloth and rest 10-30 minutes. This step hydrates the flour fully.
Shape: Divide into golf-ball-sized portions. On floured surface, pat or roll each into 6-7 inch circles, about ¼-inch thick. Poke a small hole in center to prevent bubbling.
Heat oil: In a deep skillet or pot, heat 1-2 inches oil to 350-375°F (use a thermometer or test with a dough scrap—it should sizzle immediately).
Fry: Gently place dough rounds in oil. Cook 20-30 seconds per side until golden and puffed. Drain on paper towels. Keep warm in a 200°F oven if making batches.
Total time: 45 minutes. Per piece: ~90-150 calories, depending on size and oil absorption.
Alternative Dough Variations
Customize based on what you have:
- Self-Rising Shortcut: Swap for 2 cups self-rising flour + 1 cup warm milk. Knead with 1 tbsp oil.
- Yeast Version: For chewier texture, use store-bought frozen dough (thawed) or homemade with yeast, flour, and water. Rest longer (1-2 hours).
- Milk-Based: Substitute water with milk for richer flavor and softer crumb.
- Gluten-Free: Use a 1:1 gluten-free flour blend with xanthan gum and extra baking powder.
Each tweak maintains the quick-fry essence while suiting dietary needs.
Mastering the Fry: Tips for Crispy, Puffy Results
Achieving restaurant-quality fry bread hinges on technique. Oil temperature is key—too low, and it greases up; too high, it burns. Aim for steady sizzle.
Don’t roll too thin; ¼-inch thickness ensures puffing without tearing. Fry in small batches to avoid crowding, which drops temperature. After frying, a quick sprinkle of salt while hot enhances crispiness.
Common pitfalls: Over-kneading toughens dough; skipping the rest leads to shrinkage. For extra fluff, use hot (130°F) water to activate baking powder instantly. Safety first: Use tongs, never leave hot oil unattended, and fry in a stable, deep pot.
Savory Topping Ideas for Hearty Meals
Fry bread shines as a taco base. Layer with refried beans, seasoned ground beef, shredded lettuce, cheese, tomatoes, and sour cream for a budget-friendly feast.
Other savory combos:
- Chili, onions, jalapeños, and avocado.
- Hummus, feta, olives for Mediterranean twist.
- Eggs, bacon, and green onions for breakfast stacks.
These turn simple bread into full meals, serving 4-6 generously.
Sweet Toppings for Dessert Delights
For sweets, dust with powdered sugar or cinnamon-sugar right out of the fryer. Drizzle honey, maple syrup, or chocolate sauce. Add fruit like berries and whipped cream for stuffed versions.
Party ideas: Mini fry breads with Nutella, ice cream scoops, or caramel apples. They’re crowd-pleasers at gatherings.
Storage, Freezing, and Reheating
Best eaten fresh, but store cooled pieces in an airtight container up to 2 days. Reheat in a 350°F oven for 5 minutes to restore crispness—avoid microwave sogginess.
Freeze uncooked dough balls up to 3 months; thaw, rest, and fry. Cooked fry bread freezes well too, layered with parchment.
Nutrition and Dietary Notes
One 6-inch piece offers ~150 calories, mostly from carbs and frying oil. It’s naturally vegan (water-based) and can be adapted gluten-free. Pair with proteins and veggies for balanced plates.
Frequently Asked Questions (FAQs)
Why doesn’t my fry bread puff up?
Check oil temp (350°F+), ensure baking powder freshness, and rest dough adequately.
Can I bake instead of fry?
Baking at 400°F yields a healthier flatbread, but lacks traditional puff and crisp.
Is fry bread healthy?
Moderate indulgence; use less oil or air-fry for lighter versions.
How do I make it vegan?
Use water instead of milk; it’s already plant-based.
What’s the best oil for frying?
High-smoke-point neutrals like canola or peanut.
References
- 3 Ingredient Fry Bread Without Yeast — Parnell The Chef (YouTube). 2023. https://www.youtube.com/watch?v=rGbcamDHZ14
- Easy Fry Bread Recipe — In the Kitchen with Matt. 2023-10-15. https://www.inthekitchenwithmatt.com/easy-fry-bread
- Grandma’s Fry Bread Recipe — Lil’ Luna. 2024. https://lilluna.com/homemade-indian-fry-bread/
- Easy Fry Bread Recipe (Fast & Budget Friendly!) — Little Hill Homestead (YouTube). 2023. https://www.youtube.com/watch?v=ca0BCtrBTN4
- How to make Indian Fry Bread (Quick and Easy Recipe) — Eating on a Dime (YouTube). 2023. https://www.youtube.com/watch?v=Vg8OS-wcI-A
- Traditional Indian Fry Bread — Norine’s Nest. 2023. https://www.norinesnest.com/traditional-indian-fry-bread/