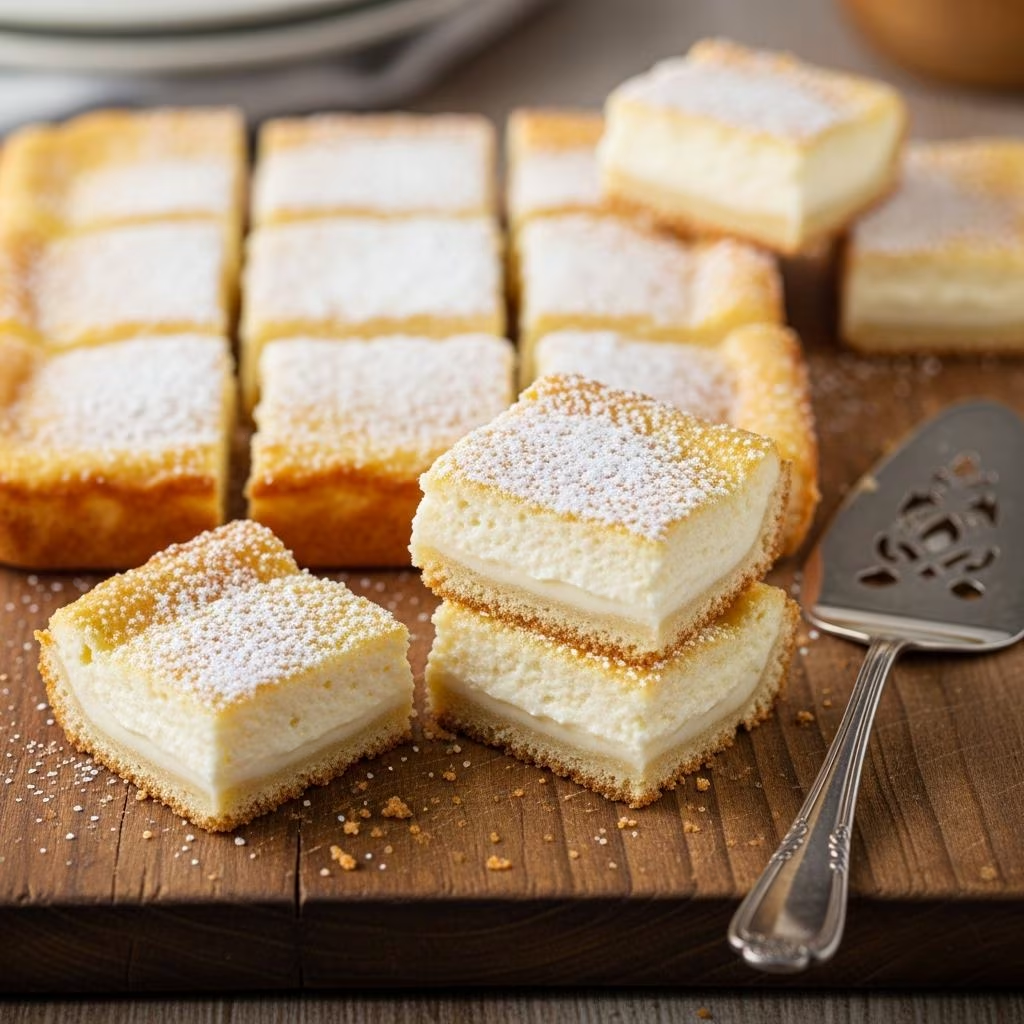
Cream cheese squares represent one of the most straightforward yet impressive desserts you can prepare in your kitchen. This sweet treat combines a sturdy foundation with a rich, creamy filling, delivering a dessert that satisfies without requiring extensive baking experience. The beauty of this recipe lies in its simplicity—just a handful of ingredients and basic mixing techniques yield results that taste like they came from a professional bakery.
Understanding the Fundamentals of Cream Cheese Squares
At their core, cream cheese squares consist of two essential components working in harmony. The base provides structural support and textural contrast, while the topping delivers the indulgent flavor profile that makes this dessert memorable. The interplay between these layers creates a dessert that remains moist and flavorful even after cooling, making it ideal for preparation ahead of serving.
What sets cream cheese squares apart from other desserts is their versatility. Whether you opt for a cake mix foundation or pastry-based crust, the filling remains consistent in delivering that characteristic tangy sweetness that defines the treat. This flexibility allows home bakers to adjust the recipe based on available ingredients or personal preferences.
Essential Ingredients and Substitution Options
Creating cream cheese squares begins with gathering quality ingredients. The cream cheese serves as the star ingredient—this must be softened to room temperature before mixing to ensure a smooth, lump-free filling. Using cold cream cheese results in an uneven texture with visible chunks that compromise the final product.
For the base layer, you have two primary approaches. A boxed butter cake mix offers convenience and consistent results, requiring minimal additional ingredients. Alternatively, refrigerated crescent roll dough provides a flakier, more pastry-like foundation that some bakers prefer for its textural contrast.
Base Layer Ingredients
- Butter cake mix or crescent roll dough
- Softened butter (typically 3/4 to 1 stick for cake mix, or 5 tablespoons for crescent rolls)
- One egg
Filling Layer Ingredients
- 8 ounces cream cheese, softened
- 16 ounces powdered sugar
- Two eggs
- One teaspoon vanilla extract
- Optional: 1/4 teaspoon coconut extract for added depth
Topping Options
- Melted butter for brushing
- Cinnamon sugar mixture (1/2 cup sugar mixed with 1-2 teaspoons cinnamon)
- Additional powdered sugar for dusting
Step-by-Step Preparation Process
Preparing Your Work Space
Before you begin mixing, prepare your baking vessel. A 9×13 inch baking pan works perfectly for standard recipes, though an 8×8 inch pan creates thicker, more decadent squares. Line your pan with parchment paper or aluminum foil for easy removal, then spray generously with cooking spray to prevent sticking.
Preheat your oven to the appropriate temperature—typically 325-350 degrees Fahrenheit, depending on your base choice. Allowing the oven to reach full temperature ensures even baking throughout.
Creating the Base Layer
For a cake mix base, combine one box of butter cake mix with softened butter and one egg. Mix these ingredients until a thick, cohesive dough forms. This mixture should hold together but remain slightly crumbly. Press this mixture firmly across the bottom of your prepared pan, creating an even layer that covers the entire surface.
If using crescent rolls, unroll the dough and press all perforations and seams together firmly to create a single sheet. Lay this sheet across the bottom of your baking pan, stretching it gently to cover the entire surface. This step prevents the filling from seeping between gaps in the dough during baking.
Mixing the Cream Cheese Filling
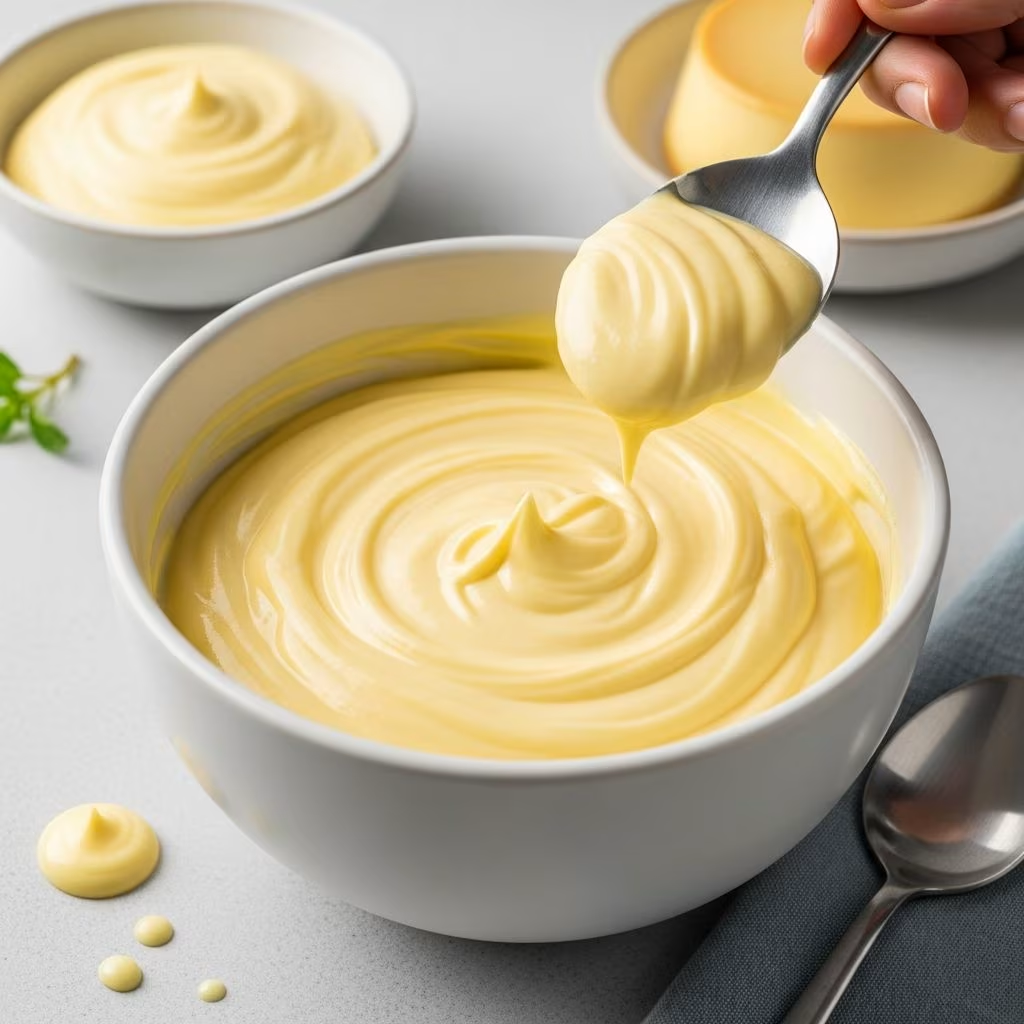
In a separate bowl, combine softened cream cheese, powdered sugar, eggs, and vanilla extract. This is where patience matters—use an electric mixer on the lowest setting to blend these ingredients thoroughly. The goal is achieving a smooth consistency without incorporating excessive air. Over-mixing introduces air bubbles that create an undesirable texture in the finished product.
Begin mixing at low speed, paying special attention to breaking up any lumps of cream cheese or powdered sugar. If you notice sugar clouds forming, momentarily stop the mixer and gently stir with a spatula before resuming. This prevents powdered sugar from creating a mess while still achieving complete integration of ingredients.
Once the filling reaches a smooth, uniform consistency, pour it directly over your prepared crust. Use a spatula to spread the filling evenly across the surface, ensuring it reaches all corners. The filling should settle naturally into an even layer without requiring excessive manipulation.
Baking Techniques for Optimal Results
Baking time varies based on your chosen base and oven characteristics, typically ranging from 25 to 45 minutes. For cake mix bases, expect baking to take closer to 40-45 minutes, while crescent roll versions complete in 25-30 minutes. The dessert is done when the top appears set and lightly golden, though a slight wobble in the center indicates perfect doneness.
Watch for visual cues rather than relying solely on time. The surface should develop a light golden-brown color, and you may notice small cracks forming as the filling sets. These cracks indicate proper baking—they allow steam to escape and prevent the top from becoming too dense.
Temperature Considerations
Different base choices benefit from slightly different oven temperatures. Cake mix bases typically require 325-350 degrees to prevent over-browning the crust while allowing the filling to set properly. Crescent roll versions can handle 350 degrees without issue, as the pastry dough has higher browning tolerance.
Cooling and Storage Guidance
Allowing your cream cheese squares to cool completely at room temperature is essential for achieving the correct texture. As the dessert cools, the filling firms up, making cutting cleaner and easier. While the squares may wobble slightly when first removed from the oven, this is normal—the filling continues setting as it reaches room temperature.
For additional firmness, refrigerate the cooled squares for at least two hours before cutting. This is particularly important for crescent roll versions, which benefit from chilling to achieve clean cuts without the filling smearing. Cold squares are also less likely to crack when cut.
Store your cream cheese squares in an airtight container in the refrigerator for up to five days. These desserts also freeze well—wrap individual squares in plastic wrap before freezing for up to three months. Thaw frozen squares in the refrigerator overnight before serving.
Flavor Variations and Customizations
Sweet Enhancement Options
- Add 1/4 teaspoon almond extract for a subtle nutty undertone
- Include a pinch of cardamom or nutmeg for warmth
- Mix 1/2 teaspoon lemon zest into the filling for brightness
Topping Modifications
- Create a snickerdoodle variation by increasing cinnamon in the topping mixture
- Sprinkle chopped pecans or walnuts over the cinnamon sugar layer
- Drizzle melted chocolate over the finished squares for elegance
Troubleshooting Common Issues
Cracks in the Filling
While some cracking is normal and indicates proper baking, excessive cracking usually signals over-baking. Reduce baking time by five minutes on your next attempt, or lower the oven temperature by 25 degrees. Additionally, ensure your oven isn’t running hotter than indicated by checking with an oven thermometer.
Lumpy Filling
This results from using cold cream cheese or insufficient mixing. Always soften cream cheese to room temperature before mixing, and use an electric mixer rather than hand mixing to ensure thorough blending. If lumps persist, press the filling through a fine-mesh sieve before pouring over the crust.
Soggy Crust
Pre-baking the base layer for 5-10 minutes before adding the filling prevents this issue. This partially sets the crust, creating a barrier that prevents excess moisture absorption. The crust continues baking alongside the filling, resulting in a firm foundation.
Filling Won’t Set
Ensure you’re baking at the correct temperature and for adequate duration. Underbaked filling results from insufficient heat or premature removal from the oven. Remember that the filling continues setting as it cools, so a slight wobble when hot is acceptable.
Comparing Base Options
| Base Type | Baking Temperature | Baking Time | Texture Profile | Flavor Note |
|---|---|---|---|---|
| Cake Mix | 325-350°F | 40-45 minutes | Dense, cakey | Subtle sweetness |
| Crescent Rolls | 350°F | 25-30 minutes | Flaky, pastry-like | Buttery |
Serving Suggestions and Occasions
Cream cheese squares work beautifully in numerous settings. Serve them cold alongside morning coffee for a sophisticated breakfast treat, or present them as a dessert following a casual family meal. Their firm texture when chilled makes them ideal for serving at picnics, potlucks, and outdoor gatherings where messy finger foods are impractical.
Individual squares can be individually wrapped and packaged as homemade gifts, making them perfect for neighbors, coworkers, and friends. The dessert’s stability during storage and transport makes it significantly more practical than many alternative baked goods.
Nutritional Considerations
These squares are decidedly indulgent, featuring significant amounts of cream cheese, butter, and sugar. A single square typically contains 195-250 calories depending on size and ingredients chosen. The dessert provides minimal nutritional value beyond calories and fat, making portion control an important consideration for health-conscious consumption.
Frequently Asked Questions
Can I use a different size baking pan?
Yes, though pan size affects thickness and baking time. Smaller pans create thicker, more decadent squares requiring additional baking time. Larger pans yield thinner squares that bake more quickly. Adjust baking time by 5-10 minute increments based on your pan choice.
What’s the best way to cut clean squares?
Use a sharp knife dipped in hot water, wiping between cuts. This prevents filling from sticking to the blade. Alternatively, chill the squares thoroughly before cutting—cold filling yields cleaner cuts than room-temperature filling.
Can I make these squares in advance?
Absolutely. These desserts maintain quality for five days refrigerated or three months frozen. Prepare them several days ahead and simply reheat if desired, or serve cold directly from the refrigerator.
What happens if I forget to soften the cream cheese?
Cold cream cheese won’t blend smoothly with other ingredients, resulting in a lumpy filling. If you’ve already mixed cold cream cheese, place the bowl over warm water briefly to warm it, then continue mixing until smooth.
Are there egg-free alternatives?
Yes, though eggs provide structure and richness. A commercial egg replacement product works in equal measures, or you can try applesauce (1/4 cup per egg) though this slightly alters the final texture.
References
- Cream Cheese Squares Recipe — Katie Gets Creative. https://www.katiegetscreative.com/2015/09/cream-cheese-squares.html
- Super Simple Cream Cheese Squares Dessert — Thirty Handmade Days. https://www.thirtyhandmadedays.com/cream-cheese-squares_dessert/
- Cream Cheese Squares Recipe, Picture Guide — The Country Basket. https://thecountrybasket.com/cream-cheese-squares-recipe-picture-guide/
- Cream Cheese Squares — Kraft Heinz Philadelphia Recipes. https://www.kraftheinz.com/philadelphia/recipes/555227-cream-cheese-squares
- Cream Cheese Bars — Home Cooked Harvest. https://homecookedharvest.com/cream-cheese-bars/