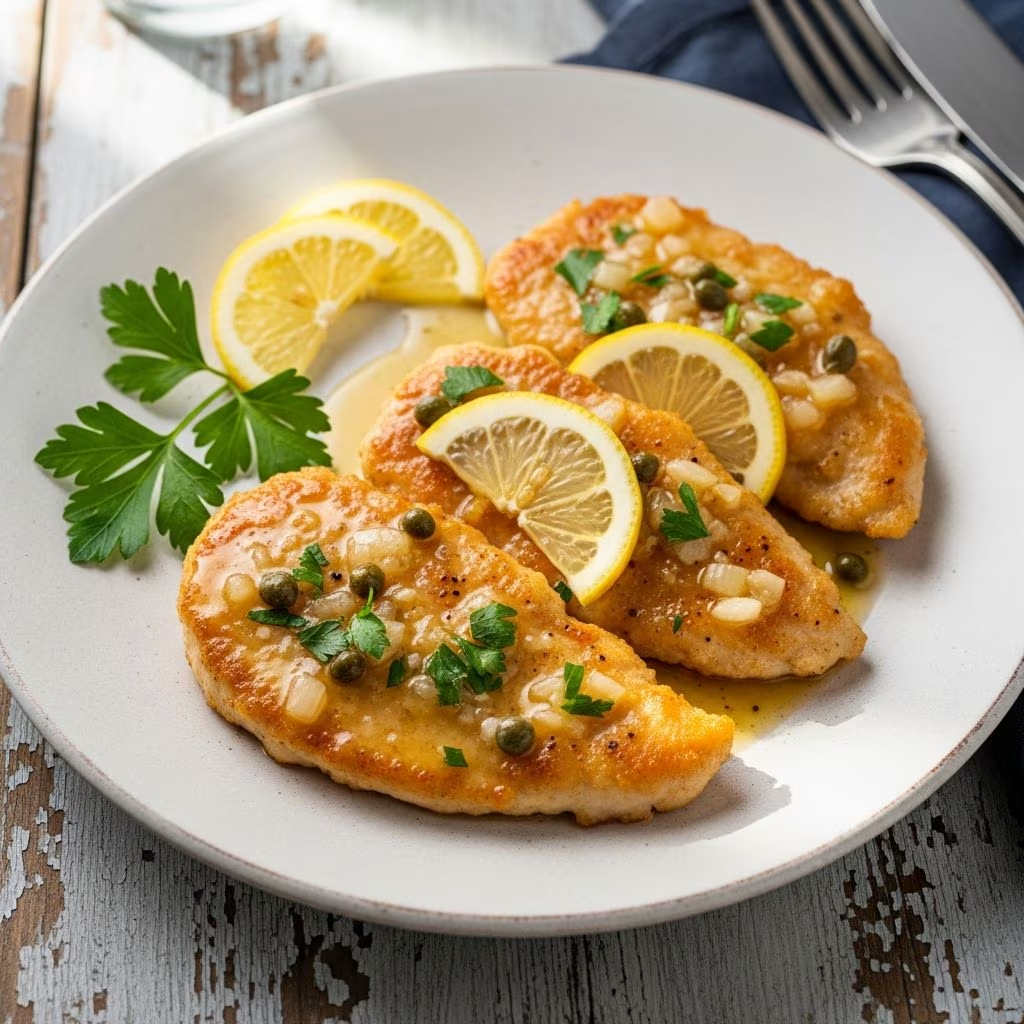
Chicken scallopini represents one of the most approachable yet impressive dishes in Italian cuisine. Despite its sophisticated name and elegant presentation, this dish requires minimal culinary experience and can be prepared in under thirty minutes. The appeal of scallopini lies in its simplicity: thinly pounded chicken breast cutlets are delicately coated in flour, quickly pan-fried until golden, and then finished with a bright, buttery sauce that transforms the entire dish into something restaurant-worthy.
The technique behind scallopini is deceptively straightforward. By pounding the chicken breasts thin, you create an even cooking surface that allows the meat to cook rapidly while remaining incredibly tender. The flour coating develops a delicate crust that provides textural contrast against the juicy interior. The final sauce, whether based on white wine, lemon, or mushrooms, elevates the simple protein into a complete dish that feels sophisticated enough to serve to guests.
Understanding the Foundation: What Defines Chicken Scallopini
The term “scallopini” comes from Italian culinary tradition and refers to a cooking method rather than a specific ingredient. While the dish is traditionally made with veal, chicken scallopini has become increasingly popular due to its accessibility and lower cost. The defining characteristics of scallopini include the thin-sliced, pounded meat preparation, the light flour coating, quick pan-frying technique, and a sauce component that brings everything together.
The beauty of chicken scallopini is that it bridges the gap between everyday cooking and fine dining. Home cooks can achieve professional results by understanding the basic principles: proper meat preparation, correct heat management, and sauce development. The dish teaches fundamental cooking techniques that apply across many cuisines and can be mastered with practice.
Selecting and Preparing Your Chicken
The foundation of excellent scallopini begins with quality chicken. Boneless, skinless chicken breasts are the traditional choice, though some variations use chicken cutlets sold pre-sliced. When selecting chicken, look for breasts that are relatively uniform in thickness to promote even cooking. Organic or air-chilled chicken often provides superior texture and flavor compared to mass-produced alternatives.
Proper preparation is essential for achieving the characteristic thin, tender pieces. Start by slicing each chicken breast horizontally to create cutlets approximately half an inch thick. If your breasts are particularly thick, you can butterfly them by slicing them halfway through and then opening them like a book before pounding. Place each piece between plastic wrap or in a plastic bag and pound gently but firmly using a meat mallet. The goal is to achieve uniform thickness of roughly one-eighth to one-quarter inch, which allows for rapid cooking while maintaining juiciness.
After pounding, pat the chicken dry with paper towels. Moisture on the surface prevents proper browning and can cause splattering when the meat hits hot oil. Season both sides generously with salt and freshly ground black pepper. Allow the seasoned chicken to rest at room temperature for five to ten minutes before proceeding, which allows the seasoning to permeate the meat.
The Flour Coating: Creating the Perfect Crust
The flour coating serves multiple purposes: it promotes browning through the Maillard reaction, provides textural contrast, and helps create a base for pan sauce development. Standard all-purpose flour works perfectly for this application. Some cooks add a small amount of cornstarch to the flour, which can create a slightly crispier exterior, though this is entirely optional.
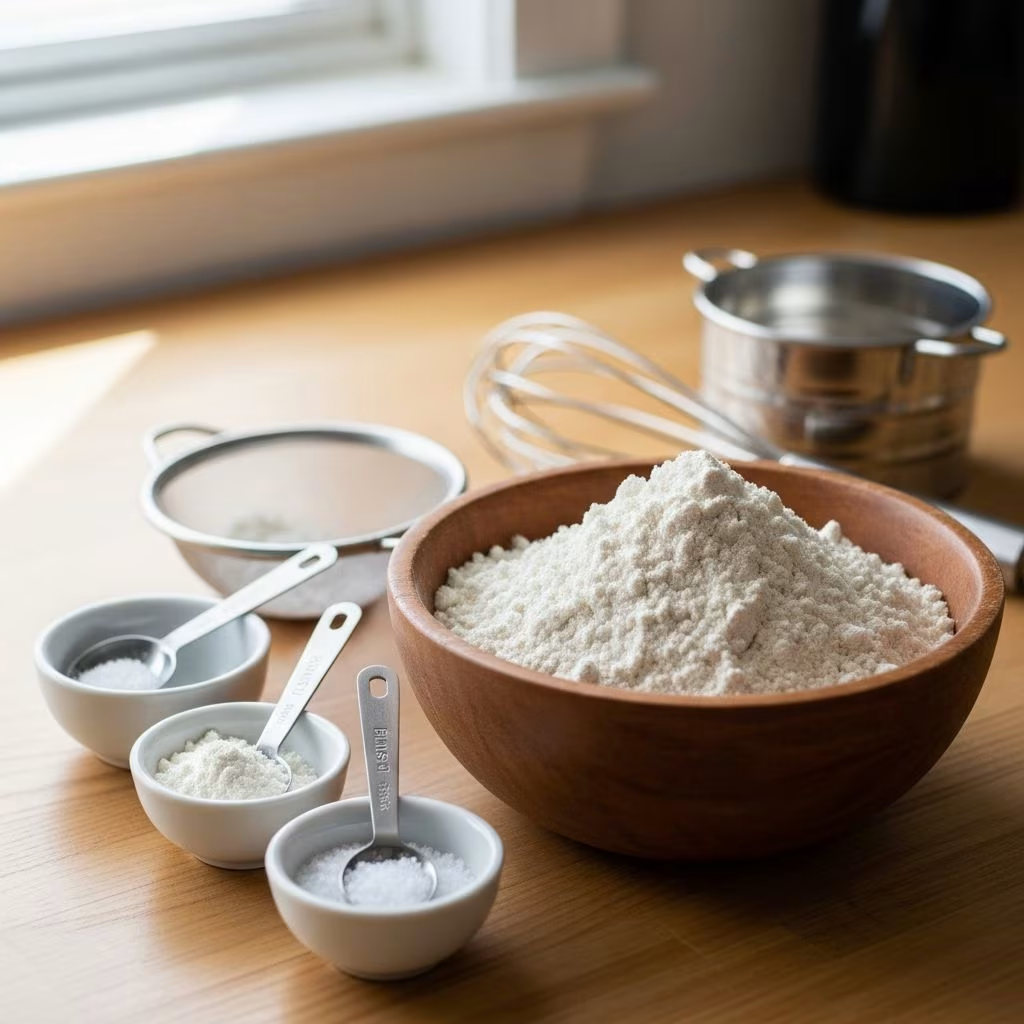
Pour approximately half a cup of flour into a shallow dish and season it lightly with salt and pepper. Mix thoroughly with a fork or whisk to distribute the seasonings evenly. Working with one piece of chicken at a time, dredge it in the seasoned flour, coating both sides evenly. Shake off any excess flour and place the coated cutlet on a parchment-lined sheet tray. This assembly-line approach prevents the coated chicken from becoming soggy while you prepare the others.
The timing of coating is important: coat the chicken no more than fifteen minutes before cooking, as the flour will gradually absorb moisture and lose its ability to create a crispy exterior. If you must prepare the chicken ahead, coat it just before cooking and keep the uncoated pieces separate in the refrigerator.
Mastering the Pan-Frying Technique
Heat management is critical to achieving perfect scallopini. Use a large skillet, preferably stainless steel or cast iron, which retains heat effectively and allows you to develop a proper golden crust. Add two to three tablespoons of olive oil or a combination of oil and butter to the pan over medium-high heat. The oil should shimmer and move freely across the surface but should not smoke heavily.
Working with two to three pieces at a time to avoid overcrowding, carefully place the coated chicken into the hot oil. You should hear an immediate sizzle, indicating that the temperature is appropriate. Resist the urge to move the chicken around; allow it to cook undisturbed for two to three minutes until the bottom develops a golden-brown crust. Flip each piece carefully and cook the opposite side for an additional two to three minutes until both sides achieve an even golden color.
Transfer the cooked chicken to a clean plate as each batch finishes. Don’t stack the pieces on top of each other, as steam will soften the exterior crust. If you’re making the dish for multiple people, you can keep the finished chicken warm in a 200-degree Fahrenheit oven while you complete the remaining batches and prepare the sauce.
Creating the Perfect Pan Sauce
The sauce transforms simple pan-fried chicken into something extraordinary. The most classic approach begins by deglazing the pan with white wine, which lifts the flavorful browned bits (fond) from the bottom. Use a wooden spoon to scrape vigorously while the wine sizzles and reduces. This process concentrates flavors and creates the base for your sauce.
After allowing the wine to reduce for a minute or two, add fresh lemon juice and chicken broth. Bring this mixture to a gentle simmer and let it reduce until the flavors concentrate and the volume decreases by about half. This typically takes three to five minutes depending on your heat level.
The most luxurious touch comes from finishing the sauce with cold butter. Remove the pan from heat and whisk in cold butter cut into small cubes. Add the butter gradually, whisking constantly, which creates an emulsion that gives the sauce a silky, velvety texture. If you’re making a mushroom variation, add sautéed mushrooms and shallots at this stage, stirring gently to combine. Some versions incorporate grated Parmigiano-Reggiano cheese, which adds richness and umami depth.
Fresh herbs provide the final flavor layer. Finely minced parsley, lemon zest, or a combination of both brightens the sauce and adds visual appeal. Taste the sauce and adjust seasoning with additional salt and pepper as needed. Return the cooked chicken to the pan, gently tossing to coat each piece with the glossy sauce.
Popular Flavor Variations and Accompaniments
While the classic lemon-butter preparation remains the most popular, numerous variations allow for creative exploration. A mushroom version incorporates sautéed button or cremini mushrooms and sometimes includes cream for richness. The earthiness of mushrooms complements the bright lemon and butter beautifully.
Capers bring a briny, tangy element that plays well against buttery sauce. These small pickled buds can be stirred directly into the finished sauce or scattered across the top as garnish. Artichoke hearts offer another sophisticated addition, providing subtle sweetness and tender texture.
Some preparations include white wine reduction with a tomato component, creating a lighter version of traditional Italian red sauce. Others incorporate fresh herbs like oregano, thyme, or rosemary directly into the cooking process or as final garnish.
Regarding accompaniments, egg noodles or fresh pasta provide the classic pairing, allowing diners to collect the savory sauce with each bite. Alternatively, serve scallopini alongside roasted vegetables such as asparagus, green beans, or zucchini. Crusty bread makes an excellent companion for soaking up remaining sauce.
Ingredient Specifications and Measurements
| Ingredient | Standard Quantity (4 servings) | Function |
|---|---|---|
| Boneless, skinless chicken breasts | 4 medium breasts (12-14 oz each) | Protein base |
| All-purpose flour | ½ cup | Coating for browning |
| Olive oil | 3 tablespoons | Cooking medium |
| Dry white wine | ¾ cup | Deglazing and sauce base |
| Fresh lemon juice | 3-4 tablespoons | Acidity and brightness |
| Cold unsalted butter | 6-8 tablespoons | Sauce richness and emulsion |
| Chicken broth | ½ cup | Sauce volume and flavor |
| Mushrooms (optional) | 8 ounces | Earthy flavor addition |
| Fresh parsley | 2 tablespoons chopped | Garnish and freshness |
| Salt and pepper | To taste | Seasoning |
Timing and Preparation Strategy
The beauty of chicken scallopini is that the entire dish can be completed in thirty minutes or less. Begin your preparation by gathering all ingredients and equipment—this mise en place approach streamlines the cooking process. Pound and season the chicken first, allowing it to rest while you prepare remaining components. Slice mushrooms and shallots if using them. Measure wine, broth, and lemon juice into separate containers for easy access during cooking.
The actual cooking time is brief: approximately ten to twelve minutes for the chicken and five to eight minutes for sauce development. This makes scallopini ideal for weeknight dinners when time is limited. For entertaining, you can complete all preparation steps in advance, leaving only the actual cooking for when guests arrive—a strategy that impresses without creating stress.
Troubleshooting Common Challenges
Several issues can affect scallopini success. If the chicken becomes tough or dry, the most likely causes are overcooking or inadequate pounding. Ensuring uniform thickness prevents this problem. If the flour coating fails to brown properly, verify that your oil is sufficiently hot before adding chicken. A temperature that’s too low results in pale, soggy coating rather than golden crust.
If your butter sauce breaks or becomes greasy rather than silky, remember to remove the pan from heat before adding cold butter and whisk constantly to create proper emulsion. If the sauce seems thin, allow it to reduce further over medium heat before finishing with butter. If it’s too acidic, stir in additional butter to balance the flavors.
Frequently Asked Questions
Can I prepare chicken scallopini in advance?
You can pound and season the chicken several hours ahead, storing it covered in the refrigerator. Coat the chicken with flour no more than fifteen minutes before cooking to maintain crust quality. The finished dish is best served immediately, though leftovers can be refrigerated and gently reheated.
What wine should I use for this recipe?
Any dry white wine works well—Pinot Grigio, Sauvignon Blanc, or Vermentino are popular choices. The wine should be something you’d enjoy drinking, as lower-quality cooking wine produces inferior results. Avoid wines labeled “cooking wine,” which contain added salt and preservatives.
Can I substitute the butter with a lighter option?
While olive oil can replace some butter, the emulsified butter creates the characteristic silky texture that makes scallopini special. You could use half butter and half olive oil, or incorporate more chicken broth to reduce overall richness while maintaining flavor.
Is there a dairy-free version?
Yes, you can create a dairy-free scallopini by using olive oil instead of butter and omitting any cheese. The sauce will be thinner but still flavorful. Use extra-virgin olive oil and finish with it off heat for best results.
How do I know when the chicken is fully cooked?
Due to the thin pounding, scallopini cooks quickly. Internal temperature should reach 165°F when measured with a meat thermometer at the thickest point. The meat should be opaque throughout with no pink visible when cut.
References
- Chicken Scallopini Recipe – Chef Billy Parisi — Chef Billy Parisi. Accessed April 2026. https://www.billyparisi.com/chicken-scallopini/
- Chicken Scallopini – Culinary Hill — Culinary Hill. Accessed April 2026. https://www.culinaryhill.com/chicken-scallopini/
- Chicken Scallopini Recipe – Spiced Blog — Spiced Blog. Accessed April 2026. https://spicedblog.com/chicken-scallopini/
- USDA Food Safety and Inspection Service – Safe Internal Temperature Guide — United States Department of Agriculture. 2024. https://www.fsis.usda.gov/food-safety/safe-food-handling-and-preparation/food-safety-basics/safe-internal-temperature-chart
- The Maillard Reaction in Cooking – Scientific Explanation — Institute of Culinary Education. Accessed April 2026. https://www.ice.edu/