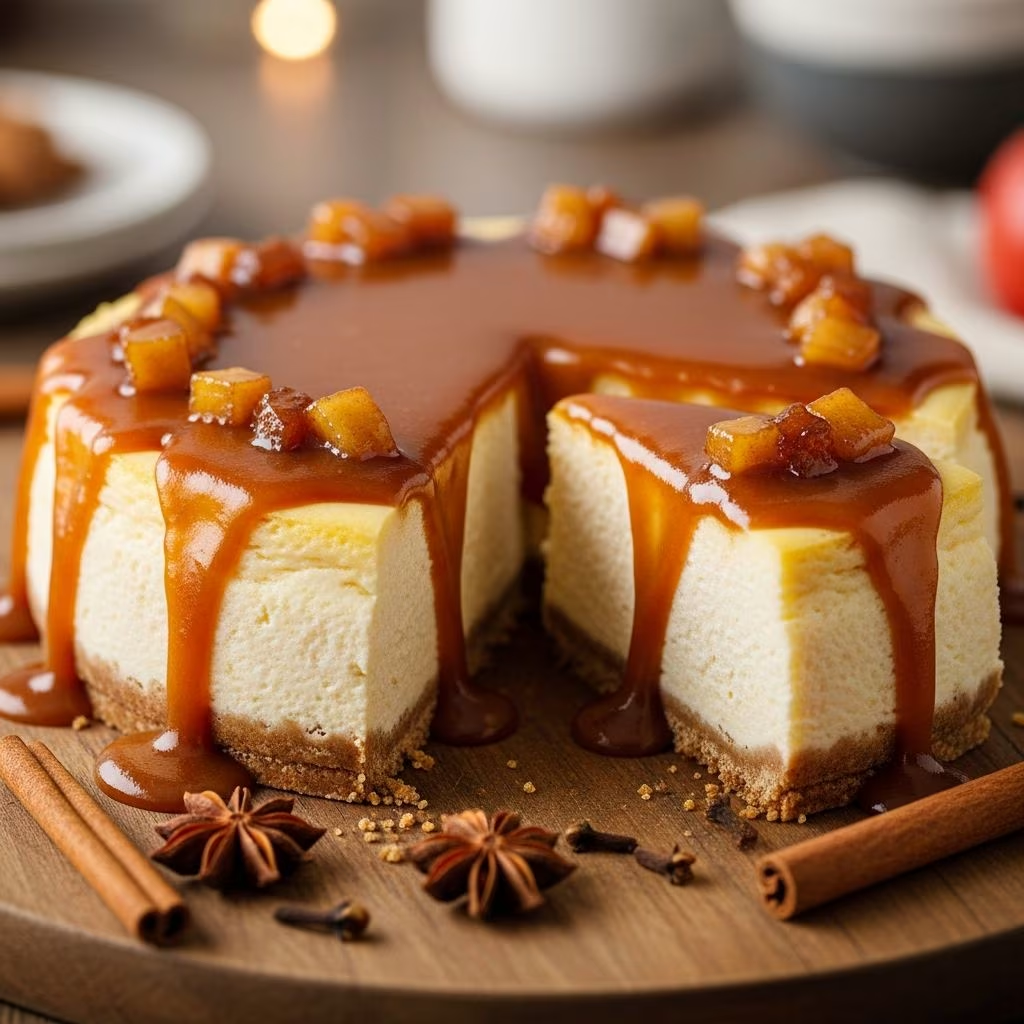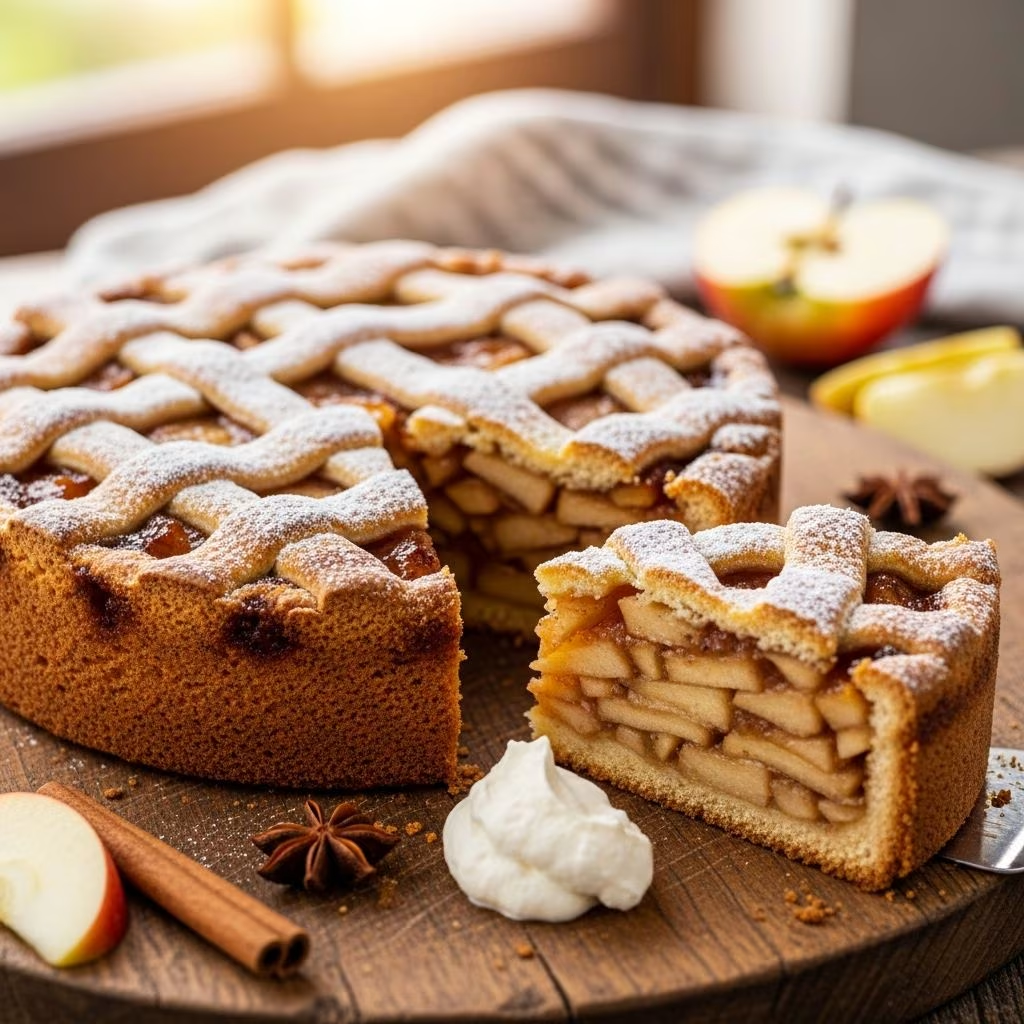
The Dutch apple cake represents a delightful intersection of simplicity and elegance, bringing together the comfort of cake with the natural sweetness of fresh apples. This traditional dessert has appeared in countless family recipes and vintage cookbooks, each version carrying its own charm and distinctive preparation methods. Whether you are a seasoned baker or someone exploring cake-making for the first time, understanding the fundamentals of Dutch apple cake will open doors to creating an impressive dessert that impresses both family and guests.
Understanding the Origins and Evolution
The history of Dutch apple cake stretches back generations, with versions documented in promotional cookbooks and family collections dating back to the early twentieth century. What makes this cake distinctly “Dutch” remains somewhat mysterious, as various bakers and culinary enthusiasts have adapted the recipe over decades. The consistent elements that define this style of cake include a tender base layer, fresh apple placement, and often a simple topping that adds texture and visual appeal. The versatility of this dessert has allowed it to remain popular across different regions and cultural traditions, with each baker adding their personal touch while maintaining the core characteristics that make it recognizable.
Essential Ingredients for Success
Creating a successful Dutch apple cake begins with gathering quality ingredients that work together harmoniously. The foundation consists of several key components that each play a vital role in the final product.
The Cake Base Components
The foundation of your Dutch apple cake requires basic pantry staples combined in precise proportions. Butter serves as the primary fat, contributing richness and structure to the crumb. Granulated sugar provides sweetness and helps create a tender texture. Eggs bind ingredients together while adding moisture and lift to the batter. All-purpose flour creates the structure, while baking powder ensures the cake rises properly during baking. Milk adds moisture and helps create a tender, moist texture throughout. Vanilla extract or paste contributes a warm, aromatic quality that complements both the cake and the apples.
Apple Selection and Preparation
The choice of apples significantly impacts your final result. Granny Smith apples offer an ideal balance of tartness and slight sweetness, maintaining their texture during baking without becoming mushy. Their firm flesh resists disintegrating in the oven, creating defined slices that remain visible in the finished cake. Alternative varieties such as Honeycrisp, Pink Lady, or a combination of different types can provide varying flavor profiles. Some bakers experiment with pears as a substitution, creating a fruit cake with different characteristics. The apples should be peeled, cored, and sliced to approximately one-quarter inch thickness to ensure even cooking and attractive presentation.
The Topping Elements
While some versions feature a simple cinnamon sugar topping, others incorporate a buttery crumb mixture. For a cinnamon sugar approach, combining granulated sugar with ground cinnamon creates a classic finishing layer. For a crumb topping variation, mixing flour, sugar, and butter into coarse, crumbly pieces adds textural contrast and visual interest. Both methods create a beautiful golden finish when baked properly.
Step-by-Step Preparation Methods
Preparing Your Baking Equipment
Begin by preheating your oven to 350 degrees Fahrenheit, allowing adequate time for even heat distribution. Prepare your baking pan by greasing it thoroughly or lining it with parchment paper. An 8×8-inch square pan or similar-sized round pan works well, depending on your preference and available equipment. Proper preparation prevents sticking and ensures even browning throughout the baking process.
Creating the Cake Batter
Start by creaming softened butter with granulated sugar until the mixture becomes light and fluffy, typically requiring two to three minutes of mixing. This process incorporates air into the mixture, contributing to the cake’s final texture. Add beaten eggs gradually, allowing each addition to incorporate fully before adding the next. Pour in milk along with vanilla extract, mixing until combined. In a separate bowl, combine flour, baking powder, and salt. Gently fold the dry mixture into the wet ingredients using a spatula or wooden spoon, stirring only until no dry flour remains. Overmixing at this stage can result in a tough, dense cake, so restraint is important.
Assembling the Layers
Pour half of the prepared batter into your prepared pan, spreading it evenly to create a level surface. Arrange half of the prepared apple slices over this base layer, pressing them gently into the batter so they make contact with the cake base. Spoon the remaining batter over the apples, spreading carefully to avoid displacing the fruit. Arrange the remaining apple slices on top, allowing them to overlap slightly if needed. This layering technique creates a cake with fruit distributed throughout rather than concentrated only on top. Finally, sprinkle your chosen topping generously over the entire surface, ensuring even coverage.
Baking and Cooling Techniques
Place your prepared cake into the preheated oven and bake for approximately 40 to 70 minutes, depending on your oven’s characteristics and the specific recipe proportions. The cake is ready when a toothpick inserted into the center comes out mostly clean, with only a few moist crumbs clinging to it. The top should develop a golden-brown color, and the apples should appear slightly caramelized around the edges.
Once baking is complete, remove the cake from the oven and place it on a wire cooling rack. Allow it to cool for at least 10 minutes before slicing and serving. This initial cooling period allows the structure to set while retaining warmth. The cake can be served warm directly from the cooling period or allowed to reach room temperature for a different texture and flavor profile.
Flavor Variations and Creative Adaptations
| Variation | Key Modifications | Best For |
|---|---|---|
| Spiced Version | Add cinnamon, nutmeg, and cloves to batter | Fall and winter occasions |
| Gluten-Free Adaptation | Substitute gluten-free flour blend with xanthan gum | Dietary restrictions |
| Bourbon Enhancement | Include bourbon or brandy in batter | Adults-only gatherings |
| Crumb Topping Option | Replace cinnamon sugar with buttery crumb mixture | Added textural complexity |
| Chai Spice Version | Incorporate chai spices; add drizzle on top | Contemporary interpretations |
Beyond the traditional preparation, bakers can experiment with numerous variations to create personalized versions. Adding warm spices like nutmeg, cloves, or allspice to the cake batter introduces complexity that complements the apple flavors. Those with dietary restrictions can substitute gluten-free flour blends containing xanthan gum to achieve similar results. Incorporating spirits like bourbon or brandy creates an adult-oriented version with sophisticated undertones. Experimenting with different apple varieties or adding pears creates variations in flavor intensity and tartness. These adaptations allow you to customize the cake to match seasonal ingredients, personal preferences, and dietary needs.
Serving Suggestions and Pairings
Dutch apple cake serves beautifully in multiple contexts throughout the day. As a breakfast or brunch item, it pairs wonderfully with strong coffee or tea, offering a more sophisticated alternative to typical morning pastries. For afternoon gatherings, serve slices at room temperature with hot beverages. As a dessert course, warm cake becomes exceptional when topped with a scoop of vanilla ice cream or a drizzle of caramel sauce. The contrast between the warm, tender cake and cold ice cream creates an appealing textural and temperature interplay. Whipped cream, crème fraîche, or Greek yogurt offer lighter alternatives to ice cream while still providing richness and moisture.
Storage and Make-Ahead Strategies
Proper storage extends the enjoyment of your finished cake. Keep covered cake at room temperature for up to two days, maintaining its moisture and flavor. For longer storage, wrap the cake tightly in plastic wrap or foil and refrigerate for up to five days. The cake actually develops deeper, more blended flavors after sitting for a day or two as ingredients continue to meld. For extended storage beyond a week, freeze the wrapped cake for up to three months. Thaw at room temperature for several hours before serving. Some bakers prefer freezing unbaked cake batter with apples already arranged, allowing for convenient baking when fresh cake is desired.
Common Baking Challenges and Solutions
Understanding potential issues helps prevent disappointment. A dry cake often results from overbaking or using too much flour; remedy by measuring flour correctly or reducing baking time slightly. If the cake sinks in the middle, insufficient baking powder or oven temperature that was too low may be responsible. Dense, heavy texture usually indicates overmixing of the batter; fold gently until just combined. Apples that become mushy require using firmer varieties or reducing baking time. If the top browns too quickly while the center remains underbaked, tent the cake loosely with foil partway through baking to slow surface browning while interior continues cooking.
Frequently Asked Questions
What apple varieties work best for Dutch apple cake?
Granny Smith apples remain the top choice due to their firm texture and balanced flavor profile. Honeycrisp, Pink Lady, and Braeburn varieties also perform well, offering different tartness levels and sweetness.
Can I prepare the batter in advance?
While you can mix dry ingredients ahead, combine wet and dry components just before baking to ensure proper rise and texture. Apples should be sliced close to baking time to prevent browning.
Is this cake suitable for people with gluten sensitivity?
Yes, by substituting gluten-free flour blends containing xanthan gum for regular all-purpose flour, you can create a successful gluten-free version maintaining similar texture and flavor.
How do I know when the cake is fully baked?
Insert a toothpick into the center; it should emerge mostly clean with only a few moist crumbs. The top should be golden brown, and edges should pull slightly from pan sides.
Can I substitute milk with alternative options?
Almond milk, oat milk, or other plant-based alternatives work well in comparable quantities. Heavy cream or buttermilk can also be used, potentially affecting final texture and tang.
Should I serve this cake warm or at room temperature?
Both options are delicious, offering different experiences. Warm cake provides comfort and is particularly good with ice cream. Room temperature cake offers firmer structure and may be easier to portion cleanly.
Tips for Perfecting Your Technique
- Use room-temperature eggs for better incorporation into batter
- Slice apples uniformly for even cooking throughout the cake
- Don’t skip the cooling period before slicing, even if serving warm
- Invest in an oven thermometer to ensure accurate baking temperature
- Brush apple tops with lemon juice to prevent browning before baking
- Rotate cake halfway through baking for more even browning
- Allow cooling rack to sit on stable surface to prevent tilting
- Use parchment paper for easier removal and cleanup
Conclusion: Creating Your Own Tradition
The Dutch apple cake represents more than just a dessert; it embodies generations of baking tradition adapted by countless home cooks and professional bakers. Its straightforward approach combined with impressive results makes it an accessible entry point for developing baking skills. Whether you follow a classic recipe or create personalized variations, the fundamental appeal remains consistent: fresh fruit, tender crumb, and the satisfaction of creating something delicious from basic ingredients. By understanding the essential components, mastering the techniques, and troubleshooting common issues, you can confidently create a Dutch apple cake that becomes a cherished part of your own culinary tradition.
References
- Cooking with Carlee – Great-Great-Grandma’s Dutch Apple Cake — Carlee Cook. Accessed April 10, 2026. https://cookingwithcarlee.com/great-great-grandma-langhorsts-dutch/
- Saffron Trail – Dutch Apple Cake Recipe — Saffron Trail. Accessed April 10, 2026. https://www.saffrontrail.com/dutch-apple-cake-recipe/
- 1932 General Electric Dutch Apple Cake Recipe — Glen And Friends Cooking. Accessed April 10, 2026. https://www.youtube.com/watch?v=TG_ecUaxVVY
- Baking with Butter – Dutch Apple Cake — Baking with Butter. Accessed April 10, 2026. https://bakingwithbutter.com/dutch-apple-cake/