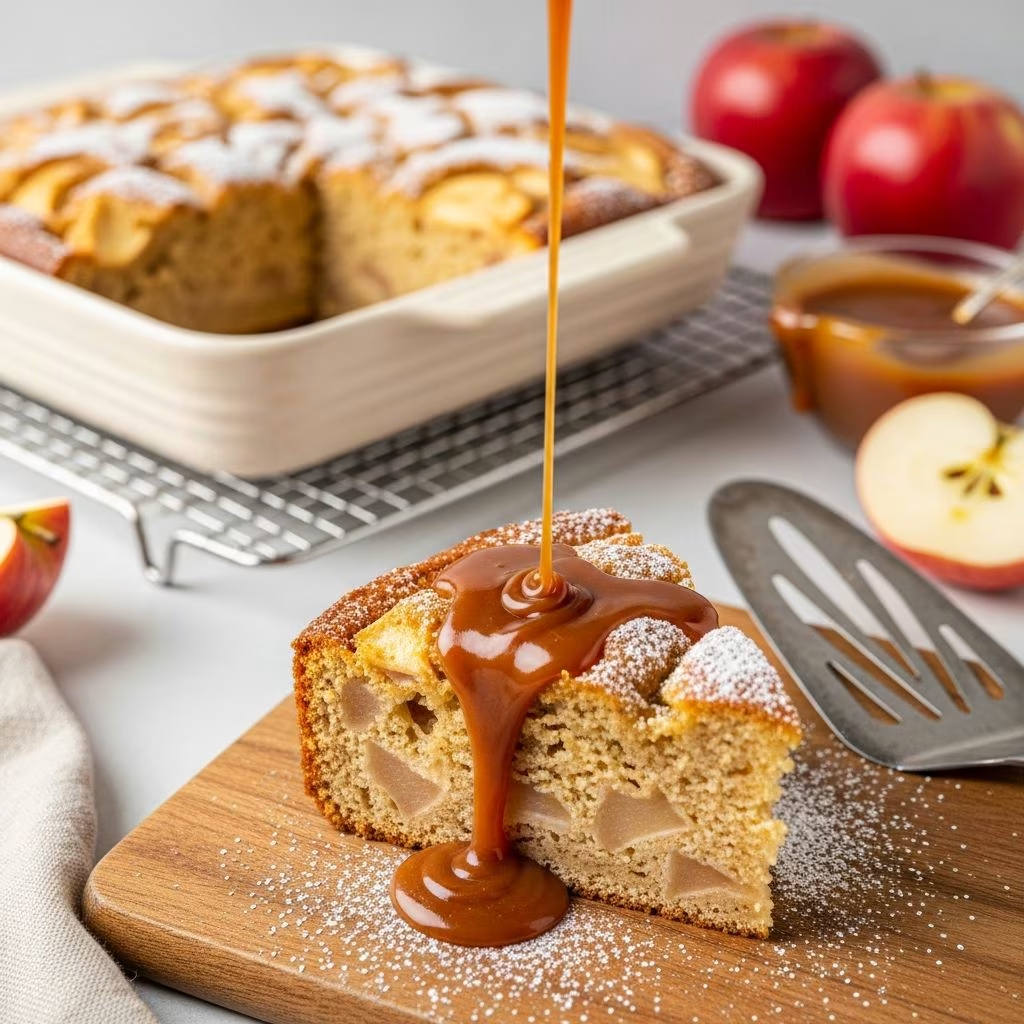
When the seasons shift and apples reach peak ripeness, few desserts capture the essence of autumn quite like a caramel apple snacking cake. This versatile treat combines tender cake layers infused with fresh fruit, complemented by warm spices and topped with a decadent caramel coating. Whether you’re planning an intimate gathering or simply craving a slice with your morning coffee, this cake delivers impressive flavor without requiring extensive pastry experience.
Understanding the Appeal of Apple-Based Snacking Cakes
Snacking cakes occupy a unique position in the dessert world. Unlike elaborate multi-layer cakes that demand careful assembly and precise frosting techniques, these simpler creations prioritize flavor and ease. The beauty of an apple-centered snacking cake lies in its straightforward construction—a single layer of moist cake topped with fruit components and finished with frosting or sauce.
The combination of fresh apples with caramel creates a naturally complementary pairing. Apples provide structural integrity to the batter while contributing subtle sweetness and moisture. When paired with caramel’s deeper, more complex sweetness, the result is a dessert that feels indulgent yet not overly heavy. This balance makes it suitable for serving at various occasions throughout the day.
Key Ingredients and Their Roles
Creating an outstanding caramel apple snacking cake requires understanding how each ingredient contributes to the final product.
The Foundation: Flour and Leavening Agents
All-purpose flour forms the structural base, typically ranging from 1⅓ to 2½ cups depending on the recipe variation. The addition of cornstarch—usually 1 to 2 teaspoons—serves an important function: it reduces the overall protein content of the flour mixture, resulting in a more tender, delicate crumb structure. This technique is particularly valuable when creating snacking cakes, as it prevents the cake from becoming tough or dense.
Baking powder provides the primary leavening, with most recipes calling for approximately 1 teaspoon. Some variations incorporate baking soda as well, typically in smaller quantities (¼ to 1 teaspoon), which helps activate acidic components in the batter and promotes additional lift during baking.
The Wet Components: Moisture and Binding
The liquid matrix of the cake batter determines its moisture level and texture. Most traditional recipes employ either oil or melted butter as the primary fat source, ranging from ½ cup to 1 cup. Oil creates a particularly moist crumb, while butter adds richness and flavor complexity. Many bakers prefer using a combination of both or melted butter specifically for its enhanced taste profile.
Eggs serve dual purposes: they bind ingredients together and contribute to the cake’s structure. Recipes typically call for 2 large eggs, with some variations adding an additional egg yolk for extra richness and moisture retention.
Dairy additions—whether milk, sour cream, or heavy cream—provide additional moisture and richness. These components also react with acidic elements in the recipe, enhancing the cake’s tender crumb. The choice between these options affects the final texture: sour cream produces a denser, more substantial cake, while regular milk yields a lighter result.
Sweeteners and Sugar Ratios
Sugar performs multiple roles beyond adding sweetness. Brown sugar (typically light brown, about 1 to 1¾ cups packed) contributes moisture and molasses undertones that enhance the warm spice profile. Granulated sugar, used in smaller quantities (¼ to ½ cup), provides structure and helps achieve the proper texture. The combination of both types creates complexity while maintaining balance.
The Apples: Variety and Preparation
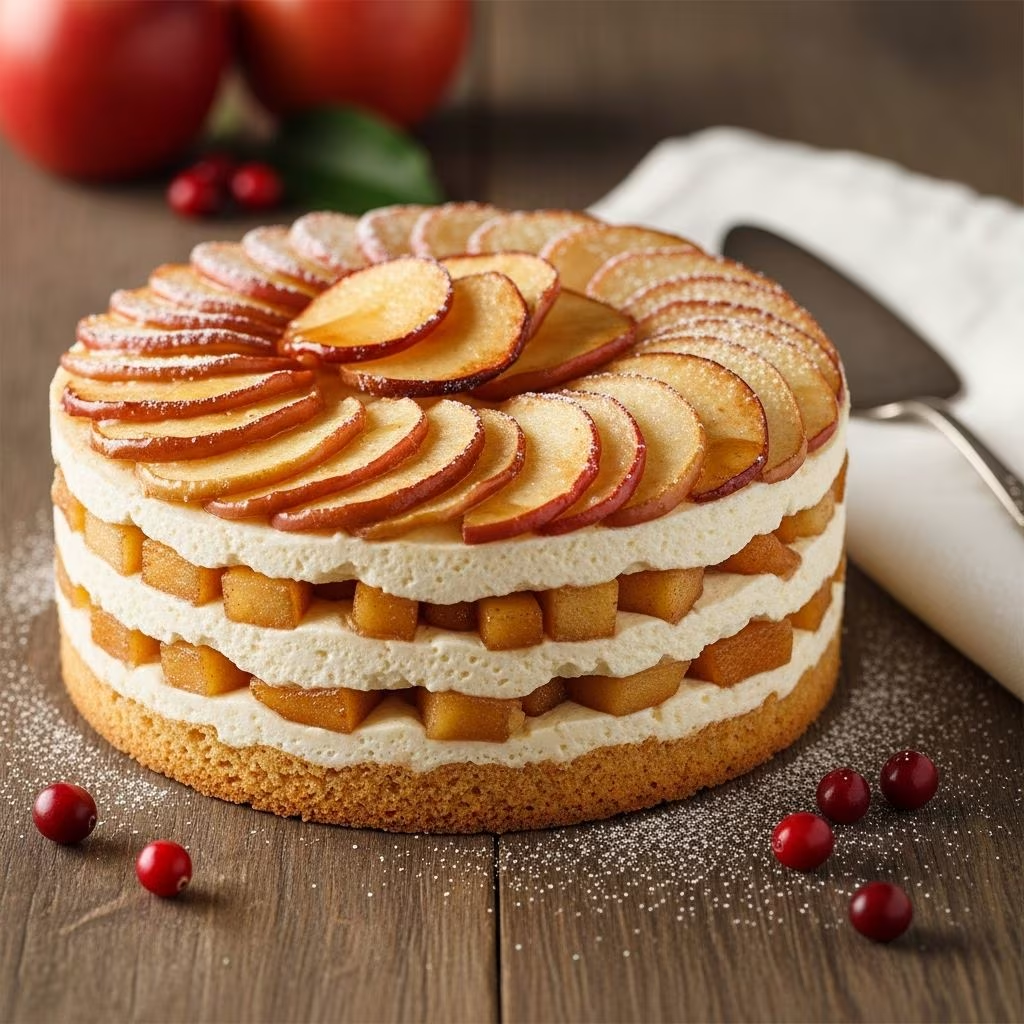
Apple selection significantly impacts the final cake. Granny Smith apples—tart, firm, and moderately sweet—remain the preferred choice among bakers because they hold their shape during baking and provide flavor contrast to the cake’s sweetness. Recipes typically call for 2 to 3 medium apples, prepared through various methods: some cakes feature thinly sliced apples arranged on top of the batter, while others incorporate finely diced or grated apples folded directly into the batter.
When apples are mixed into the batter, their natural juices distribute throughout the cake, creating exceptional moisture. This approach differs from surface arrangements, which create textural layers and visual appeal but distribute moisture less evenly.
Warm Spices: Creating Complexity
Ground cinnamon (½ to 1 teaspoon) forms the backbone of the spice profile, providing warmth and familiarity. Nutmeg and ginger, used in smaller quantities (¼ teaspoon each), add subtle complexity without overpowering. Some recipes substitute or combine these with apple pie spice—a premixed blend typically containing cinnamon, nutmeg, allspice, and cloves—which streamlines preparation while ensuring balanced flavor distribution.
Mastering the Baking Process
Success with caramel apple snacking cakes depends on proper technique and attention to detail during preparation.
Preparation and Mise en Place
Begin by preheating your oven to 350°F, allowing adequate time for it to reach the proper temperature. Prepare an 8×8-inch baking pan—a square format typical for snacking cakes—by lining it with parchment paper or coating it with nonstick spray. This step prevents sticking and facilitates easy removal of the finished cake.
Prepare apples by washing, peeling, and coring them just before incorporating into the batter. Delay this step until the final moment to prevent oxidation and browning, which can affect both appearance and flavor.
Combining Ingredients: The Proper Sequence
Proper ingredient combination prevents overmixing while ensuring thorough incorporation. Begin by whisking together your dry ingredients—flour, cornstarch, baking powder, baking soda, salt, and spices—in a separate bowl. This allows spices to distribute evenly throughout the flour before mixing with wet ingredients.
In your primary mixing bowl, combine melted butter (or oil) with both brown and granulated sugars, whisking until the mixture becomes smooth and homogeneous. This step creates an emulsion that helps bind subsequent ingredients. Add eggs one at a time, whisking well after each addition, followed by vanilla extract.
Incorporate dry ingredients using a spatula or gentle folding motion rather than vigorous mixing. Add approximately one-third of the dry mixture at a time, folding just until flour streaks disappear before adding the next portion. This technique prevents overworking the batter, which would develop gluten and result in a tougher crumb.
Finally, fold in the prepared apples—whether diced, grated, or sliced—ensuring they distribute evenly throughout. The batter will be noticeably thick at this stage, which is appropriate and desirable.
Baking and Temperature Control
Spread the batter evenly into your prepared pan, smoothing the top with an offset spatula. If using sliced apples as a topping, arrange them in an overlapping pattern across the surface now. Place the pan in your preheated 350°F oven and bake for 40 to 55 minutes, depending on whether apples are incorporated into or arranged atop the batter.
The cake is finished when the edges turn light golden brown and a toothpick inserted into the center emerges clean or with just a few moist crumbs. The center should feel set to the touch, though a slight jiggle in the very middle is acceptable and will firm up during cooling.
Remove from the oven and allow the cake to cool completely in the pan on a wire rack. This cooling period is essential—it allows the structure to set and makes the cake easier to handle without crumbling.
Creating the Caramel Frosting
The frosting transforms a good snacking cake into an exceptional one. Two approaches dominate recipes: browned butter frosting and traditional caramel frosting, each offering distinct flavor profiles.
Browned Butter Frosting Method
Place butter (approximately 4 to 8 ounces, depending on recipe) in a small saucepan over low to medium heat. Watch as it melts, foams, and gradually develops brown solids at the bottom—milk solids that have caramelized. This process takes 5 to 10 minutes. Once golden brown and nutty-smelling, pour the butter (including the browned solids) into a bowl and allow it to cool completely to room temperature.
Once cooled, whisk the browned butter with powdered sugar and any additional flavorings (vanilla extract is common). The result is a spreadable frosting with deep, toasted undertones that complement the spiced cake and fresh apples.
Traditional Caramel Frosting Method
In a small saucepan, melt butter, then add brown sugar, whisking until the mixture becomes smooth. Bring this to a gentle boil and maintain that temperature for approximately 2 minutes, creating the caramel base. Remove from heat and whisk in salt, then gradually add heavy cream or half-and-half, stirring constantly to prevent splashing or separation.
Add vanilla extract and allow the mixture to cool slightly—approximately 5 minutes—before whisking in powdered sugar gradually. The frosting should reach a pourable consistency, thick enough to cling to the cake but fluid enough to drip decoratively down the sides.
Serving Suggestions and Storage
Once the cake has cooled completely, top it generously with your chosen frosting, allowing excess to cascade down the sides for visual appeal. Cut into squares and serve directly from the pan for an informal presentation, or carefully lift sections out using the parchment paper sling for plating.
This cake stores well when covered loosely at room temperature for up to 3 days. The moist crumb actually improves slightly after 24 hours as flavors meld. Refrigeration extends shelf life to 5 days, though you may want to warm slices briefly before serving to enhance frosting consistency and apple flavor.
Variations and Customizations
While the classic recipe is exceptional, several variations merit exploration. Some bakers reduce sugar slightly and incorporate unsweetened applesauce to intensify apple flavor without excessive sweetness. Others experiment with different apple varieties—Honeycrisp, Fuji, or Pink Lady apples offer different flavor profiles and sweetness levels.
Spice enthusiasts might add cardamom or allspice, or increase quantities of warming spices for bolder flavor. Those preferring lighter presentations might substitute part of the caramel topping with whipped cream or serve the cake with a simple drizzle of store-bought caramel sauce rather than homemade frosting.
Troubleshooting Common Issues
Dense or Tough Cake: This typically results from overmixing. Ensure you’re using the folding method described above, stopping as soon as flour disappears.
Dry Cake: This may indicate overbaking or insufficient fat. Consider reducing baking time by 5 minutes or increasing oil content slightly in future batches.
Sunken Center: Often caused by underbaking or opening the oven door prematurely during baking. Maintain your oven temperature and avoid peeking until near the end of the baking window.
Grainy Frosting: This suggests powdered sugar wasn’t fully incorporated. Sift powdered sugar before use and whisk thoroughly until completely smooth.
Why This Cake Deserves a Place in Your Rotation
The caramel apple snacking cake represents the intersection of elegance and approachability. It requires no special equipment, advanced technique, or hard-to-find ingredients. Yet the final product delivers sophisticated flavor combinations and impressive presentation. Whether served to guests, packed in lunch boxes, or enjoyed as a quiet weeknight treat, this cake adapts beautifully to any occasion.
The balance of moist cake, bright apple flavor, warm spices, and rich caramel creates a dessert greater than the sum of its parts. Once you’ve mastered the basic method, you’ll find yourself returning to it frequently, likely developing your own subtle variations and preferences. This is the hallmark of a truly great recipe—one that becomes a trusted friend in your kitchen, reliable and rewarding with each baking.
Frequently Asked Questions
Can I make this cake gluten-free?
Yes, substitute all-purpose flour with a high-quality gluten-free blend designed for baking. You may need to slightly reduce liquid content as gluten-free flours absorb differently. Add an additional egg yolk for enhanced structure.
What’s the best way to store leftover cake?
Cover the pan loosely with plastic wrap or foil and store at room temperature for up to 3 days. For longer storage, refrigerate for up to 5 days or freeze unfrosted cake layers for up to 2 months.
Can I use unsalted versus salted butter?
Recipes typically call for unsalted butter so you can control salt content precisely. If using salted butter, reduce added salt by approximately ¼ teaspoon.
What if I can’t find light brown sugar?
Dark brown sugar can substitute in equal quantities, though it will produce a slightly darker, more molasses-forward cake. You can also create light brown sugar by mixing white sugar with a small amount of molasses.
How do I prevent the frosting from melting?
Apply frosting only after the cake has cooled completely. Keep frosted cake in a cool room or briefly refrigerate before serving if your kitchen is particularly warm.
References
- Caramel Apple Snack Cake with Browned Butter Frosting — The Simple Sweet Life. 2024. https://thesimple-sweetlife.com/caramel-apple-snack-cake-with-browned-butter-frosting/
- Caramel Apple Snack Cake — I Am Baker. 2023. https://iambaker.net/caramel-apple-snack-cake/
- Caramel Apple Snack Cake – Eat 2 Gather — Eat 2 Gather. 2024. https://www.eat2gather.net/caramel-apple-snack-cake/