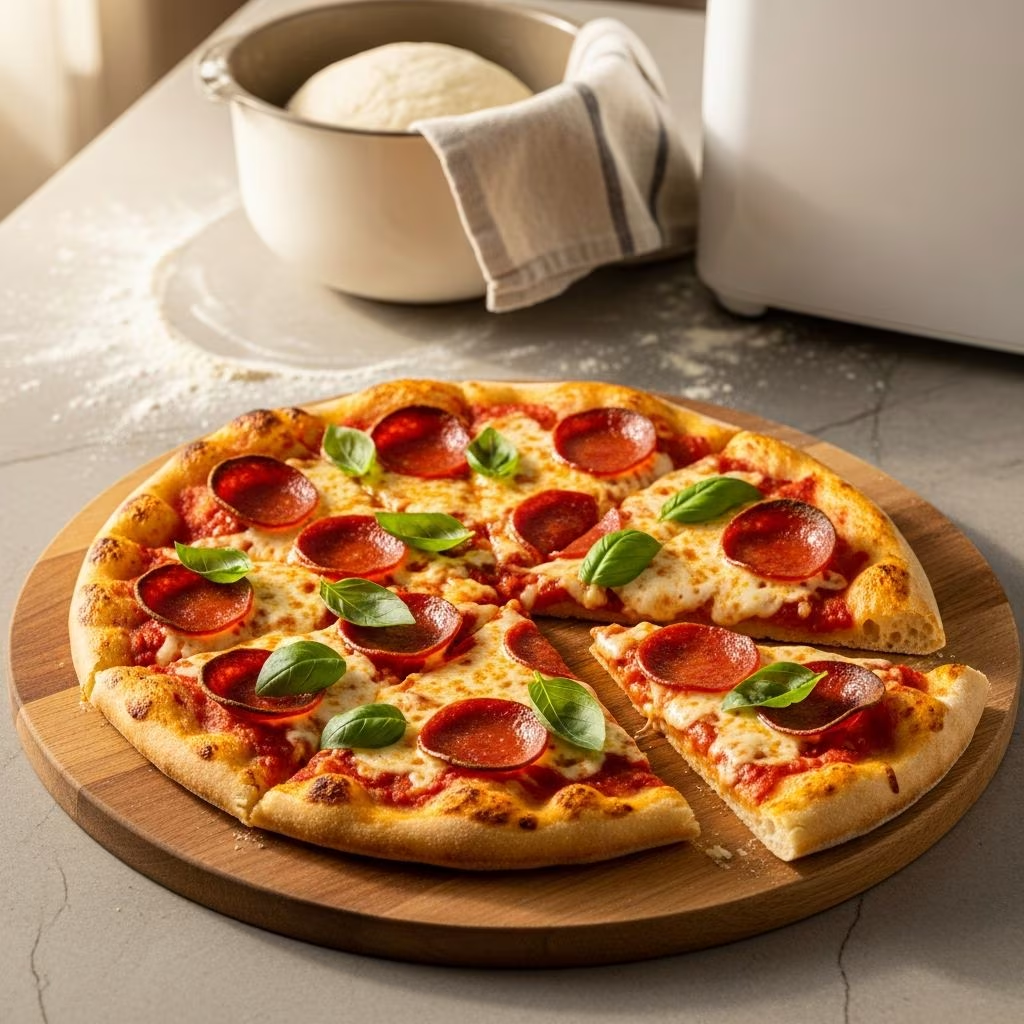
Creating authentic pizza at home no longer requires extensive kneading, resting periods, or professional pizza-making skills. Your bread machine can transform simple ingredients into a perfectly textured dough that yields a wonderfully crispy thin crust with a slight chewiness underneath your favorite toppings. This modern kitchen appliance takes the guesswork and physical effort out of dough preparation, allowing you to focus on assembling and baking your pizza to perfection.
Understanding Thin Crust Pizza Characteristics
Thin crust pizza represents a distinct pizza style characterized by its delicate, crispy foundation that crisps evenly when baked at high temperatures. Unlike thick, doughy crusts that require extensive rising and produce a bread-like texture, thin crusts showcase restraint in dough quantity while maintaining structural integrity and flavor. The appeal lies in the balance—achieving crispness without sacrificing the subtle chewiness that defines quality pizza. This style allows toppings and sauce to shine rather than compete with an overwhelming bread base.
Thin crust pizzas offer practical advantages beyond taste considerations. They require less flour and yeast per serving, making them more economical than thicker varieties. A single batch of bread machine dough can stretch to cover a larger surface area, potentially creating two respectable-sized pizzas instead of one oversized thick crust. This efficiency, combined with the shortened preparation timeline, makes thin crust pizza an attractive option for busy households seeking quick yet satisfying meals.
Essential Ingredients for Bread Machine Success
The foundation of exceptional thin crust pizza dough begins with understanding each ingredient’s role. The proportions matter significantly, as bread machines operate with precise timing and hydration requirements that differ from hand-kneaded varieties.
- Warm Water: Between 1 to 1 1/8 cups of water heated to 110 degrees Fahrenheit activates yeast properly and provides the hydration your dough requires. Temperature precision matters—water that is too cold inhibits yeast activation, while excessively hot water can kill beneficial yeast cells.
- Olive Oil: Two tablespoons contribute richness, aid in dough extensibility, and help achieve that desirable crispy exterior. Quality olive oil imparts subtle flavor that enhances the final product.
- Bread Flour: Three cups of bread flour provides superior gluten development compared to all-purpose flour, resulting in better structure and chewiness. Bread flour’s higher protein content strengthens your dough network.
- Active Dry or Bread Machine Yeast: Two teaspoons of yeast suffices for this quantity. Bread machine yeast granules are smaller and disperse more efficiently within the machine’s environment than standard active dry varieties.
- Sugar: Two tablespoons feed the yeast during the rising process and contribute subtle sweetness that complements savory toppings. Sugar also aids browning during baking.
- Salt: One teaspoon strengthens gluten strands, regulates fermentation speed, and enhances overall flavor complexity. Never skip this ingredient, as it fundamentally impacts dough development.
Preparing Your Bread Machine for Optimal Results
Before adding ingredients, ensure your bread machine is clean and the removable baking pan sits securely within the machine. Consult your specific machine’s manual regarding ingredient order, as some manufacturers recommend adding liquids first while others suggest placing flour at the bottom. Following manufacturer guidelines ensures optimal mixing and kneading cycles.
Ingredient sequencing typically involves placing liquids (water and olive oil) in the pan first, followed by dry ingredients (flour, salt, and sugar), with yeast positioned last to prevent premature activation. This layering approach allows the machine’s paddle to incorporate ingredients gradually, promoting even hydration and kneading.
The Bread Machine Cycle Explained
Select your machine’s dough cycle, which typically runs 90 minutes total. This cycle includes distinct phases: initial mixing combines all ingredients into a shaggy mass, followed by extended kneading that develops gluten structure. Most machines automatically incorporate a bulk fermentation period during which dough rises partially within the machine.
Approximately 15 minutes into the cycle, check your dough’s consistency. The dough should feel tacky to the touch but should not stick heavily to your fingers. If excessive stickiness occurs, add small flour amounts (one tablespoon at a time) until proper consistency develops. Conversely, if your dough appears dry and crumbly, add warm water in half-tablespoon increments. This mid-cycle adjustment prevents dense or overly wet final products.
Shaping Techniques for Uniform Crusts
Once the dough cycle completes, remove your dough and place it on a lightly floured surface. Bread machine dough emerges warm and slightly elastic—this is ideal for shaping. Begin by gently pressing the dough into a circular form on parchment paper. Allow it to rest for 10 minutes, which relaxes gluten and facilitates easier stretching.
After resting, use a lightly floured rolling pin to gradually flatten the dough to your desired thickness. For authentic thin crust, aim for approximately 1/8-inch thickness spread across a 14-to-16-inch diameter. Work from the center outward, maintaining even pressure to prevent thick or thin spots. Use a fork to perforate the dough surface across the entire area, creating small holes that prevent air pocket formation and promote even crispness during baking.
Rising and Proofing Considerations
After shaping, your dough requires additional rising time—typically 30 minutes to one hour, depending on room temperature. Warmer kitchens accelerate fermentation, while cooler environments extend rising periods. Place your shaped dough on parchment paper inside a warm location, or cover it loosely with a clean kitchen towel to retain moisture while preventing surface drying.
Properly proofed dough exhibits slight puffiness and feels airy when gently pressed. Over-proofing results in dough that collapses during baking or becomes excessively airy with large holes. Under-proofed dough yields dense, tough crusts lacking desirable texture. Experience teaches you to recognize optimal proofing by observing dough rise and texture development rather than adhering strictly to time-based guidelines.
Sauce and Topping Application Strategy
Apply sauce moderately to avoid soggy crusts. Spread sauce evenly from the center outward, leaving approximately half an inch of exposed dough around the perimeter to form a proper crust edge. Fresh mozzarella cheese should be distributed across the sauce layer, followed by desired toppings arranged thoughtfully to prevent uneven moisture distribution.
Vegetable toppings release moisture during baking, so consider pre-cooking denser vegetables like mushrooms, peppers, and onions to reduce excess liquid that can soften your crust. Delicate herbs like basil are best added after baking to preserve their flavor and visual appeal.
Baking Parameters for Crispy Results
Preheat your oven to 550 degrees Fahrenheit—high temperatures are crucial for achieving crispy thin crusts. Position your oven rack in the lower third to ensure the crust crisps before toppings over-brown. Bake for approximately 7 to 12 minutes, depending on your oven’s specific heat distribution and topping quantity. The crust should emerge golden brown with crispy edges when removed.
If your oven cannot reach 550 degrees, use the highest available temperature and extend baking time slightly. Some bakers transfer their pizza directly to a preheated pizza stone for enhanced crispness, though parchment paper provides adequate results for home ovens.
Troubleshooting Common Issues
| Problem | Likely Cause | Solution |
|---|---|---|
| Dough too sticky after cycle | Excess water or humidity | Add flour one tablespoon at a time |
| Dough too dry and crumbly | Insufficient water | Add warm water in half-tablespoon increments |
| Crust dense and tough | Over-kneading or inadequate proofing | Reduce cycle time or extend proofing period |
| Crust remains chewy, not crispy | Oven temperature too low | Increase oven temperature or use pizza stone |
| Crust bubbles excessively | Insufficient fork perforation | Create more holes across dough surface |
Storage and Make-Ahead Options
Bread machine dough can be refrigerated for up to three days in an airtight container after the initial rising period. Cold dough develops enhanced flavor through extended fermentation and becomes easier to handle due to reduced elasticity. Simply remove from refrigeration 30 minutes before shaping to allow dough to warm slightly and become more workable.
Freezing dough extends storage capability to several weeks. Shape your dough, wrap it tightly in plastic wrap, then freeze. Thaw overnight in the refrigerator before using, allowing time for dough to reach proper temperature and rise accordingly.
Frequently Asked Questions
- Can I use all-purpose flour instead of bread flour?
- While all-purpose flour works in modest amounts, bread flour’s higher protein content (12-14% versus 10-12%) produces superior gluten development and structure. Substituting all-purpose flour may yield softer, less chewy crusts.
- What if my bread machine lacks a dedicated pizza dough cycle?
- Use your machine’s standard dough cycle or manual setting, which includes mixing, kneading, and partial rising—all essential for pizza dough preparation.
- How many pizzas does one batch yield?
- Depending on desired thickness, one batch typically produces two thin crust pizzas of 14-to-16-inch diameter or one thicker, more generous pizza.
- Can I make the dough ahead and bake later?
- Yes, both refrigeration and freezing extend dough usability. Refrigerated dough keeps three days; frozen dough stores for several weeks.
- Why is my crust not getting crispy?
- Ensure oven temperature reaches at least 500-550 degrees Fahrenheit. Consider preheating a pizza stone or using the lower oven rack position to direct heat toward the crust base.
Mastering Your Technique
Creating thin crust pizza with your bread machine combines technological convenience with culinary skill. The machine handles labor-intensive mixing and initial fermentation while you maintain control over shaping, proofing, sauce application, and baking. Understanding ingredient roles, respecting timing, and making mid-cycle adjustments based on dough appearance transforms bread machine pizza-making from occasional experiment to reliable kitchen skill.
Success emerges through practice—each oven behaves differently, humidity levels fluctuate seasonally, and flour batches vary slightly. Keep notes regarding cycle adjustments, proofing times, and oven temperatures that yielded your best results. This documentation builds a personal pizza-making guide tailored to your specific kitchen environment and equipment.
Whether entertaining guests or preparing a weeknight family dinner, bread machine thin crust pizza offers the satisfaction of homemade food without excessive time investment. Your bread machine transforms basic ingredients into dough that rivals professional pizza establishments, proving that quality pizza preparation belongs within reach of any home cook willing to learn fundamental techniques and respect the process.
References
- Bread Machine Pizza Dough — Fleischmann’s Yeast. Official Recipe Guide. https://www.fleischmannsyeast.com/recipe/bread-machine-pizza-dough/
- Bread Machine Homemade Pizza Dough — Red Star Yeast. Official Recipe Guide. https://redstaryeast.com/recipes/bread-machine-homemade-pizza-dough/
- Bread Machine Pizza Dough — Crave The Good. Recipe Guide. https://www.cravethegood.com/bread-machine-pizza-dough/