Understanding the Fundamentals of Beef Stew
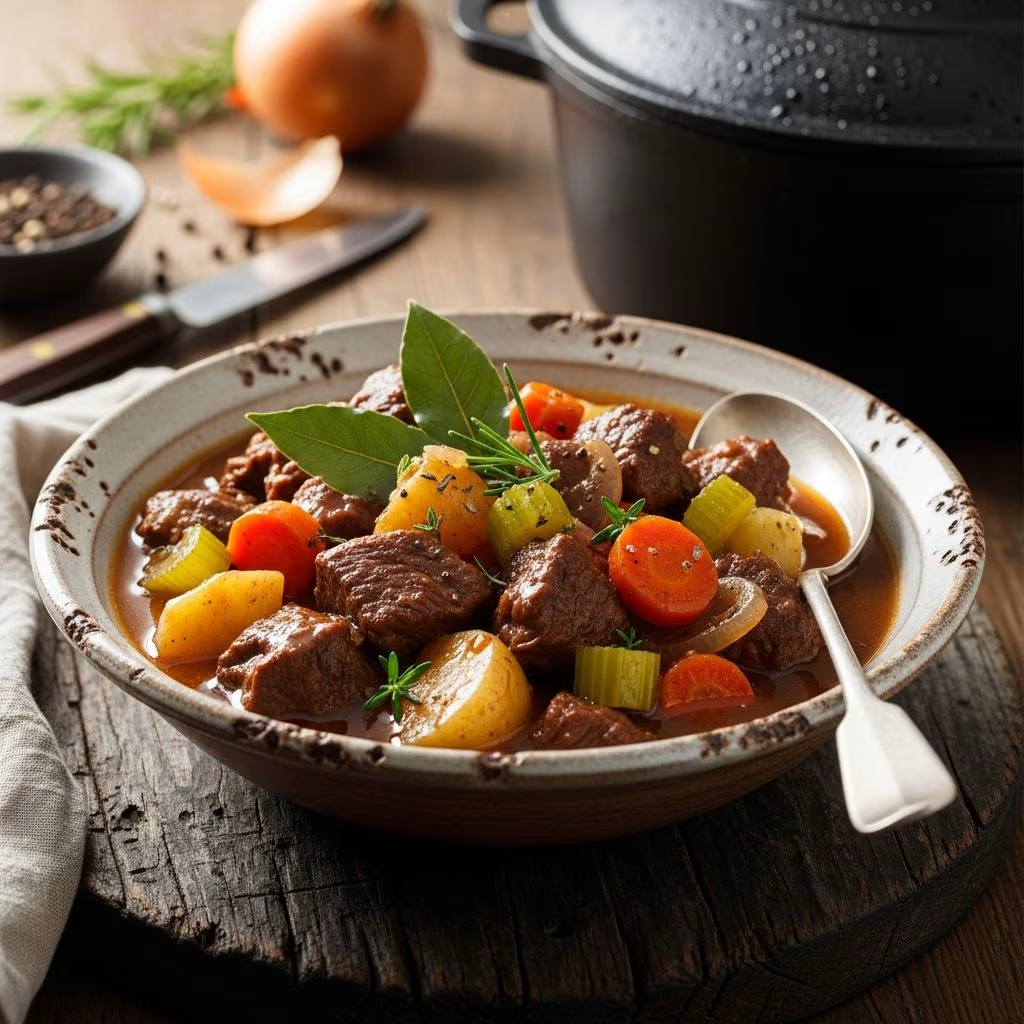
Beef stew represents one of the most accessible yet rewarding dishes a home cook can undertake. This humble preparation has graced dinner tables across cultures for centuries, offering a warming, satisfying meal that requires minimal technical expertise but benefits significantly from thoughtful execution. The beauty of beef stew lies in its forgiving nature—minor variations in ingredients or timing rarely result in disaster, yet attention to detail and understanding of core principles can elevate a simple dish into something truly memorable.
At its heart, beef stew combines three fundamental elements: quality protein, aromatic vegetables, and a flavorful liquid base that transforms through extended cooking into a cohesive, delicious meal. The magic occurs not through complexity, but through time, temperature, and the willingness to allow flavors to meld and develop naturally.
Selecting and Preparing Your Beef
The foundation of any exceptional beef stew begins with thoughtful meat selection. Unlike premium steaks that benefit from tender, expensive cuts, stew relies on tougher, more flavorful portions of the animal. These economical cuts contain significant collagen and connective tissue that, when subjected to low, moist heat over extended periods, transforms into gelatin—the compound responsible for the characteristic mouth-coating richness and luxurious mouthfeel of properly prepared stew.
Chuck roast stands as the gold standard for beef stew preparation. This shoulder cut offers exceptional flavor, reasonable cost, and the ideal fat-to-meat ratio that maintains moisture and contributes to developing depth of taste. When purchasing, look for meat with visible marbling—thin threads of intramuscular fat distributed throughout the muscle. This marbling melts during cooking, seasoning the meat from within and preventing the dryness often encountered in leaner preparations.
Before cooking, cut your beef into uniform cubes, approximately one to one-and-a-half inches on each side. Consistency matters here, as smaller pieces cook faster than larger ones, resulting in uneven texture if sizes vary dramatically. Remove excess surface moisture by patting the meat dry with paper towels. This seemingly minor step proves crucial for achieving proper browning—the Maillard reaction that creates flavorful, browned surfaces requires dry heat, and excess moisture interferes with this essential development.
The Critical Browning Stage
Many home cooks minimize or skip the browning phase, viewing it as optional or time-consuming. This represents a significant mistake. Browning beef isn’t about cooking the meat through; it’s about developing flavor through the Maillard reaction, the chemical process that occurs when proteins and amino acids in meat interact with heat, creating hundreds of new flavor compounds and contributing that appetizing brown color.
To brown meat effectively, use a Dutch oven or large, heavy-bottomed pot with a neutral oil that tolerates high temperatures well. Cast iron or enameled cast iron works wonderfully. Heat the oil until it shimmers and just begins smoking—this indicates sufficient temperature to achieve the browning reaction. Working in batches to avoid overcrowding, add beef cubes in a single layer. Resist the urge to stir constantly. Allow the meat to sit undisturbed for several minutes, developing a golden-brown crust on the underside. Turn pieces once and brown the opposite side. Remove browned meat to a clean plate and repeat until all beef is processed.
This multi-step browning might seem tedious, but it’s fundamentally important. Crowded pans create steam rather than heat, preventing proper browning and yielding grayish, unappetizing meat. Patience during this stage directly correlates with the final stew’s depth and complexity of flavor.
Building Flavor Through Vegetables and Aromatics
After removing browned beef, direct attention to the vegetables that form the aromatic foundation of your stew. The classic combination includes diced onions, chopped carrots, and minced garlic. These three ingredients create a baseline of flavor that develops further through cooking. Some cooks incorporate celery, which adds subtle herbaceous notes, and tomato paste, which contributes umami depth and subtle acidity.
Add aromatics to the same pot used for browning, taking advantage of the flavorful fond—browned bits stuck to the bottom that contain concentrated flavor. Using moderate to moderately-high heat, sauté aromatics until softened and fragrant, typically requiring three to five minutes for onions and garlic. Add tomato paste if using, cooking it for an additional minute to develop its flavors. This initial vegetable preparation should not produce browning; you’re looking for softening and flavor development through moisture and heat, not the Maillard reaction.
Deglazing and Building the Cooking Liquid
Deglazing represents the process of dissolving fond using liquid, capturing all those concentrated flavors and incorporating them into your stew. Use wine, broth, or even water, though wine or broth contributes additional complexity. Pour your chosen liquid into the pot with softened vegetables, using a wooden spoon to scrape and dissolve the fond, which will eventually become part of your stew’s liquid base.
The cooking liquid sets the flavor profile for your entire dish. A combination of beef broth and red wine creates richness and subtle tannin complexity. For a more approachable profile, use primarily beef broth with a smaller wine component. Some cooks prefer omitting wine entirely in favor of additional broth. Bay leaves, thyme sprigs, and black peppercorns contribute to a classic flavor profile, though oregano, marjoram, or other dried herbs can substitute based on preference.
Combining Components and Beginning Extended Cooking
Return browned beef to the pot, ensuring all meat sits beneath the liquid surface. This submersion is critical—meat exposed to air at the top of the pot may dry out or develop an unappetizing surface texture. Bring the mixture to a simmer (not a rolling boil), then reduce heat to maintain a gentle, steady simmer. This low-temperature environment allows collagen conversion to gelatin while preventing the meat from becoming tough through excessive heat.
Cooking time varies based on meat size, stove characteristics, and pot depth, but typically ranges from two to three hours. You’ll know the stew is approaching completion when beef becomes fork-tender, breaking apart easily rather than requiring effort to cut. The liquid should reduce somewhat, concentrating flavors, though the stew shouldn’t become dry.
Vegetable Timing and Final Adjustments
While beef requires extended cooking, vegetables don’t. Adding hearty vegetables like potatoes and carrots too early results in mushy, unappetizing textures. Instead, add these vegetables during the final forty-five minutes to one hour of cooking, allowing them to soften while maintaining their structure and individual character. Peas, corn, or other delicate vegetables should be incorporated even later, just ten or fifteen minutes before serving.
As your stew approaches completion, taste and adjust seasoning. Salt enhances all flavors, but add sparingly—it’s easier to add more than to correct an over-salted stew. Black pepper provides gentle heat and complexity. Acid in the form of a splash of vinegar or wine can brighten flavors if the stew tastes flat or one-dimensional. Some cooks incorporate a touch of sugar to balance acidity or enhance richness.
Thickening Your Stew
Proper beef stew achieves a naturally thick consistency through collagen conversion and vegetable breakdown. However, if your stew remains thinner than desired, several thickening methods work effectively. A slurry—cornstarch or flour mixed with cold water or broth to a smooth paste—can be whisked into simmering stew. Use approximately one tablespoon of cornstarch per two cups of stewing liquid for moderate thickening. Beurre manié, a French technique combining equal parts butter and flour kneaded into a paste, adds both thickening and richness.
Alternatively, mashing some of the cooked potatoes against the pot’s side contributes natural thickening while maintaining rustic texture. This method works particularly well for traditional, straightforward preparations.
Common Challenges and Solutions
| Challenge | Cause | Solution |
|---|---|---|
| Tough, chewy meat | Insufficient cooking time or too-high cooking temperature | Extend cooking time at lower heat; ensure gentle simmer rather than rolling boil |
| Mushy vegetables | Added too early or cooked too long | Add vegetables during final cooking stage; consider cutting larger pieces |
| Thin, watery consistency | Insufficient reduction or cooking liquid ratio | Use thickening methods discussed above; simmer uncovered to encourage evaporation |
| Flat, one-dimensional flavor | Under-seasoned or insufficient browning stage | Taste and adjust seasoning; ensure proper meat browning in future attempts |
| Greasy surface | Excess fat from meat | Skim surface fat after cooking or refrigerate overnight and remove solidified fat |
Serving and Storage Considerations
Beef stew often tastes better the day after preparation, as flavors continue developing during storage. If making stew ahead, cool it to room temperature before refrigerating in an airtight container for up to four days. Freeze-friendly as well, this dish stores beautifully in freezer containers for up to three months. When reheating, use gentle heat and add a touch of liquid if the stew has thickened excessively during storage.
Serve stew in shallow bowls, allowing people to enjoy both the substantial meat and vegetables alongside the flavorful broth. Crusty bread makes an excellent accompaniment for soaking up remaining liquid. Some enjoy egg noodles, polenta, or rice as supporting elements, though traditional preparation stands admirably on its own.
Flavor Variations and Creative Adaptations
While classic beef stew follows the profile described above, numerous variations exist. Red wine stews emphasize the wine’s tannins and slight sweetness, creating sophisticated depth. Adding mushrooms contributes umami complexity and earthy richness. Some preparations incorporate root vegetables like parsnips or turnips for subtle sweetness or gentle bitterness. Worcestershire sauce adds savory intensity, while balsamic vinegar provides subtle sweetness and acidity.
Cultural variations offer additional inspiration: French beef bourguignon incorporates pearl onions and mushrooms alongside the classic base, Irish stew traditionally uses lamb but adapts beautifully to beef, and Moroccan-inspired versions incorporate warming spices like cinnamon and cumin alongside dried fruit.
Essential Equipment and Setup
Successful beef stew preparation requires minimal special equipment. A Dutch oven or heavy-bottomed pot with a tight-fitting lid serves as the essential tool. Stainless steel or enameled cast iron works equally well. A sharp knife for cutting meat and vegetables, cutting boards, and basic measuring equipment complete the requirements. Some cooks prefer a slotted spoon for removing meat during browning, though a regular spoon works adequately.
Frequently Asked Questions
Can I make beef stew in a slow cooker?
Yes, slow cookers work excellently for beef stew. Brown meat and briefly sauté aromatics using the stovetop method described, then transfer to your slow cooker. Add liquid and cook on low for six to eight hours or high for three to four hours. Add vegetables during the final hours to prevent mushiness. While slow cookers require less active attention than stovetop methods, they produce comparable results.
Should I cover the pot during cooking?
Yes, keeping the pot covered during simmering prevents excessive liquid evaporation and helps regulate temperature. However, some cooks remove the lid for the final thirty minutes to allow some liquid reduction, concentrating flavors.
What’s the ideal beef-to-liquid ratio?
For a traditional stew, aim for roughly equal volumes of meat and liquid, though this varies based on preference. Some prefer brothier stews with more liquid, while others prefer thicker, more substantial preparations with less liquid.
Can I use different beef cuts?
While chuck roast remains optimal, brisket works acceptably, though it tends toward leaner meat. Avoid expensive steaks; their tender texture doesn’t improve through extended stewing and represents wasteful use of premium cuts.
References
- The Maillard Reaction: Applications in Food Science — American Chemical Society. 2015. https://www.acs.org
- Collagen and Gelatin in Culinary Applications — Institute of Food Science and Technology. 2019. https://www.ifst.org/
- Meat Selection and Preparation Guide — USDA Food Safety and Inspection Service. 2023. https://www.fsis.usda.gov/food-safety/safe-food-handling-and-preparation/meat
- Temperature Control in Slow Cooking and Stewing — Culinary Institute of America. 2021. https://www.ciachef.edu/