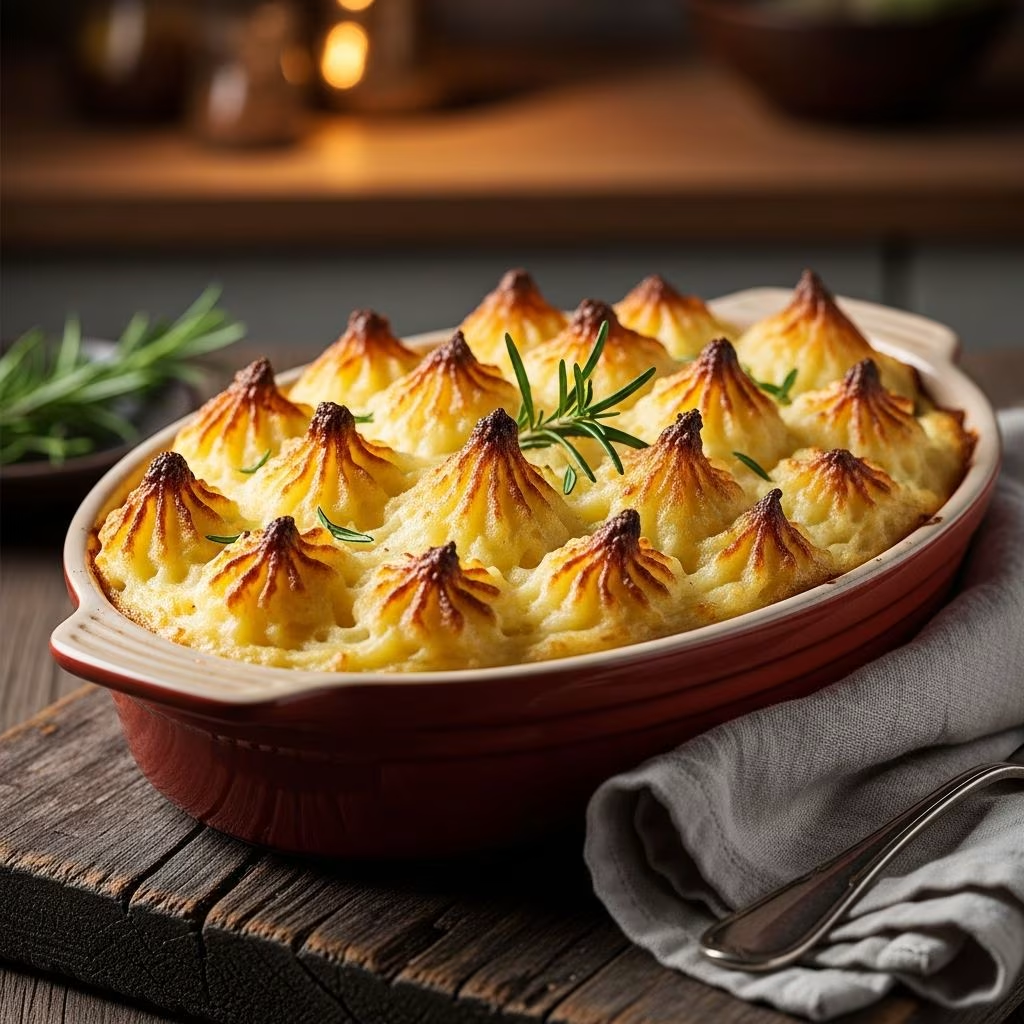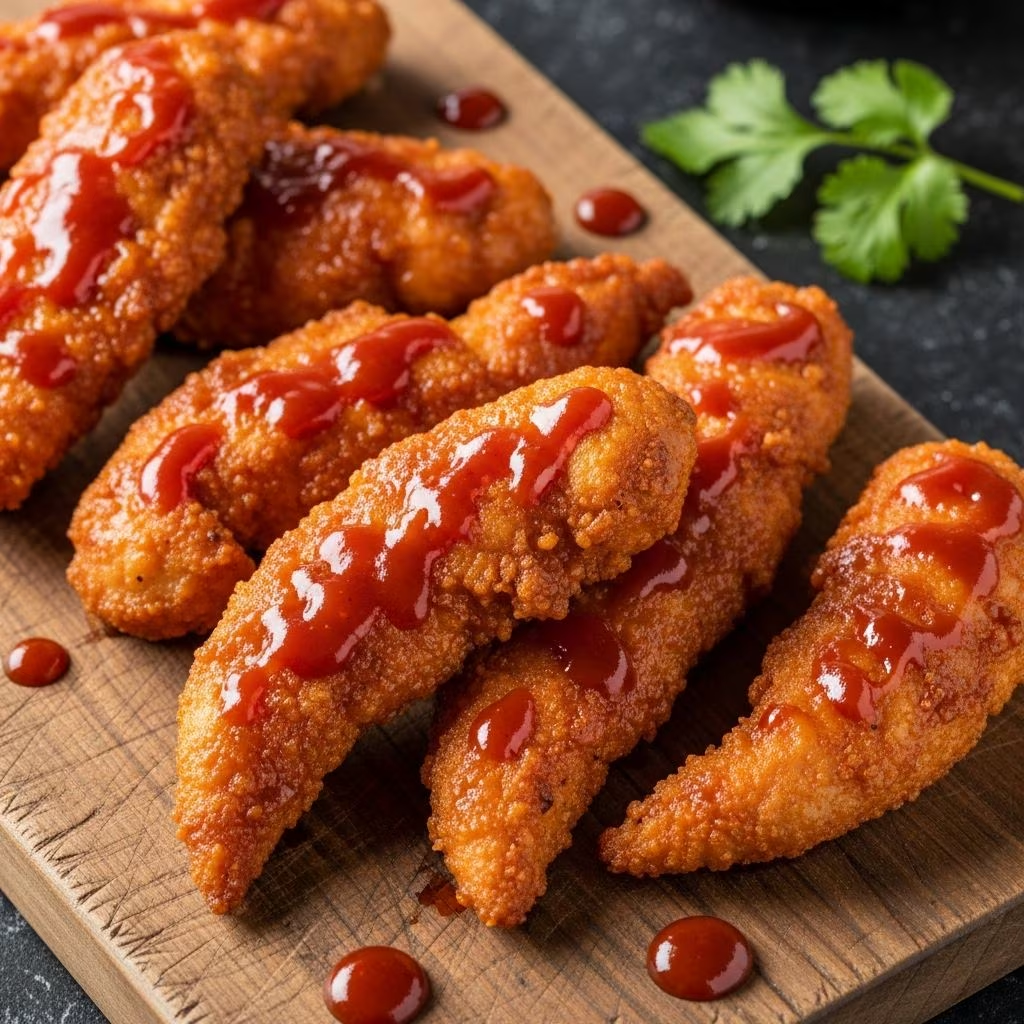
Preparing succulent, flavorful barbecue chicken tenders in your home kitchen doesn’t require specialized skills or exotic ingredients. With the right approach and quality components, you can create a dish that rivals restaurant offerings while keeping preparation time minimal. This comprehensive guide explores every aspect of crafting perfectly textured baked chicken tenders infused with smoky barbecue flavors, making it an ideal solution for busy families seeking nutritious yet satisfying meals.
Understanding Chicken Tender Selection and Preparation
The foundation of exceptional baked barbecue chicken tenders begins with selecting the appropriate cut and quality of poultry. Chicken tenders, also referred to as chicken strips or chicken fingers, represent the most tender portion of the chicken breast, naturally suited for quick cooking methods like baking. Whether you opt for fresh or thawed frozen tenders makes minimal difference in the final result, though fresh options may offer slightly superior texture.
Before beginning your seasoning process, inspect each tender for any remaining cartilage or bone fragments. While most commercially processed tenders arrive pre-cleaned, a quick visual inspection prevents unwanted surprises during consumption. Pat the poultry dry using paper towels, as removing surface moisture allows seasonings to adhere more effectively and promotes even browning during the baking process.
Essential Ingredients and Flavor Development
Building layers of flavor transforms simple chicken tenders into memorable dishes. The basic ingredient list remains straightforward, focusing on quality components rather than complex preparations:
- Premium chicken tenders (approximately 2 pounds for standard family servings)
- Quality cooking oil such as extra virgin olive oil or neutral vegetable oil
- Paprika for warmth and subtle smokiness
- Garlic powder for depth and savory notes
- Kosher salt for proper seasoning balance
- Your preferred barbecue sauce for the finishing glaze
The beauty of this approach lies in its flexibility. These foundational seasonings serve as a canvas for personal preferences. Some cooks enjoy incorporating smoked paprika for enhanced depth, while others introduce onion powder or additional garlic for intensified flavor profiles. The cooking oil serves dual purposes—facilitating even seasoning distribution and promoting crispy exteriors during baking.
The Art of Seasoning Technique
Proper seasoning application separates mediocre chicken tenders from exceptional ones. Rather than simply combining ingredients directly in the baking dish, utilize a sealed bag or bowl to ensure uniform coating. This technique, known as the dry-brining method in culinary circles, allows seasonings to penetrate the meat evenly.
Begin by placing your patted-dry chicken tenders into a large resealable plastic bag or mixing bowl. Drizzle the measured cooking oil over the tenders, then seal the bag (or cover the bowl) and massage the mixture gently for approximately one minute. This action coats each piece with oil, creating a base for seasoning adhesion. Next, sprinkle the paprika, garlic powder, and salt across the oiled tenders, then massage once more for another minute, ensuring every surface receives adequate seasoning coverage. This two-step massage technique proves far more effective than simple tossing.
Oven Preparation and Temperature Management
Temperature control determines whether your chicken tenders emerge tender and juicy or dry and overcooked. Preheat your oven to 375 degrees Fahrenheit approximately 15 minutes before you plan to begin baking. This ensures the oven reaches optimal cooking temperature, promoting consistent results.
Prepare your baking vessel by lightly coating a 2-quart casserole dish with nonstick cooking spray. Some cooks prefer alternative presentations using baking sheets lined with parchment paper, which allows for slightly crisper edges due to increased air circulation around each tender. Select the method that aligns with your texture preferences and available cookware.
The Two-Stage Baking Process
Rather than applying barbecue sauce at the beginning, this recipe employs a strategic two-stage baking method that maximizes flavor while preventing sauce burning. This approach deserves particular attention, as it distinguishes exceptional barbecue chicken tenders from less refined versions.
First Baking Stage: Transfer your seasoned chicken tenders from the bag or bowl into your prepared casserole dish, arranging them in a relatively even layer. Bake for 20 minutes at 375 degrees Fahrenheit. During this initial phase, the chicken cooks through while developing a light golden exterior. The internal temperature should reach approximately 150-155 degrees Fahrenheit at this checkpoint.
Applying the Barbecue Glaze: Remove the casserole from the oven and briefly inspect the tenders. Using a pastry brush or the back of a spoon, apply your chosen barbecue sauce across each tender, coating both the top and accessible sides. Most cooks apply between 1/4 and 1/2 cup of sauce during this step, depending on personal preferences regarding sauce intensity.
Second Baking Stage: Return the brushed tenders to the oven and bake for an additional 10-15 minutes. This secondary cooking phase allows the barbecue sauce to caramelize slightly, creating a flavorful, sticky exterior while the internal chicken temperature reaches the safe consumption level of 165 degrees Fahrenheit. If your sauce appears excessively thick or darkens too quickly, reduce the baking time or lower the oven temperature to 350 degrees Fahrenheit for the second stage.
Resting and Food Safety Considerations
Professional chefs consistently emphasize the importance of resting cooked poultry before serving. This practice applies equally to baked chicken tenders. Upon removing the casserole from the oven, allow the tenders to rest undisturbed for 5-10 minutes. During this resting period, internal juices redistribute throughout the meat, resulting in more tender, flavorful bites.
Always verify that your chicken tenders have reached an internal temperature of 165 degrees Fahrenheit, as recommended by food safety authorities. Use an instant-read meat thermometer inserted into the thickest portion of the largest tender to confirm doneness. This simple step ensures your family enjoys safe, properly cooked poultry.
Complementary Side Dish Pairings
While baked barbecue chicken tenders shine as standalone components, thoughtful side dish selection transforms them into complete, satisfying meals. Consider these pairing options:
| Side Dish Category | Examples | Flavor Profile |
|---|---|---|
| Vegetable-Based | Garden salad, steamed broccoli, roasted Brussels sprouts | Light and refreshing balance |
| Grain-Based | Brown rice, quinoa, wild rice pilaf | Hearty and grounding |
| Starch Options | Sweet potato fries, roasted potatoes, pasta salad | Comfort food appeal |
| Leafy Greens | Spinach salad, mixed greens with vinaigrette | Nutritious and lighter |
The versatility of baked barbecue chicken tenders makes them particularly suited for casual family dinners, meal-prep sessions, and casual entertaining scenarios. Serve them over fresh greens for a protein-rich salad, alongside roasted vegetables for a nutrient-dense plate, or with crispy oven-baked potatoes for a classic comfort meal.
Recipe Variations and Creative Modifications
Once you master the foundational technique, numerous variations emerge. Honey enthusiasts can mix equal parts barbecue sauce and honey for a sweeter glaze, or create homemade sauces by combining barbecue sauce, Worcestershire sauce, apple cider vinegar, and brown sugar for depth. Others experiment with spice additions like cayenne pepper, cumin, or chili powder to customize the flavor profile.
Some cooks employ buttermilk marinating techniques before the seasoning step, which tenderizes the chicken further while adding subtle tangy notes. This optional preliminary step requires 4-8 hours of refrigeration but yields noticeably more tender results for those willing to plan ahead.
Storage and Make-Ahead Strategies
Baked barbecue chicken tenders represent excellent meal-prep candidates. Store leftover tenders in an airtight container within your refrigerator for up to four days. Reheat gently in a 300-degree Fahrenheit oven for 10-15 minutes, covered with foil to prevent further drying, until warmed through. These tenders also freeze beautifully for up to three months, making them convenient for future quick meals.
Frequently Asked Questions
Can frozen chicken tenders be used without thawing?
While technically possible, thawing frozen tenders first ensures more even cooking and better seasoning penetration. Add 5-10 minutes to your total cooking time if using unthawed frozen tenders, and check internal temperatures carefully.
What oil works best for this recipe?
Extra virgin olive oil imparts subtle fruity notes, while neutral vegetable or avocado oils allow flavors to shine without interference. Choose based on your taste preferences and smoke point requirements.
How can I make this recipe lower in sodium?
Select no-salt-added or reduced-sodium barbecue sauces, and reduce or eliminate the salt from the seasoning mixture. Many commercial barbecue sauces contain substantial sodium, so reading labels helps identify lower-sodium options.
Why did my chicken tenders turn out dry?
Overcooking represents the primary culprit for dry poultry. Verify oven accuracy using an oven thermometer and monitor cooking times carefully. Remove tenders from the oven immediately upon reaching 165 degrees Fahrenheit internally.
Can this recipe be adapted for different barbecue sauce styles?
Absolutely. Experiment with Carolina mustard-based sauces, Kansas City thick and molasses-sweet varieties, or Texas vinegar-forward options. Each style creates distinctly different flavor profiles.
Nutritional Considerations and Health Aspects
Baked preparation methods significantly reduce fat content compared to fried alternatives while maintaining satisfying texture and flavor. Chicken tenders represent lean protein sources containing essential amino acids for muscle development and recovery. The addition of paprika and garlic powder contributes beneficial phytonutrients and antioxidants without excessive sodium when using quality, minimally-processed seasonings.
Pairing these tenders with abundant vegetables and whole grains creates nutritionally balanced meals supporting various dietary goals. The flexibility of this basic recipe allows adaptation for dietary restrictions, whether selecting specific oil types, adjusting sodium levels, or incorporating additional vegetable components.
References
- Safe Minimum Internal Temperature Chart — United States Department of Agriculture Food Safety and Inspection Service. 2024. https://www.fsis.usda.gov/food-safety/safe-food-handling-and-preparation/food-safety-basics/safe-temperatures-chart
- Dietary Guidelines for Americans 2020-2025 — United States Department of Health and Human Services and United States Department of Agriculture. 2020. https://www.dietaryguidelines.gov
- Cooking Methods and Nutritional Content — Academy of Nutrition and Dietetics. 2023. https://www.eatright.org