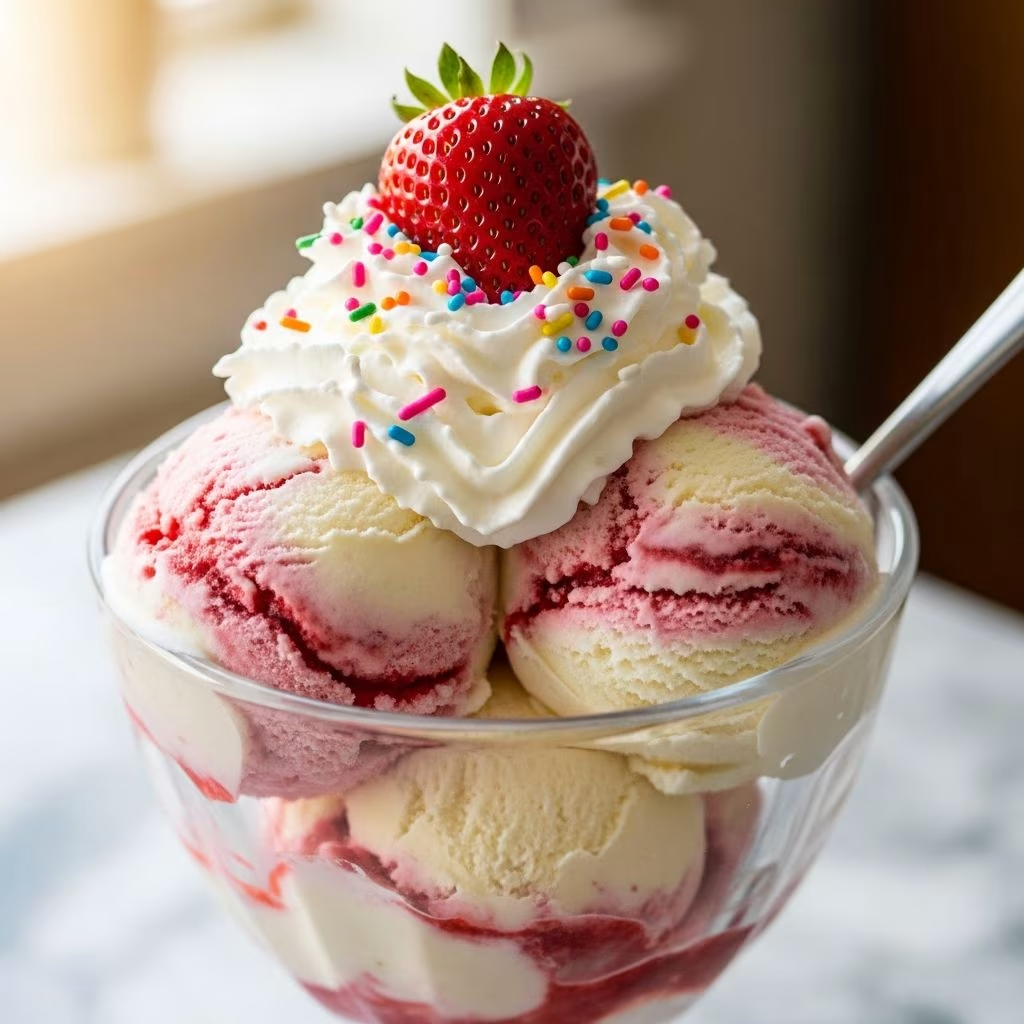
Creating delicious ice cream doesn’t require expensive machines or hours of waiting. This innovative technique uses common household items to freeze a sweet mixture rapidly, delivering a smooth, creamy treat in mere minutes. Ideal for spontaneous desserts or fun kitchen experiments, this method relies on basic physics to transform liquids into frozen delight.
The Magic Behind Rapid Freezing
At the heart of this quick ice cream recipe is the principle of freezing point depression. When salt mixes with ice, it lowers the ice’s melting point below 0°C (32°F), creating temperatures as low as -21°C (-6°F). This intense cold quickly solidifies the cream mixture inside a sealed bag, mimicking professional ice cream makers without the bulk.
This process, known scientifically as colligative properties, allows salt ions to disrupt water molecules in ice, speeding up heat extraction from the inner bag. The result is a soft-serve consistency that’s ready to eat immediately, bypassing the need for churning or long freezer times.
Gathering Your Ingredients and Tools
Minimalism defines this recipe, requiring just a handful of staples. Here’s what you’ll need for about two servings:
- ½ cup heavy cream or whipping cream (provides richness and fat for creaminess)
- ½ cup whole milk (balances the mixture for scoopable texture)
- ¼ cup granulated sugar (sweetens without overpowering)
- ½ teaspoon vanilla extract (adds aromatic depth)
- 1 cup rock salt or coarse kosher salt (essential for lowering ice temperature)
- 2-3 cups ice cubes (forms the outer freezing layer)
- Two resealable plastic bags: one quart-sized (small) and one gallon-sized (large)
- A kitchen towel (protects hands from extreme cold)
Opt for sturdy, freezer-safe bags to prevent leaks during vigorous shaking. Heavy cream yields the best mouthfeel, but alternatives like half-and-half work in a pinch.
Step-by-Step Guide to Perfection
Follow these precise steps for foolproof results. Total active time is under 10 minutes.
- Combine the base mixture: In a small bowl, whisk together the cream, milk, sugar, and vanilla until the sugar fully dissolves. This ensures even sweetness and prevents graininess.
- Seal the inner bag: Pour the mixture into the quart-sized bag, squeeze out excess air, and seal tightly. Double-check for airtightness to avoid dilution from melting ice.
- Prepare the outer freezer: Fill the gallon-sized bag halfway with ice cubes. Add the rock salt and shake lightly to distribute. Insert the small bag into the center.
- Top off and seal: Add more ice and remaining salt around the inner bag until full. Seal the large bag securely.
- Shake vigorously: Wrap the bag in a towel and shake for 5-8 minutes. Rotate and massage to ensure uniform freezing. The mixture will thicken dramatically.
- Serve immediately: Cut open the inner bag and scoop into bowls. Enjoy soft-serve style or freeze briefly for firmer texture.
Tips for success: Shake consistently to break up ice crystals, and work in a cool kitchen to maintain low temperatures.
Flavor Variations to Delight Every Palate
Customize endlessly with these swaps, keeping liquid ratios intact:
| Flavor | Substitution | Notes |
|---|---|---|
| Chocolate | 2 tbsp cocoa powder + 1 tbsp extra sugar | Intense and fudgy; blend smooth before bagging. |
| Strawberry | ¼ cup pureed fresh strawberries | Use ripe fruit; strain seeds for silkiness. |
| Mint Chocolate Chip | ½ tsp peppermint extract + chocolate chips | Add chips in last shake minute to avoid melting. |
| Coffee | 1 tsp instant coffee granules | Dissolve in milk for bold espresso notes. |
| Peanut Butter | 2 tbsp smooth peanut butter | Whisk thoroughly to prevent separation. |
Experiment with spices like cinnamon or citrus zests for unique twists. For dairy-free versions, try coconut cream and almond milk.
Why This Method Stands Out
Unlike traditional churning, this approach needs no electricity or pre-freezing bowls. It’s portable for picnics and engages participants with physical activity—burning about 50 calories while making dessert. Yields small batches perfect for 1-2 people, scaling easily by doubling bags.
Nutritionally, a serving offers around 300 calories, primarily from cream’s healthy fats, with natural ingredients free of preservatives. It’s a gateway to teaching kids about states of matter and thermodynamics through edible science.
Troubleshooting Common Issues
Encounter problems? Quick fixes ensure next batch succeeds:
- Too icy or grainy: Shake longer or use more cream for fat content, which inhibits large crystals.
- Bag leaks: Use thicker bags or double-bag the inner mixture.
- Not sweet enough: Taste base before sealing; sugar dulls when frozen.
- Too soft: Add more salt or chill briefly post-shaking.
- Hands too cold: Thicker towel or gloves; rotate shakers.
Fresh ice and coarse salt maximize efficiency—table salt works but less effectively.
Scaling Up for Crowds
For parties, prepare multiple inner bags simultaneously in one large cooler bag with extra ice and salt. Shake in teams for fun. Store extras in freezer bags for up to 2 days, though freshest straight from the shake.
Pair with toppings like crushed cookies, fresh fruit, or hot fudge for sundae bars. This method shines at summer barbecues or classroom demos.
Healthier Twists and Dietary Adaptations
Lighten up with low-fat milk and Greek yogurt blends, reducing calories by 30%. Sweeten naturally using honey or maple syrup (adjust to 3 tbsp). Vegan option: full-fat coconut milk yields tropical creaminess.
Portion control keeps indulgence guilt-free; one serving satisfies cravings without overkill.
Fun Science Experiments to Extend the Fun
Turn dessert into education:
- Test salts: Compare rock vs. table salt freezing speeds.
- Ratio play: Vary cream-to-milk for texture differences.
- Temp trials: Measure bag temperatures with a thermometer.
Ideal for ages 5+, fostering curiosity about everyday chemistry.
Frequently Asked Questions
Can I make larger batches?
Yes, use bigger bags or multiple setups. Avoid overcrowding to ensure even freezing.
Is rock salt edible?
No—it’s for external use only. Rinse inner bag if any contact occurs.
What if I lack heavy cream?
Substitute evaporated milk or a cream-milk mix; results slightly less creamy.
How long does it last?
Eat fresh; freezes well for 1-2 days but may harden.
Why use two bags?
Prevents direct salt-ice contact, keeping ice cream pure.
Conclusion: Instant Joy in Every Scoop
This 5-minute ice cream revolutionizes homemade treats, blending simplicity, science, and satisfaction. Whether solo snack or group activity, it delivers pro-level results effortlessly. Try it tonight and elevate your dessert game.
References
- Homemade Ice Cream Without a Machine in Just 5 Minutes — Jerry James Stone. Accessed 2026. https://jerryjamesstone.com/recipe/5-minute-ice-cream-no-ice-cream-maker-needed/
- 5-minute Ice Cream — Ontario Science Centre. Accessed 2026. https://www.ontariosciencecentre.ca/science-at-home/diy-science-fun/5-minute-ice-cream
- Freezing Point Depression in Solutions — American Chemical Society. 2023-05-15. https://www.acs.org/middleschoolchemistry/lessonplans/chapter5/lesson7.html